Ready to give your kitchen a timeless makeover without sacrificing functionality? Subway tiles could be your perfect match! Just like a classic little black dress, they never go out of style. This guide is here to help you navigate the world of subway tile backsplashes, from picking the ideal tile to easy upkeep tips. Let’s get started on creating a kitchen backsplash you’ll love for years to come!
Decoding the Appeal of Subway Tiles
Subway tiles have earned their place as a design staple, and it’s not hard to see why. They’re incredibly adaptable, gracing both traditional kitchens and modern ones with equal ease. But their appeal goes beyond just looks:
- Built to Last: Daily kitchen chaos is no match for these durable tiles. They laugh in the face of splattering oil, steaming dishwashers, and the occasional tomato sauce mishap.
- Cleaning? A Breeze! Their smooth surface makes wiping away messes a cinch.
- Endless Options: From colors and sizes to finishes and patterns, subway tile variety opens up a world of design possibilities. This versatility is likely a factor in their ability to boost a home’s value – they create a polished, timeless look that resonates with potential buyers.
Choosing the Right Subway Tile: Your Style, Your Kitchen
Picking the perfect tile might seem daunting, but think of it like putting together an outfit for your kitchen!
1. Material Matters:
- Ceramic: The go-to option. It’s durable, easy to clean, and budget-friendly.
- Porcelain: Ceramic’s sophisticated cousin. Even more resistant to stains and water – a messy cook’s dream!
- Glass: Channel your inner interior designer! Glass tiles introduce a touch of glamour with their sleek, reflective finish, making your kitchen feel larger.
- Natural Stone (Marble, Granite): For those who crave a bit of luxury, natural stone is breathtaking. Just be prepared to shower it with a bit more care.
2. Color Me Intrigued:
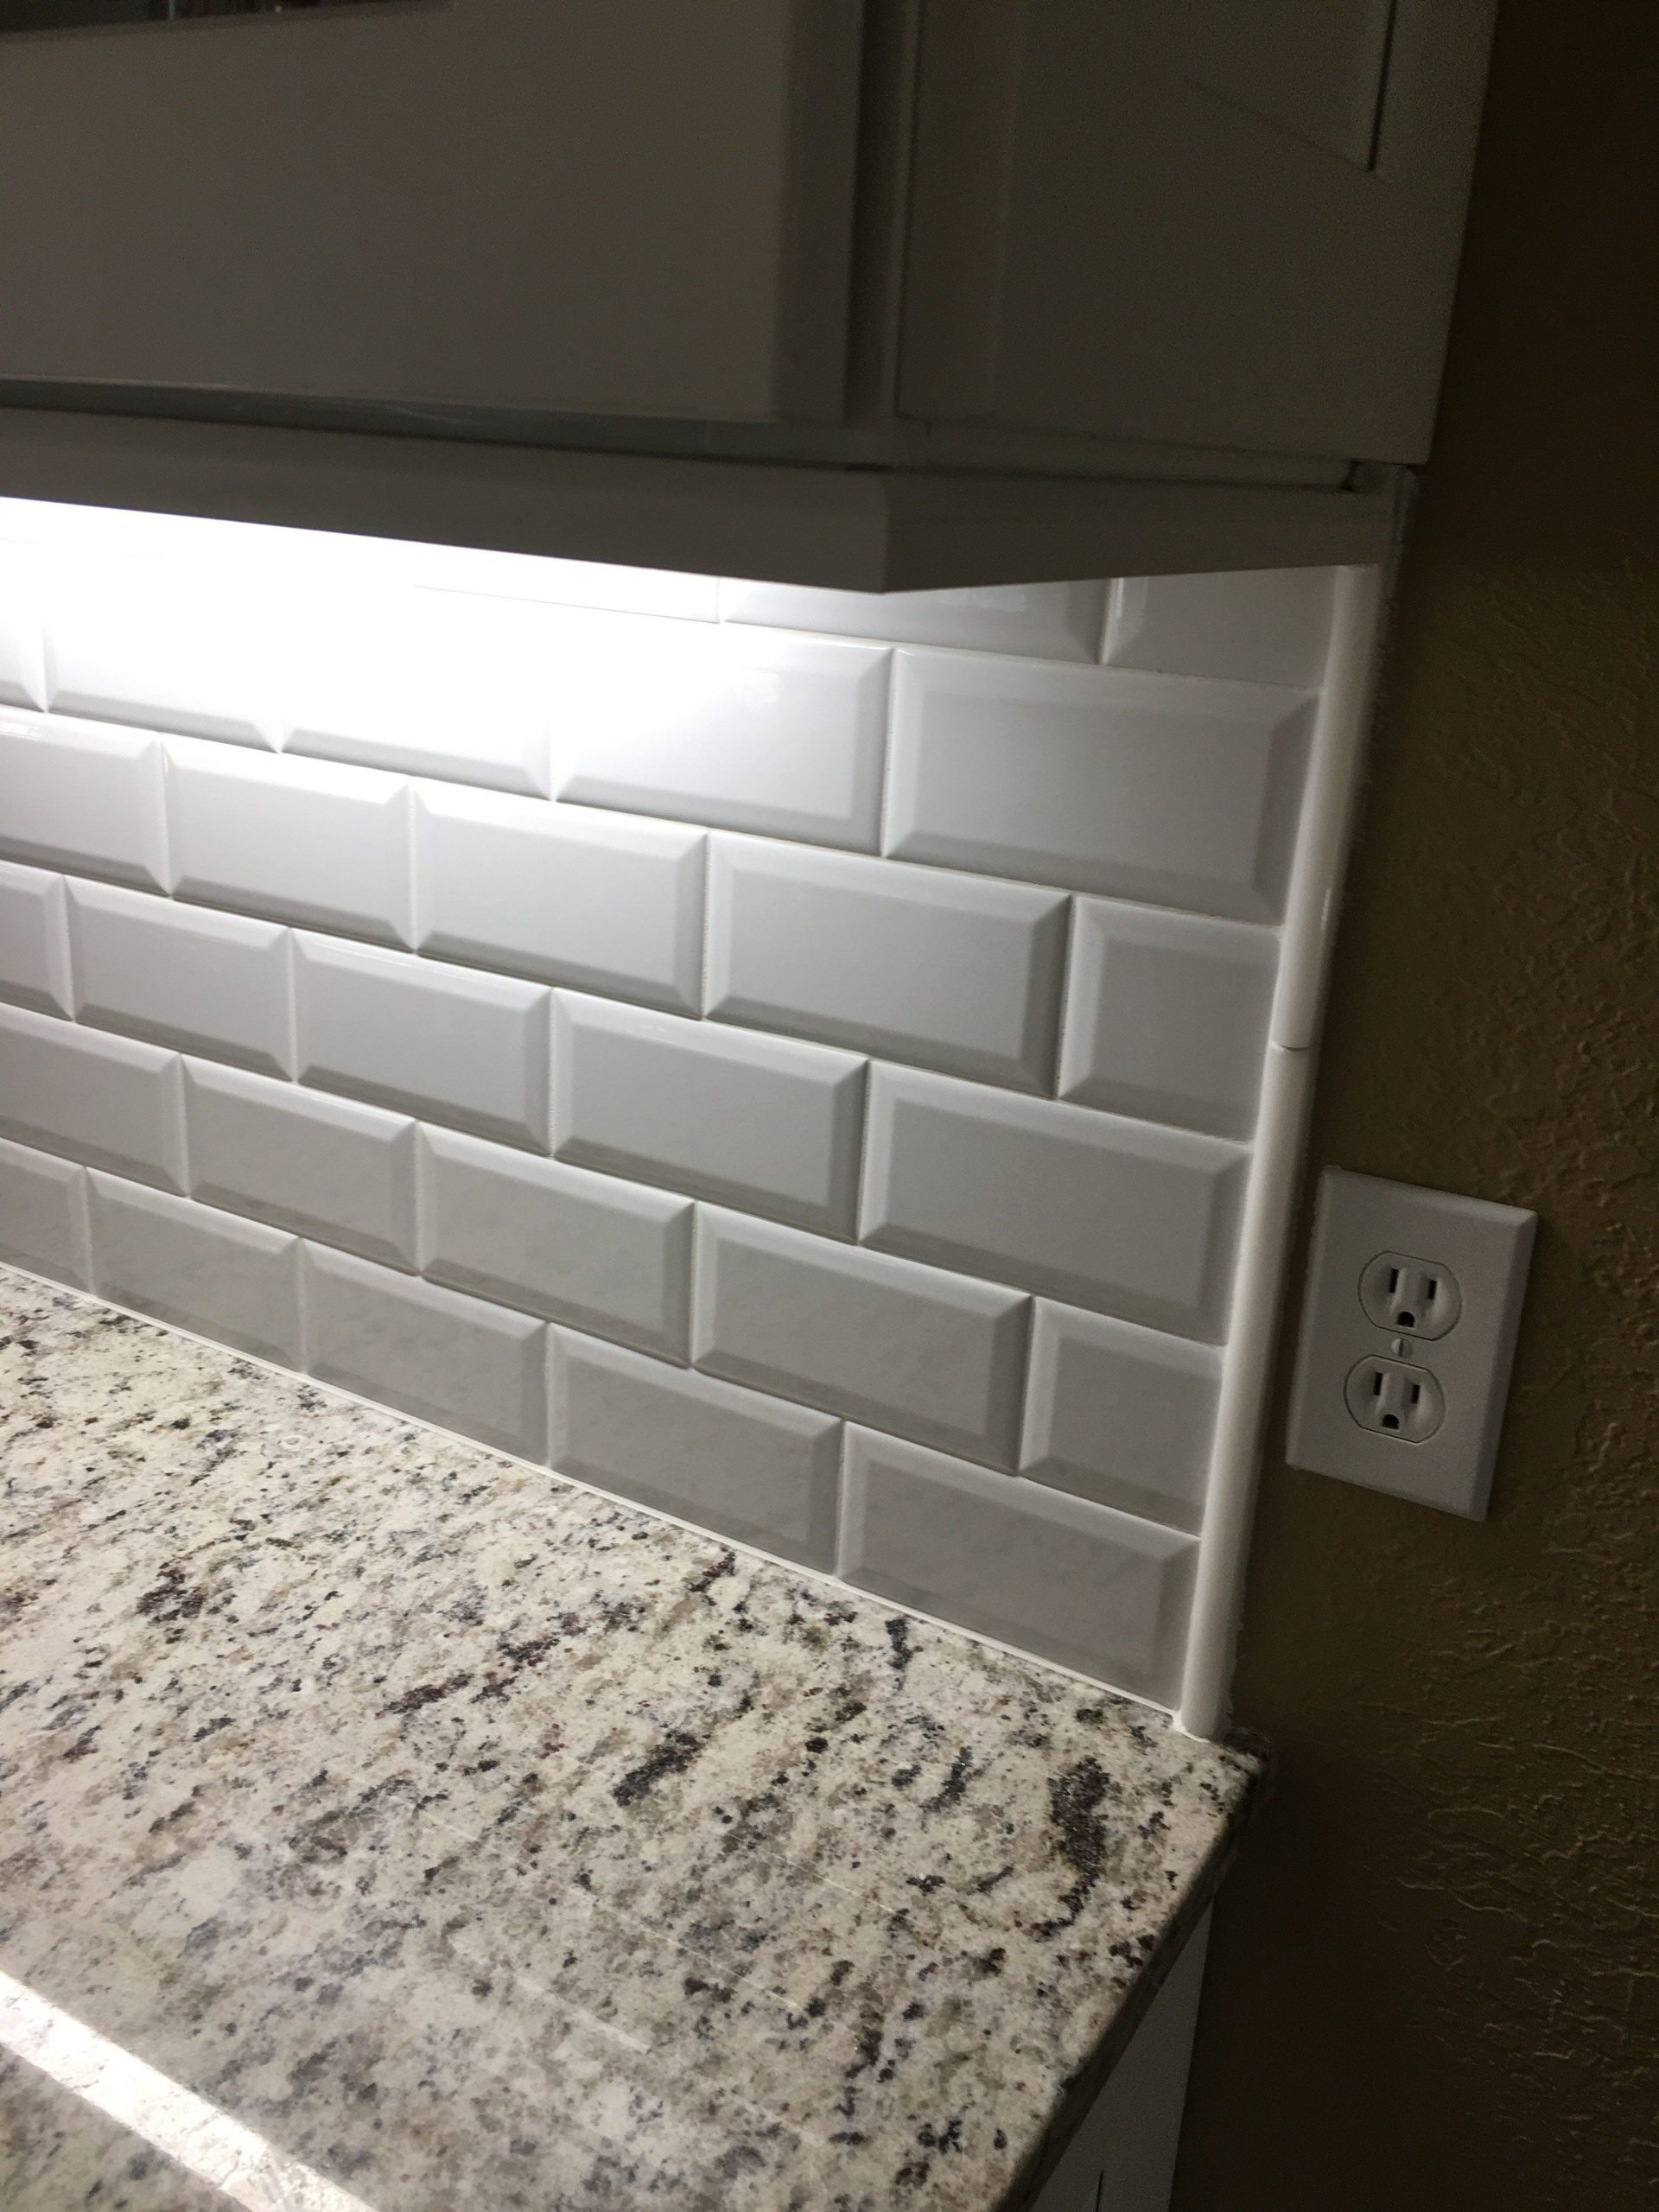
- White: A classic choice that brightens up any kitchen and complements any style.
- Gray: For a modern touch, gray is undeniably chic. It plays well with a range of countertop materials, too.
3. Finishes: A Matter of Texture
- Glossy: Imagine adding mirrors to your walls! A glossy finish bounces light around, making your kitchen feel more spacious.
- Matte: If understated elegance is your jam, matte tiles offer a softer, warmer look. Bonus: they’re masters at camouflaging fingerprints!
**4. Patterns: Get Creative! **
- Running Bond (The Classic): This brick-like pattern is timeless and works in any kitchen.
- Herringbone (The Zigzag): Want to add some visual intrigue? The herringbone pattern creates a dynamic, eye-catching look.
- Chevron (The Sharper Zigzag): Similar to herringbone but with a bolder attitude thanks to its more pointed “V” shapes.
- Basketweave (The Woven Look): This pattern, with its interlocking squares or rectangles, brings a charming, textured feel to your backsplash.
Sizing Up Your Subway Tiles
Picking the right subway tile size isn’t just about aesthetics; it’s about creating harmony between your backsplash, your kitchen’s dimensions, and your cabinet style.
Space Savvy:
- Small Kitchens: Embrace the magic of illusion! Smaller tiles, like those measuring 2×4 or 3×6 inches, can trick the eye into perceiving a larger space. This works because more grout lines create a sense of visual expansion.
- Large Kitchens: Go big or go home! Larger subway tiles, ranging from 4×8 to 4×12 inches, create a stunning focal point and infuse a modern vibe. Plus, they break up large expanses of wall, adding a touch of coziness.
Cabinet Coordination:
- Traditional Cabinets: The classic 3×6 inch subway tile is your perfect match. This size effortlessly complements traditional cabinetry styles.
- Modern Cabinets: Embrace the sleekness! Larger subway tiles (4×8 or 4×12 inches) resonate beautifully with modern cabinets’ clean lines and minimalist aesthetic.
Style Sense:
- Classic Look: Stick with the tried-and-true 3×6 inch subway tiles in white or neutral shades like cream, beige, or light gray. Consider using darker grout to make the tile pattern pop.
- Modern Look: Go bold with larger tiles (4×8 or 4×12 inches), experiment with unconventional colors like deep blues, rich greens, or even black, and explore unique patterns and textures.
- Transitional Look: You have flexibility here! Any subway tile size can work in a transitional kitchen. The key is choosing a color and pattern that complements both your cabinets and your kitchen’s overall style, creating a seamless blend of classic and contemporary elements.
Remember, these are just guidelines! Ordering samples and playing around with different options in your own space is the best way to discover what speaks to your style and complements your kitchen.
Installation: DIY or Call in the Pros?
You’ve found your dream tiles – congratulations! Now, let’s talk about getting them on your walls:
- Grout Power: Never underestimate the impact of grout! The color and type you choose (sanded or unsanded) can dramatically change your backsplash’s overall look. Experiment with different options to find your perfect match.
- The DIY Decision: Be honest with yourself about your skill level and the complexity of the project. Installing tile can be tricky, so don’t hesitate to call in professional tile installers for a flawless finish if needed.
- Maintenance is Key: Once your gorgeous backsplash is up, keep it looking its best! Proper cleaning and sealing protect your tiles from stains and ensure they remain a stunning feature for years.
Tiling Over Existing Backsplashes: Is It Possible?
Dreaming of a kitchen refresh without a full-blown renovation? Tiling over your existing backsplash is a question many homeowners have, and the answer is often yes! But before you grab your trowel, there are a few crucial things to consider:
1. Backsplash Assessment:
- Cleanliness: Give your current backsplash a thorough cleaning to remove any grease or grime.
- Stability: Look for loose tiles. Your new tiles need a solid foundation to adhere to.
- Surface: Smooth surfaces are ideal for tiling over. If your backsplash is heavily textured, the new tiles might not stick as well, and the texture might show through.
2. Tile Compatibility:
- Size Matters: Smaller subway tiles, like the 2×4 inch ones, are more forgiving if your existing surface isn’t perfectly flat compared to the standard 3×6 inch tiles.
3. The Installation Process:
- Rough It Up: Lightly sand the surface of your existing backsplash to improve adhesion for the new tiles.
- Choose the Right Adhesive: Opt for a high-bond modified thinset mortar specifically designed for installing tile over tile.
- Plan Your Layout: Before applying adhesive, lay out your tiles with spacers to ensure even grout lines. This step is crucial for achieving a professional-looking result.
- Apply Adhesive: Use a notched trowel to spread the adhesive evenly on the back of each tile.
- Set Your Tiles: Press each tile firmly into the adhesive, ensuring good contact to prevent future issues.
- Grout with Care: After the adhesive dries completely (always refer to the manufacturer’s instructions), apply grout using a grout float, pushing it into the spaces between the tiles.
- Clean Up: Remove any excess grout immediately with a damp sponge.
4. Navigating Potential Challenges:
- Uneven Surfaces: A self-leveling compound can work wonders in evening out an uneven backsplash before you begin tiling.
- DIY Doubts: Tiling requires patience, precision, and a steady hand. If you’re not a seasoned DIYer, it’s always wise to call in a professional tile installer.
- Clearance Check: Adding new tile over old will increase wall depth slightly. Double-check that your cabinets, outlets, and appliances still have adequate clearance.
Subway Tiles: A Timeless Trend
While design trends evolve, subway tile has an enduring appeal that suggests it’s here to stay. Some experts believe this is due to their versatility, affordability, and ability to blend seamlessly with a wide range of styles.
Looking for more ways to create your dream kitchen? Consider adding a square kitchen island for extra counter space and storage or a small modern dining table to create a cozy dining area.

- The Best Battery Picture Lamps for Effortless Artwork Illumination - April 1, 2025
- Double Sink Bath Vanity Tops: A Buyer’s Guide - April 1, 2025
- Bath Towel Measurements: A Complete Guide to Choosing the Right Size - April 1, 2025