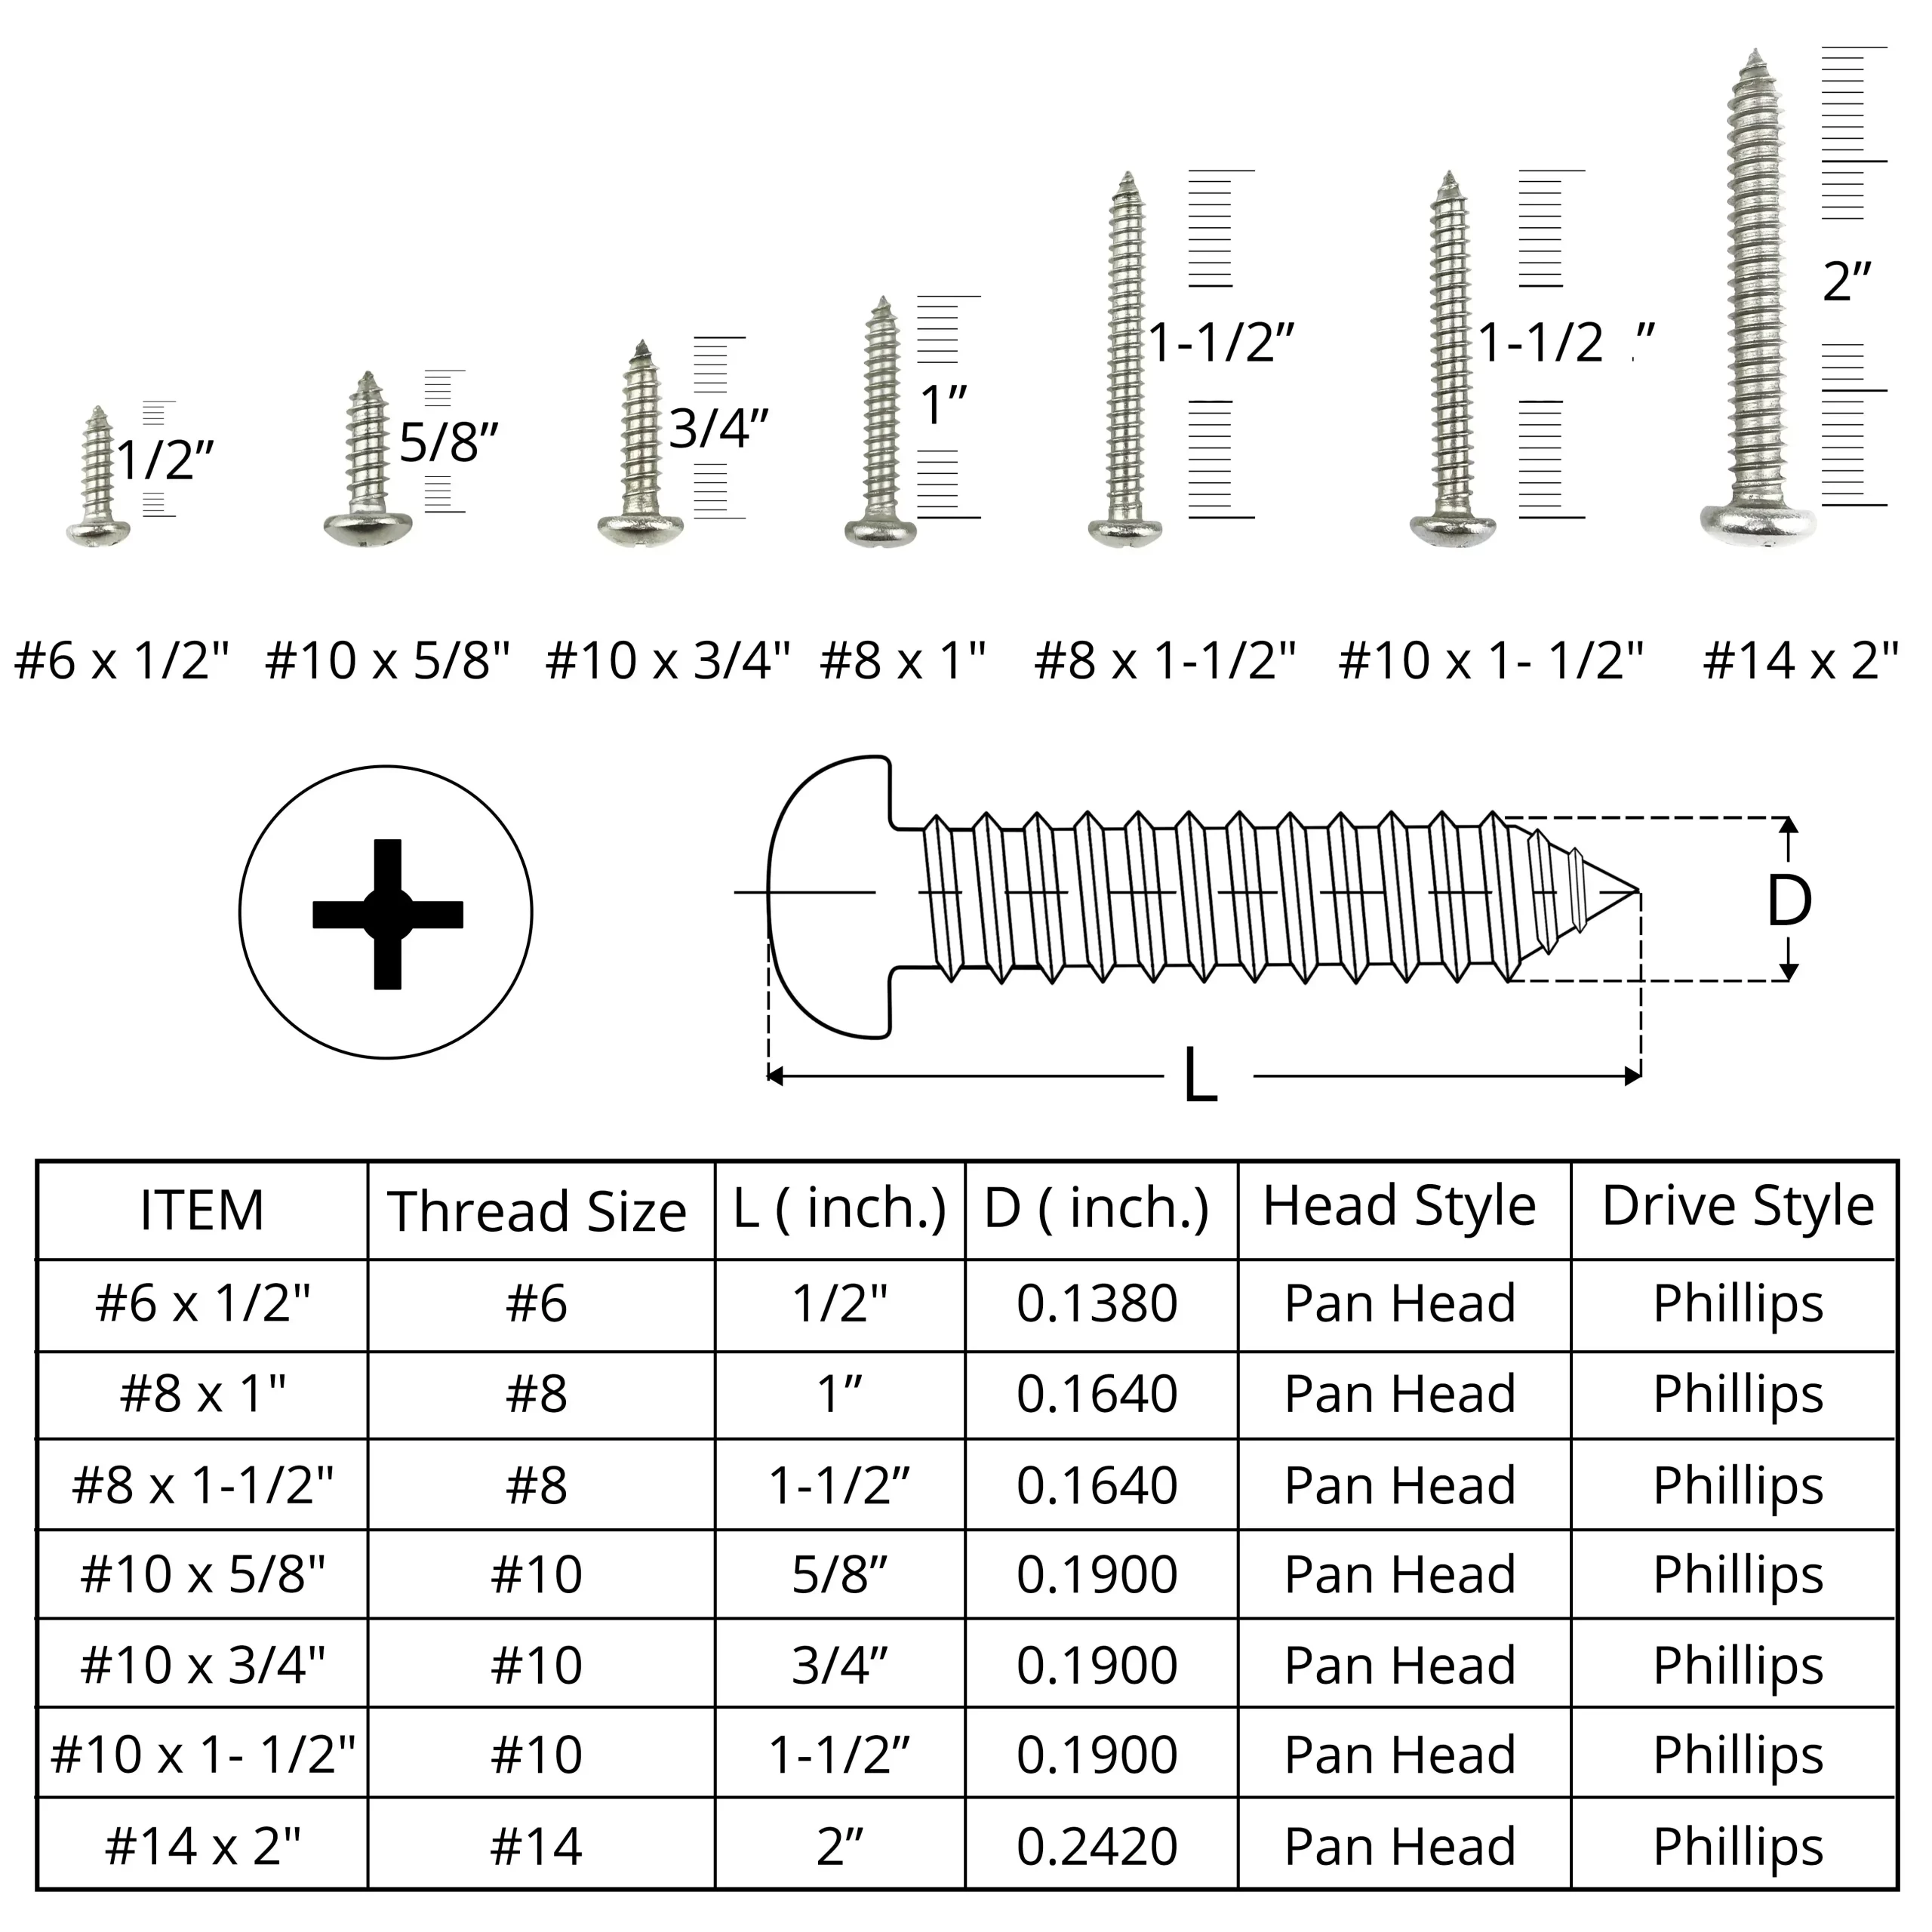
This guide provides a comprehensive overview of drywall screw head sizes, focusing on how to choose the right screw for your project. Understanding the nuances of screw sizes, from gauge and diameter to length and head type, ensures a smooth, secure, and professional-looking finish for any drywall installation.
Decoding Drywall Screw Gauge and Diameter
Choosing the correct drywall screw involves understanding the gauge system, which indicates the screw’s shaft thickness and generally correlates with head diameter. For most drywall projects, #6 and #8 gauge screws are the standard. This seemingly small detail plays a significant role in the structural integrity and final appearance of your drywall.
#6 Gauge Screws: The Standard Choice
6 gauge screws are the workhorses for most standard ½-inch drywall installations. Their head diameter, typically around 3.5mm (0.138 inches), offers a balance of holding power and ease of concealment. This size makes them ideal for creating a smooth finish, as the smaller heads are easier to cover with joint compound.
#8 Gauge Screws: Extra Holding Power
For thicker drywall (like ⅝-inch Type X) or situations requiring added support for heavier items, #8 gauge screws are usually preferred. These have a slightly thicker shaft and a larger head diameter, typically around 4.2mm (0.165 inches). This increased size provides a more robust hold, ensuring your drywall remains secure over time.
Why Head Size Matters
The screw head diameter directly influences countersinking—the process of recessing the screw head into the drywall. A properly countersunk screw head sits flush with the drywall surface, allowing for seamless joint compound application and a smooth finish.
- Over-countersinking: If the screw head goes in too deep, it can weaken the hold and compromise the integrity of the drywall.
- Under-countersinking: If the screw head protrudes, it creates a bump that will show through the joint compound, impacting the final aesthetic.
Choosing the Right Screw Length
Screw length is just as crucial as gauge and diameter. The general rule is that the screw should penetrate the framing member (wood or metal stud) sufficiently to provide a secure hold. Drywall thickness determines the appropriate screw length.
Standard ½-inch Drywall
For standard ½-inch drywall, 1 ¼-inch or 1 ⅝-inch screws are typically adequate. These lengths provide sufficient grip in the framing while avoiding protrusion through the other side.
Thicker Drywall (e.g., ⅝-inch Type X)
Thicker drywall necessitates longer screws, usually 1 ⅜-inch or 1 ⅝-inch for ⅝-inch Type X, to ensure proper anchorage and prevent the drywall from pulling away from the framing over time.
Matching Screw Type to Framing Material
While gauge and length are key considerations, also consider the type of framing you are working with. Coarse-threaded screws are designed for wood studs, while fine-threaded screws are better suited for metal studs. Using the wrong screw type can compromise the hold and make installation more difficult.
Beyond the Basics: Specialized Considerations
While #6 and #8 screws handle most drywall applications, other sizes exist for specific scenarios. For instance, finer gauges might be used for delicate work, while heavier-duty gauges (like #10) are sometimes employed in high-stress areas, although this practice is debated among professionals. Ongoing research suggests that even the screw head shape (e.g., bugle head) can influence holding power and should be considered.
Useful Tools & Resources
- Screw Size Charts: These charts provide detailed information on screw dimensions, including head diameter, shank diameter, and length, for various screw types and standards (e.g., ANSI, ASME).
- Countersinking Tools: Dimple bits or specialized screw gun attachments help achieve consistent and accurate countersinking, ensuring a professional finish.
Troubleshooting Common Issues
- Stripped Screw Heads: This can occur when using the wrong driver size or applying excessive torque. Ensure you are using the correct bit and apply steady, controlled pressure when driving screws.
- Popping Screws: This indicates that the screw has not adequately gripped the framing member. Use longer screws or check for obstructions behind the drywall. If the problem persists, consider using a different screw type or gauge.
Thinking of repainting your galley kitchen with gray blue and beige? Get expert insights on are gray blue and beige colors good for galley kitchen before you take the plunge!
Curious about the energy costs associated with your spacious home? Explore the details of average ac bill for 5000 sq ft house and make informed decisions about your energy consumption.
- The Best Battery Picture Lamps for Effortless Artwork Illumination - April 1, 2025
- Double Sink Bath Vanity Tops: A Buyer’s Guide - April 1, 2025
- Bath Towel Measurements: A Complete Guide to Choosing the Right Size - April 1, 2025


