Want a light switch on one side of the wall and an outlet on the other? This comprehensive guide illuminates the process of wiring a switch and receptacle back-to-back, ensuring safety and code compliance. We’ll cover everything from choosing the right boxes to troubleshooting common problems. Let’s get started!
Choosing the Right Electrical Boxes
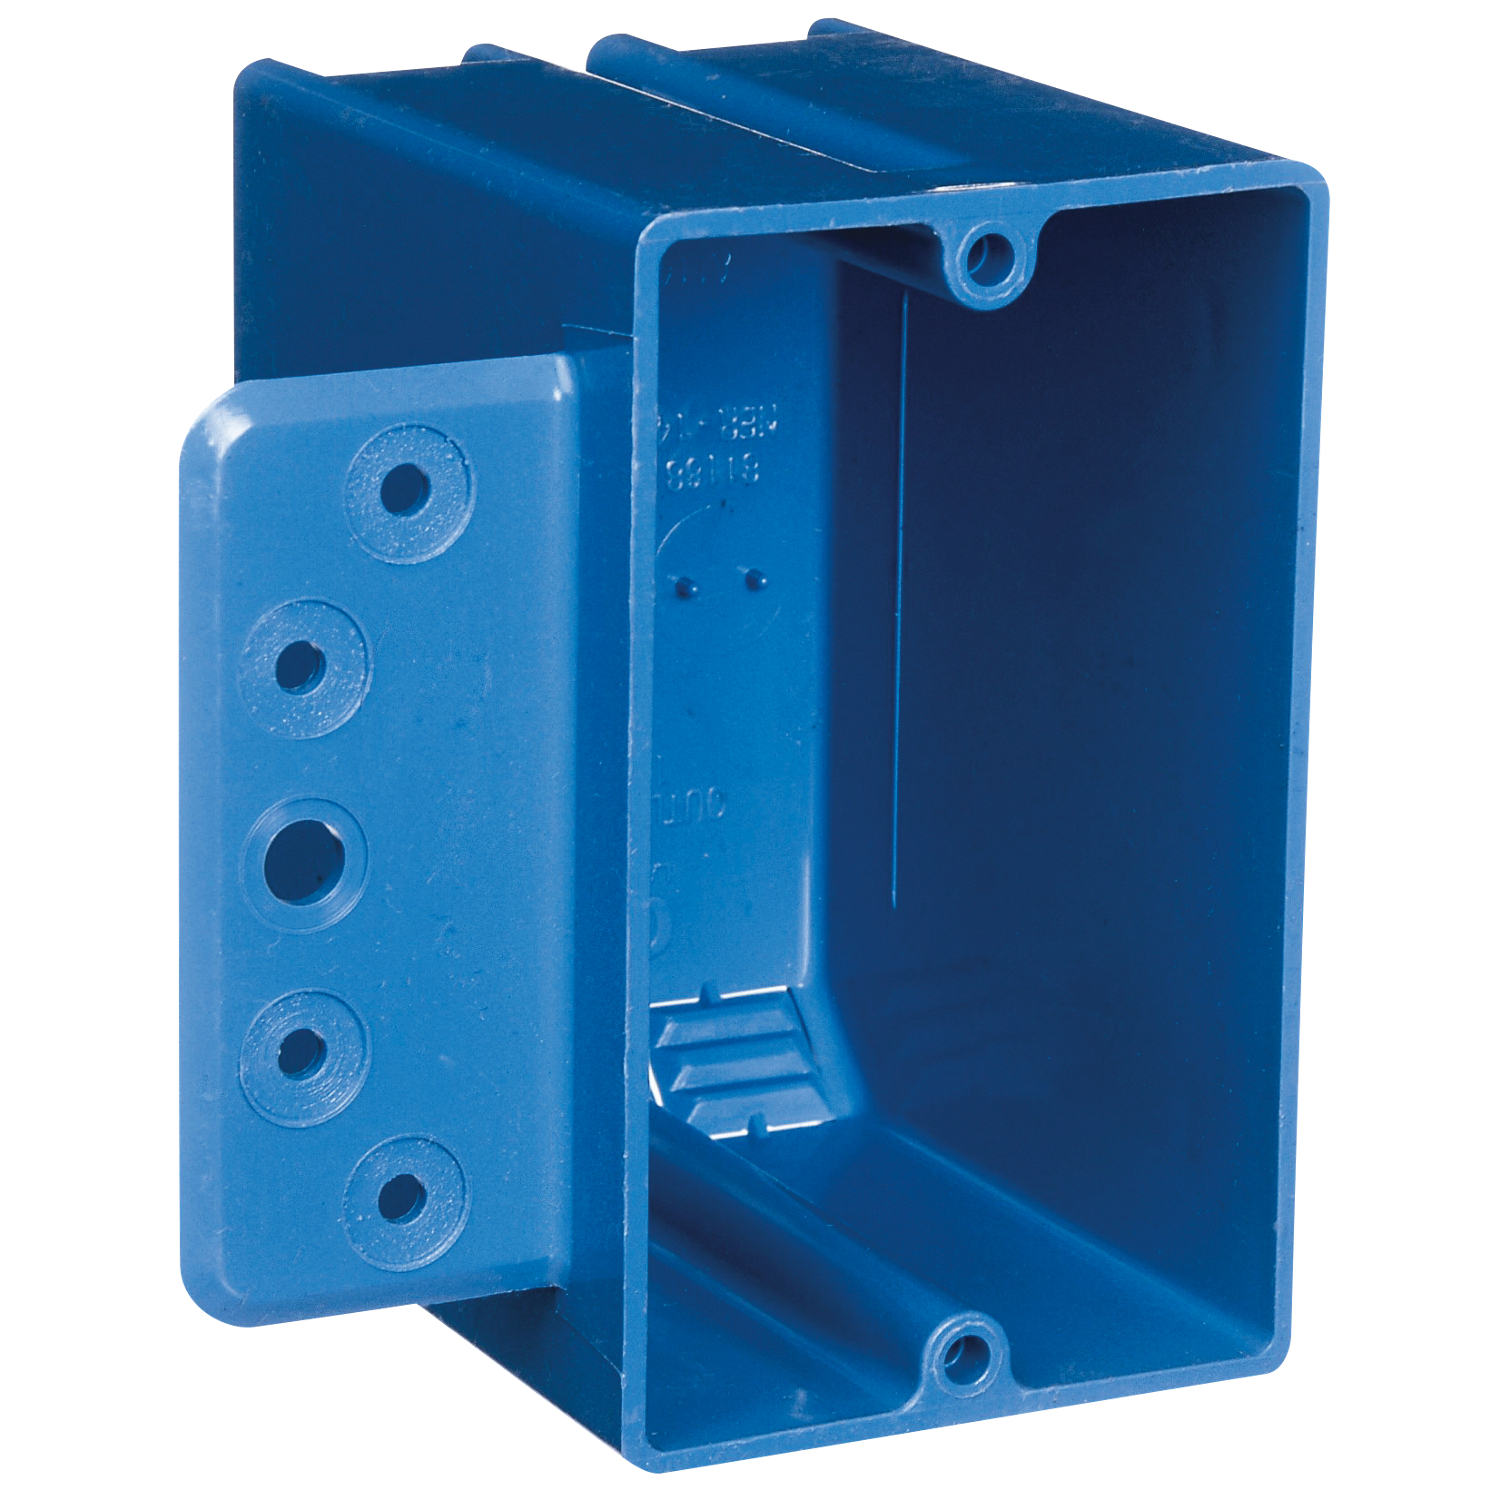
Selecting the correct boxes is crucial for a safe and compliant installation. Both metal and PVC boxes are suitable, each with its own advantages. Metal boxes offer superior durability and grounding, while PVC boxes are lightweight and resistant to rust. Ensure your chosen boxes are deep enough, typically around 1.5 inches, to accommodate the wiring. While two single-gang boxes are the standard for this setup, a double-gang box might work in certain situations, but it’s often less practical.
Here’s a quick comparison:
| Box Material | Advantages | Disadvantages |
|---|---|---|
| Metal | Durable, excellent grounding | Can be more expensive |
| PVC | Lightweight, rust-resistant | Not as sturdy as metal |
Don’t forget the chase nipple! This short conduit creates a protected pathway between the boxes for your wires, ensuring a safe and organized installation.
Prioritizing Safety
Working with electricity demands respect. Before you begin, turn off the power at the breaker box. This is non-negotiable. After disconnecting the power, pay close attention to box fill – avoid overcrowding the box with too many wires, which can create a fire hazard. Ensure all connections are secure and properly grounded. If you encounter any unexpected issues or feel uncertain about any step, consult a qualified electrician. Safety should always come first.
Installing Your Back-to-Back Boxes: A Step-by-Step Guide
- Planning: Determine the precise location for your back-to-back boxes. Consider the wall type (drywall, concrete, etc.) and check for any hidden obstacles like pipes or existing wiring.
- Mounting: Securely mount the boxes to the wall framing using appropriate fasteners. Ensure the boxes are flush with the wall surface for a clean, professional finish.
- Connecting: Join the two boxes using the chase nipple, creating a protected channel for your wiring.
- Wiring: Consult a wiring diagram specific to your setup. Carefully connect the wires to the correct terminals on the switch and receptacle, following the diagram precisely. Don’t improvise! Remember, color-coding is there to help.
- Testing and Finishing: After completing the wiring, carefully restore power at the breaker box. Test both the switch and the receptacle to verify they function correctly. If all is well, install the cover plates.
Troubleshooting Common Issues
Even with meticulous planning, problems can arise. Here are some common issues and their likely solutions:
- No Power: Check your breaker box for a tripped breaker. If the breaker is fine, inspect all wiring connections for loose wires or incorrect connections.
- Switch Malfunction: If the outlet works but the switch doesn’t, the problem likely lies in the switch wiring. Double-check the connections against your wiring diagram.
- Outlet Malfunction: Similarly, if the switch works but the outlet doesn’t, scrutinize the receptacle wiring. Test the outlet with a known working device to rule out a problem with the device itself.
Navigating Code Compliance
Local electrical codes vary, and what’s acceptable in one area might not be in another. For instance, some jurisdictions restrict back-to-back boxes in bathrooms due to moisture concerns, as highlighted in discussions on Mike Holt’s Forum. Another common regulation is the “24-inch rule,” which can impact these installations, although exceptions exist. Always consult your local electrical code or a qualified electrician to ensure compliance. Resources like NEC Connect can help you find relevant codes.
Exploring Alternatives
If back-to-back installation isn’t feasible, consider these alternatives:
- Single, Deeper Box with Divider: This allows both the switch and receptacle within the same box, though not on opposing walls. The Spruce offers more information on box types.
- Separate but Close Installations: Install the switch and receptacle separately but in close proximity. While less aesthetically pleasing, it’s often a practical solution.
Understanding Back-to-Back Box Restrictions
Why are back-to-back boxes often prohibited? The primary reason is fire safety. Back-to-back installations compromise the integrity of fire-rated walls, creating a potential pathway for fire to spread. They also make wiring difficult, increasing the risk of loose connections and overheating. Building codes, such as the International Building Code (IBC), address these concerns by restricting or prohibiting this practice.
Safe Alternatives to Back-to-Back Boxes
Instead of risky back-to-back installations, consider these code-compliant alternatives:
- Offsetting Boxes: Shift one box horizontally by at least 24 inches or vertically to a different stud bay. This maintains the required separation and preserves the wall’s fire resistance.
- Larger Box with Dividers: A single, larger box with internal dividers can sometimes house both devices, provided it meets code requirements for wiring space and fill capacity.
The Importance of Junction Boxes
The box housing your electrical switches and receptacles is called a junction box (also known as an electrical box or gang box). It protects wiring connections, preventing shorts and fire hazards. Junction boxes come in various materials and sizes, each designed for a specific purpose. Choosing the right size and type is crucial for safety and code compliance. Overcrowding a junction box with too many wires is a fire hazard.
| Box Type | Use Case |
|---|---|
| Switch Box | Light switches, dimmers |
| Outlet Box | Receptacles (your everyday plugs) |
| Junction Box | Connecting wires, extending existing circuits |
| Specialty Boxes | Ceiling fans, heavy light fixtures, etc. |
Always consult your local electrical codes before starting any wiring project. For complex scenarios, consult a licensed electrician.
Discover how simple household items can be surprisingly effective: learn how baking soda and vinegar for clogged toilet can help clear plumbing woes, or explore using baking soda and vinegar to unclog toilet for a quick fix.
- The Best Battery Picture Lamps for Effortless Artwork Illumination - April 1, 2025
- Double Sink Bath Vanity Tops: A Buyer’s Guide - April 1, 2025
- Bath Towel Measurements: A Complete Guide to Choosing the Right Size - April 1, 2025


