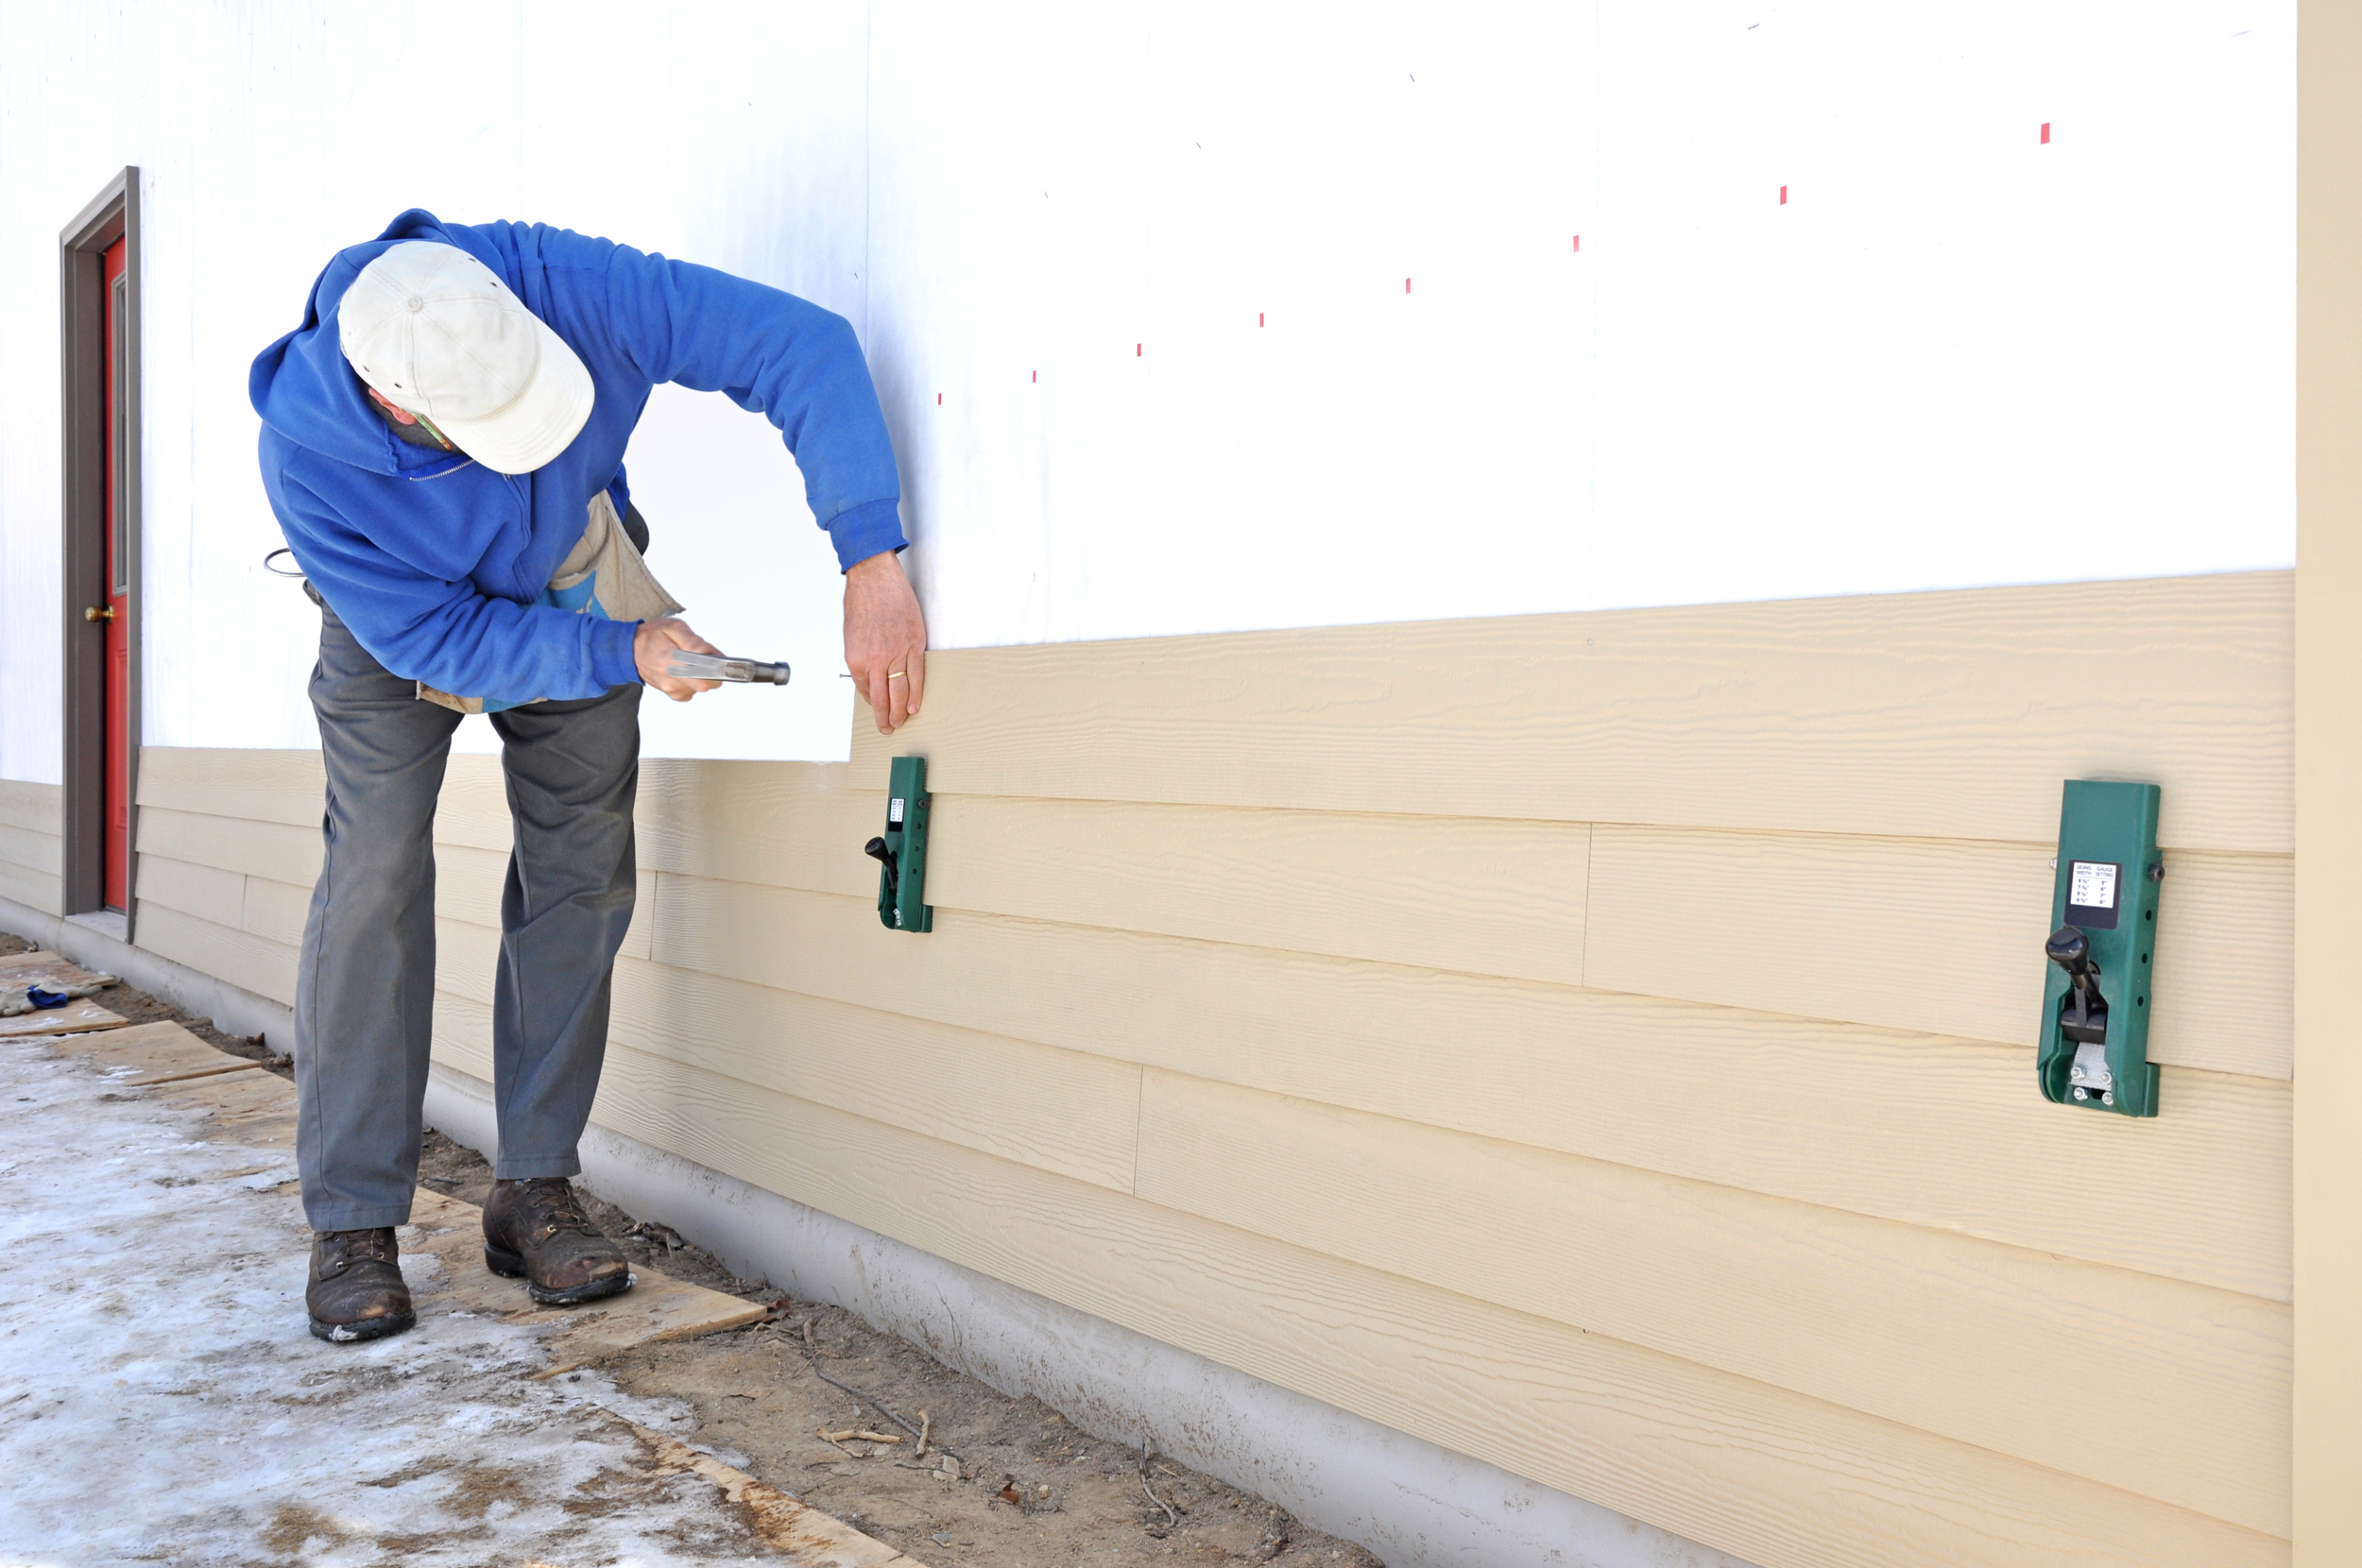
Upgrading your home’s exterior with sconces after the siding is already in place might seem daunting, but it’s entirely achievable with the right approach. This comprehensive guide provides a step-by-step walkthrough, equipping you with the knowledge and techniques to illuminate your home beautifully and safely.
Illuminating Your Home: Planning and Placement
Before grabbing your tools, careful planning is essential. Consider the location of your sconces, balancing aesthetics with functionality. Will they illuminate walkways for safety, highlight architectural details, or create a warm, welcoming ambiance? Visualizing the final effect helps determine optimal placement and sconce design. Gather the necessary tools and materials, including mounting blocks (essential for vinyl siding), exterior-rated screws, wire connectors, caulk, a level, and of course, your chosen sconces. For a more in depth discussion about planning your projects and additions check out our guide regarding adding addition and second floor to pier and beam home.
Essential Tools and Materials
Having the right tools at hand streamlines the process. You’ll likely need:
| Tool/Material | Purpose |
|---|---|
| Drill with appropriate bits | Creating pilot holes and driving screws |
| Screwdriver (Phillips/Flathead) | Driving screws (if your drill lacks this feature) |
| Level | Ensuring straight sconce installation |
| Measuring Tape | Precise measurements and placement |
| Mounting Blocks | Essential for vinyl siding, providing a secure base |
| Exterior-Grade Screws | Weather-resistant fastening |
| Exterior-Grade Silicone Caulk | Sealing gaps to prevent water damage |
| Wire Connectors | Securely joining wires |
| Wire Strippers | Preparing wires for connection |
| Electrical Tape | Insulating wire connections |
| Sconces | The stars of the show! |
| Safety Glasses | Protecting your eyes |
| Work Gloves | Protecting your hands |
Prioritizing Safety: Power Down and Precautions
Working with electricity demands utmost caution. Always turn off the power at the breaker box before starting any electrical work. Double-check to confirm the power is off using a non-contact voltage tester. Familiarize yourself with local building codes, which may have specific requirements for outdoor lighting or necessitate a permit. If you’re uncomfortable working with electricity, consult a qualified electrician.
Sconce Selection and Mounting: A Style Guide
Choosing sconces that complement your home’s style adds a touch of elegance. Consider the material, design, and light output. LED sconces offer energy efficiency and longevity. The mounting process varies slightly depending on your siding type.
Vinyl Siding: Mounting Blocks Are Key
Mounting blocks are crucial for vinyl siding, providing a stable base and preventing damage.
- Locate Studs: Use a stud finder for secure mounting.
- Attach Mounting Blocks: Follow the manufacturer’s instructions, applying caulk around the edges to seal against moisture.
- Mount the Sconce: Attach the sconce to the mounting block using exterior-grade screws.
- Seal: Apply caulk around the sconce base for weatherproofing.
Other Siding Types: Adapting the Approach
For other siding types (wood, fiber cement, etc.), the process differs slightly. Pilot holes may be necessary to prevent splitting. Always use exterior-grade screws and caulk thoroughly. If you have questions check out our handy guide about adding sand to type n mortar. Consult a professional if you are unsure about working with your specific siding.
Wiring Your Sconces: Powering Up Safely
Wiring requires technical expertise. You’ll need to run wiring through the wall cavity or exterior-rated conduit. Ensure proper grounding and secure all connections with wire nuts and electrical tape. Double-check that the power is off at the breaker box before starting any wiring work.
- Route Wires: Carefully run wires to the sconce location.
- Connect Wires: Connect the sconce wiring to the existing electrical system, following color codes (black to black, white to white, ground to ground).
- Secure Connections: Use wire nuts and electrical tape for safe and insulated connections.
- Test: Turn the power back on and check if the sconces are working correctly.
Finishing Touches: A Polished Look
Once installed, inspect your work. Tighten screws, secure connections, and apply a final caulk bead around each sconce for weatherproofing. Clean up any debris and admire your handiwork!
Troubleshooting: Addressing Common Issues
Loose screws or flickering lights often indicate connection problems. If problems persist, consult a qualified electrician. Regular cleaning keeps your sconces looking their best.
Does Electrical Go Before or After Siding?
Ideally, electrical wiring is installed before siding in new construction. This provides easier access and flexibility. However, adding sconces after siding installation is common during renovations. This requires careful planning, precise cutting, and specialized mounting techniques to avoid damage.
Can I Mount a Light Directly on Siding?
Directly mounting lights on siding is discouraged. It can lead to water damage, rot, and electrical hazards. Mounting blocks provide a secure, weatherproof base, protecting both your siding and wiring. Choosing the right mounting block depends on your siding material.
How to Attach Lights to Vinyl Siding
Installing lights on vinyl siding requires mounting blocks for a secure and damage-free installation. Gather necessary tools and materials, prioritizing safety by turning off the power. Plan the layout, install mounting blocks, connect wiring carefully, attach fixtures, seal gaps, and finally, test your new lights.
This comprehensive guide should equip you with the knowledge to install sconces on existing siding successfully. Remember, prioritizing safety and meticulous execution are crucial for a beautifully lit and secure home exterior.
- Dora the Explorer Wipe-Off Fun: Safe & Mess-Free Activities for Little Explorers - April 18, 2025
- Does Lemongrass Repel Mosquitoes? Fact vs. Fiction + How to Use It - April 18, 2025
- Do Woodchucks Climb Trees?Fact vs. Fiction - April 18, 2025


