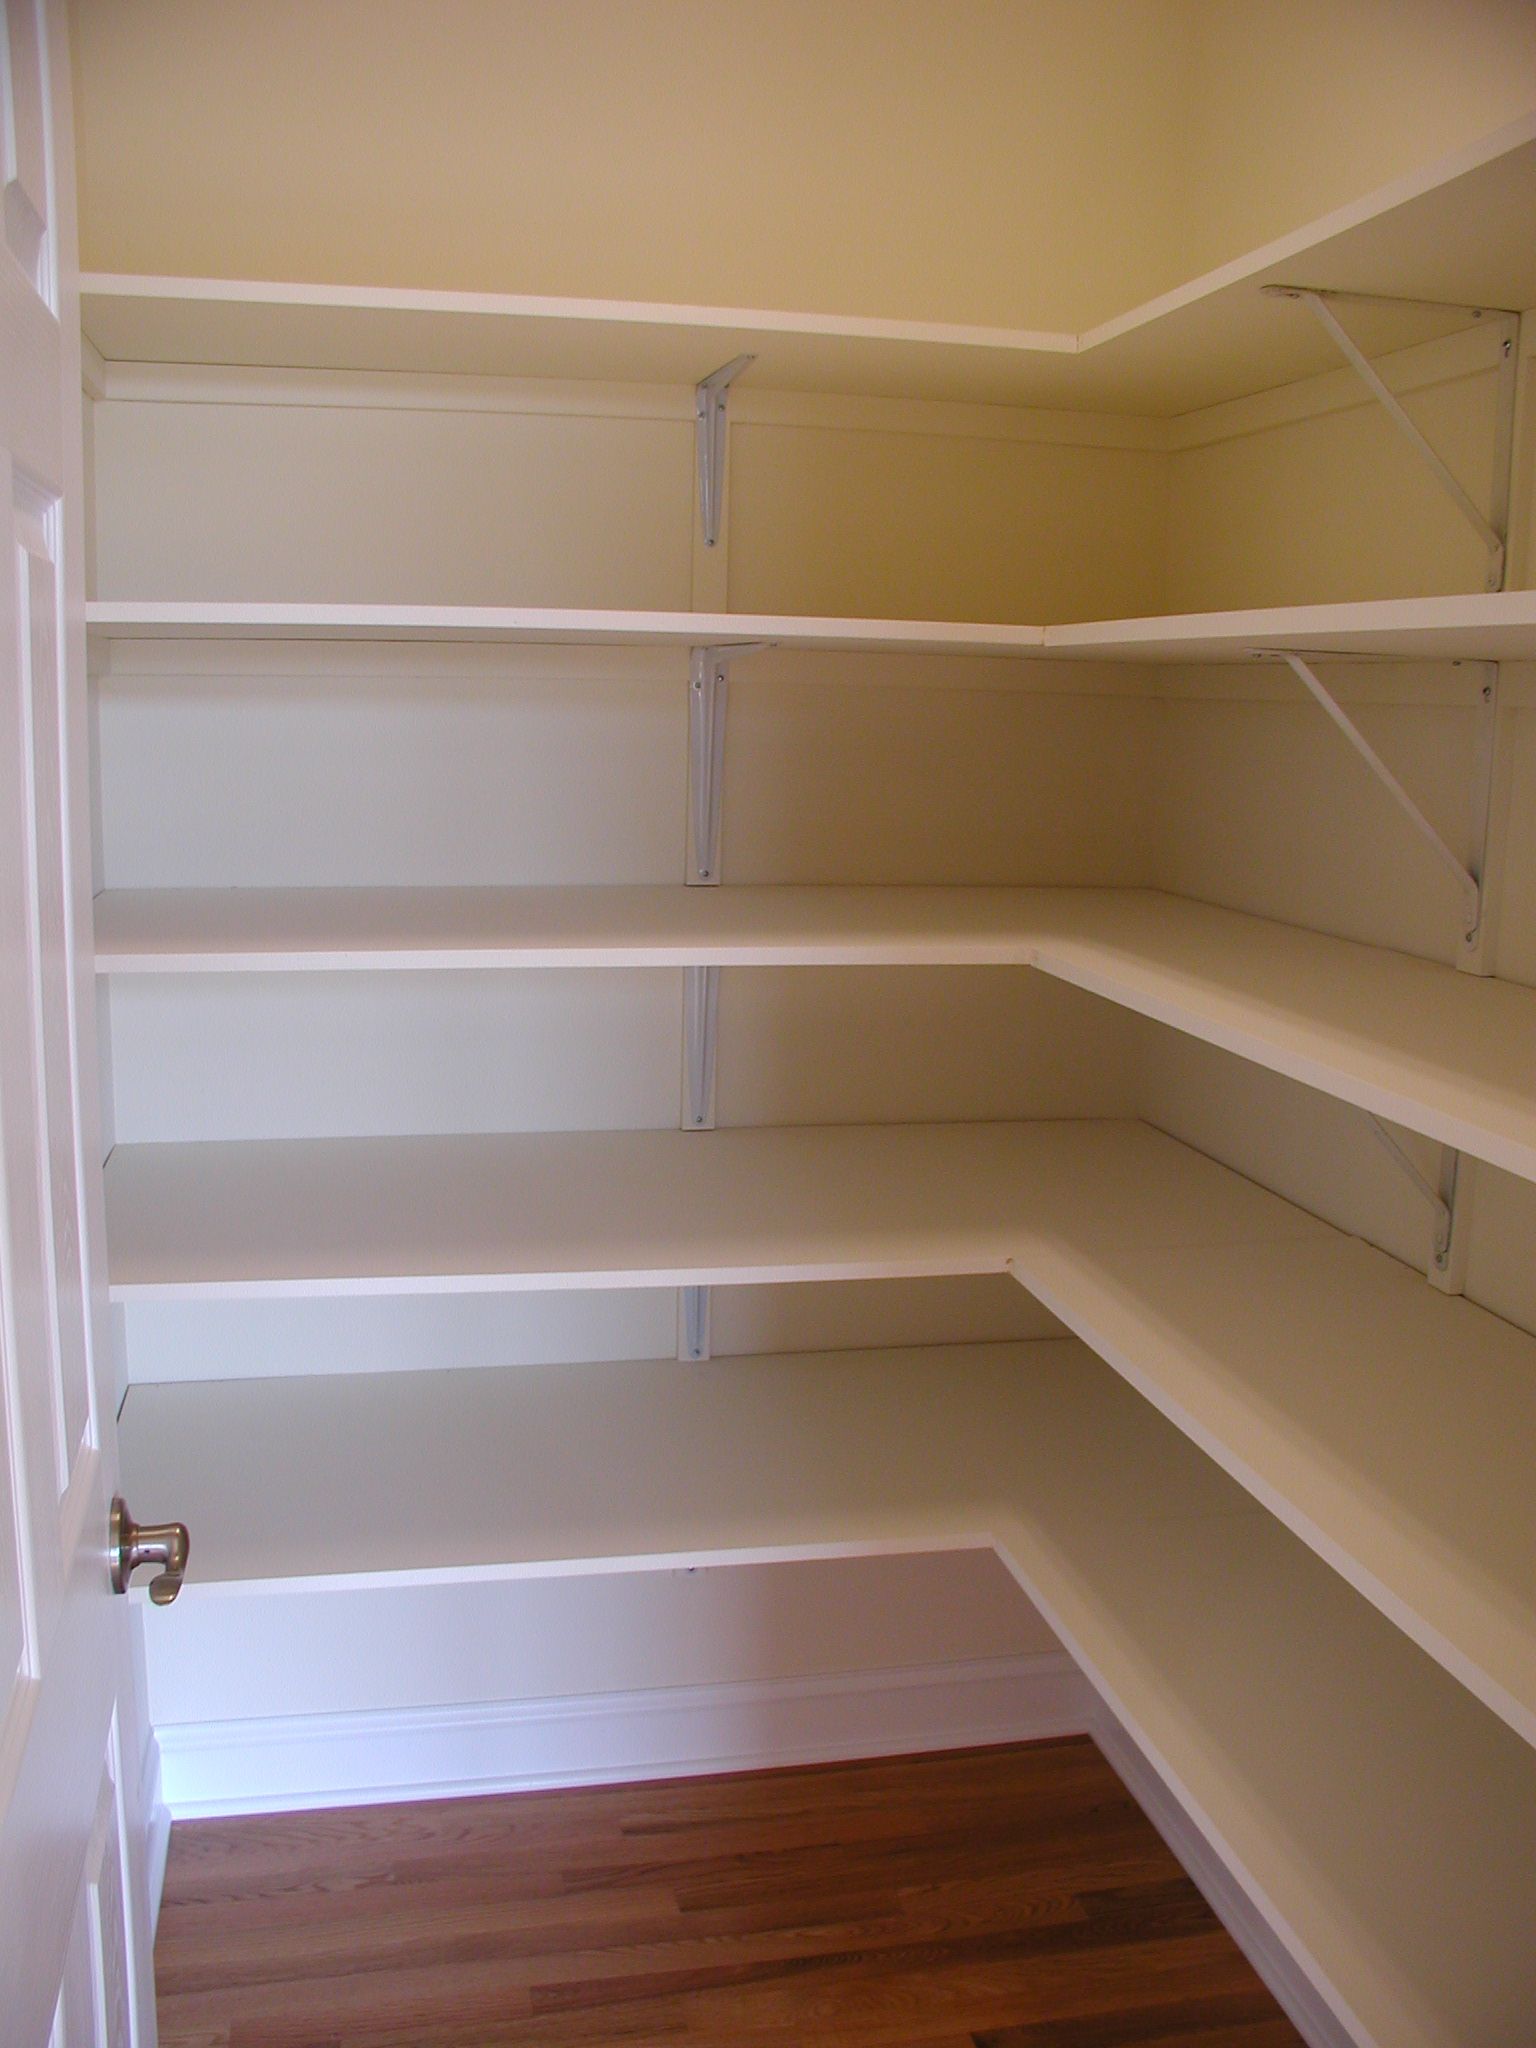
Closet chaos got you down? Ready to transform your storage space? This comprehensive guide will empower you to build custom closet shelves, regardless of your DIY experience or budget. From planning and material selection to construction and advanced techniques, we’ll cover everything you need to know to create a closet you’ll love.
Planning Your Closet Kingdom
Before you grab your tools, meticulous planning is essential. Building a shelf over washer for dryer requires a similar planning phase. Measure your closet precisely, noting every dimension and the location of studs. These studs will provide crucial support for your shelving. Consider the items you’ll be storing to determine the ideal shelf spacing. Finally, sketch your design—a visual roadmap for your project.
Mapping Your Closet Space
- Accurate Measurements: Precise measurements are paramount. Double-check your figures to avoid costly mistakes later. Even a small discrepancy can throw off your entire project, so measure twice, or even thrice!
- Stud Location: Studs are the structural backbone of your walls. Locating and marking them ensures your shelves have the necessary support. A stud finder can simplify this process.
- Inventory and Spacing: Catalog the items you plan to store. Bulky sweaters require more space than folded t-shirts. This inventory will inform your shelf spacing decisions.
- Design Sketch: Whether on paper or digital, a sketch helps visualize your design and serves as a reference throughout the building process.
Choosing the Right Materials
Material selection hinges on budget, aesthetics, and durability requirements. Each material has its own advantages and disadvantages:
Exploring Material Options
- Plywood: Known for strength and durability, plywood is a workhorse material capable of handling heavier loads. It’s a great all-around choice for various closet shelving needs.
- MDF: Medium-density fiberboard (MDF) offers a smooth, uniform surface ideal for painting. It’s a good choice for a sleek, modern finish, but may require additional support for heavier items.
- Melamine: A budget-friendly option, melamine is easy to clean and comes in various finishes. It’s a practical choice for everyday storage, especially for lighter items.
- Pine: Pine provides a classic, natural look. It’s a sturdy option but may require more finishing work than other materials.
- Metal Wire: Lightweight and offering good ventilation, metal wire shelving is best suited for shoes, lighter items, or spaces requiring airflow.
For a deeper dive into wood selection, check out our article on the best wood for closet shelves.
| Material | Cost | Durability | Appearance | Potential Uses |
|---|---|---|---|---|
| Plywood | Medium | High | Versatile | Books, heavier items, general storage |
| MDF | Medium-Low | Medium | Smooth | Painted shelves, lighter items |
| Melamine | Low | Medium-Low | Modern | Clothes, linens, pantry items |
| Pine | Medium-High | High | Classic | Display shelves, decorative storage |
| Metal Wire | Low | Low | Utilitarian | Shoes, ventilated storage, lightweight items |
Gathering Your Tools
You don’t need a professional workshop to build closet shelves. The essential tools are:
- Saw: For cutting wood to the desired lengths. A circular saw or miter saw provides clean, accurate cuts.
- Drill: Essential for creating pilot holes and driving screws. A drill with a screwdriver bit attachment enhances versatility.
- Screwdriver: While a drill can handle screwing, a dedicated screwdriver offers better control in certain situations.
- Measuring Tape: Accurate measuring is crucial throughout the project.
- Level: Ensures your shelves are perfectly horizontal. A leaning shelf is not only unsightly but also potentially unstable.
Optional tools for a more refined finish include a sander and paint sprayer.
Building Your Shelves
With your plan, materials, and tools assembled, the construction phase can begin:
Step-by-Step Construction
- Measure and Cut: Precision is key. Double-check your measurements before making any cuts to avoid costly errors.
- Sand (Optional): Sanding smooths rough edges and prepares the surface for finishing. This step enhances both the look and feel of your shelves.
- Finishing Touches: Apply paint, stain, or a clear coat to protect the wood and match your closet’s aesthetic.
- Support System: Securely attach supports to the studs. These supports form the framework for your shelves. Use appropriate screws and ensure they are firmly in place.
- Shelf Installation: Attach the shelves to the supports, using a level to ensure they are perfectly horizontal.
Budget Considerations
Building your own shelves is a cost-effective storage solution. Basic materials can cost under $100, significantly less than pre-fabricated systems. Our article discussing the cost of building a closet versus buying one is it cheaper to build your own closet? delves deeper into this topic.
Design Inspiration
Don’t limit yourself to basic horizontal shelves. Unleash your creativity!
Creative Closet Design
- Angled Shoe Shelves: Keep your footwear organized and visible.
- Cubbies: Perfect for sweaters, handbags, or other folded items.
- Vertical Maximization: Floor-to-ceiling shelves maximize storage capacity.
- Drawers: Integrate drawers for smaller items like socks and accessories.
Advanced Techniques
For experienced DIYers, consider these advanced techniques:
Elevating Your Closet Design
- Built-in Drawers: Add sophistication and hidden storage.
- Integrated Lighting: Illuminate your wardrobe and make finding items easier.
- Sliding Doors: Create a sleek, modern look while saving space.
Accessibility and Inclusivity
Design your shelves to be accessible to everyone:
Designing for All
- Adjustable Shelves: Accommodate varying needs and item sizes.
- Pull-out Organizers: Make reaching items at the back easier.
Enhance Your Home Further
Transform your basement with a stylish and safe railing by learning how to build basement railing.
By following this comprehensive guide, you can transform your closet from a chaotic mess into an organized and stylish storage space. Remember, careful planning and attention to detail are crucial for success. Happy building!
- The Best Battery Picture Lamps for Effortless Artwork Illumination - April 1, 2025
- Double Sink Bath Vanity Tops: A Buyer’s Guide - April 1, 2025
- Bath Towel Measurements: A Complete Guide to Choosing the Right Size - April 1, 2025


