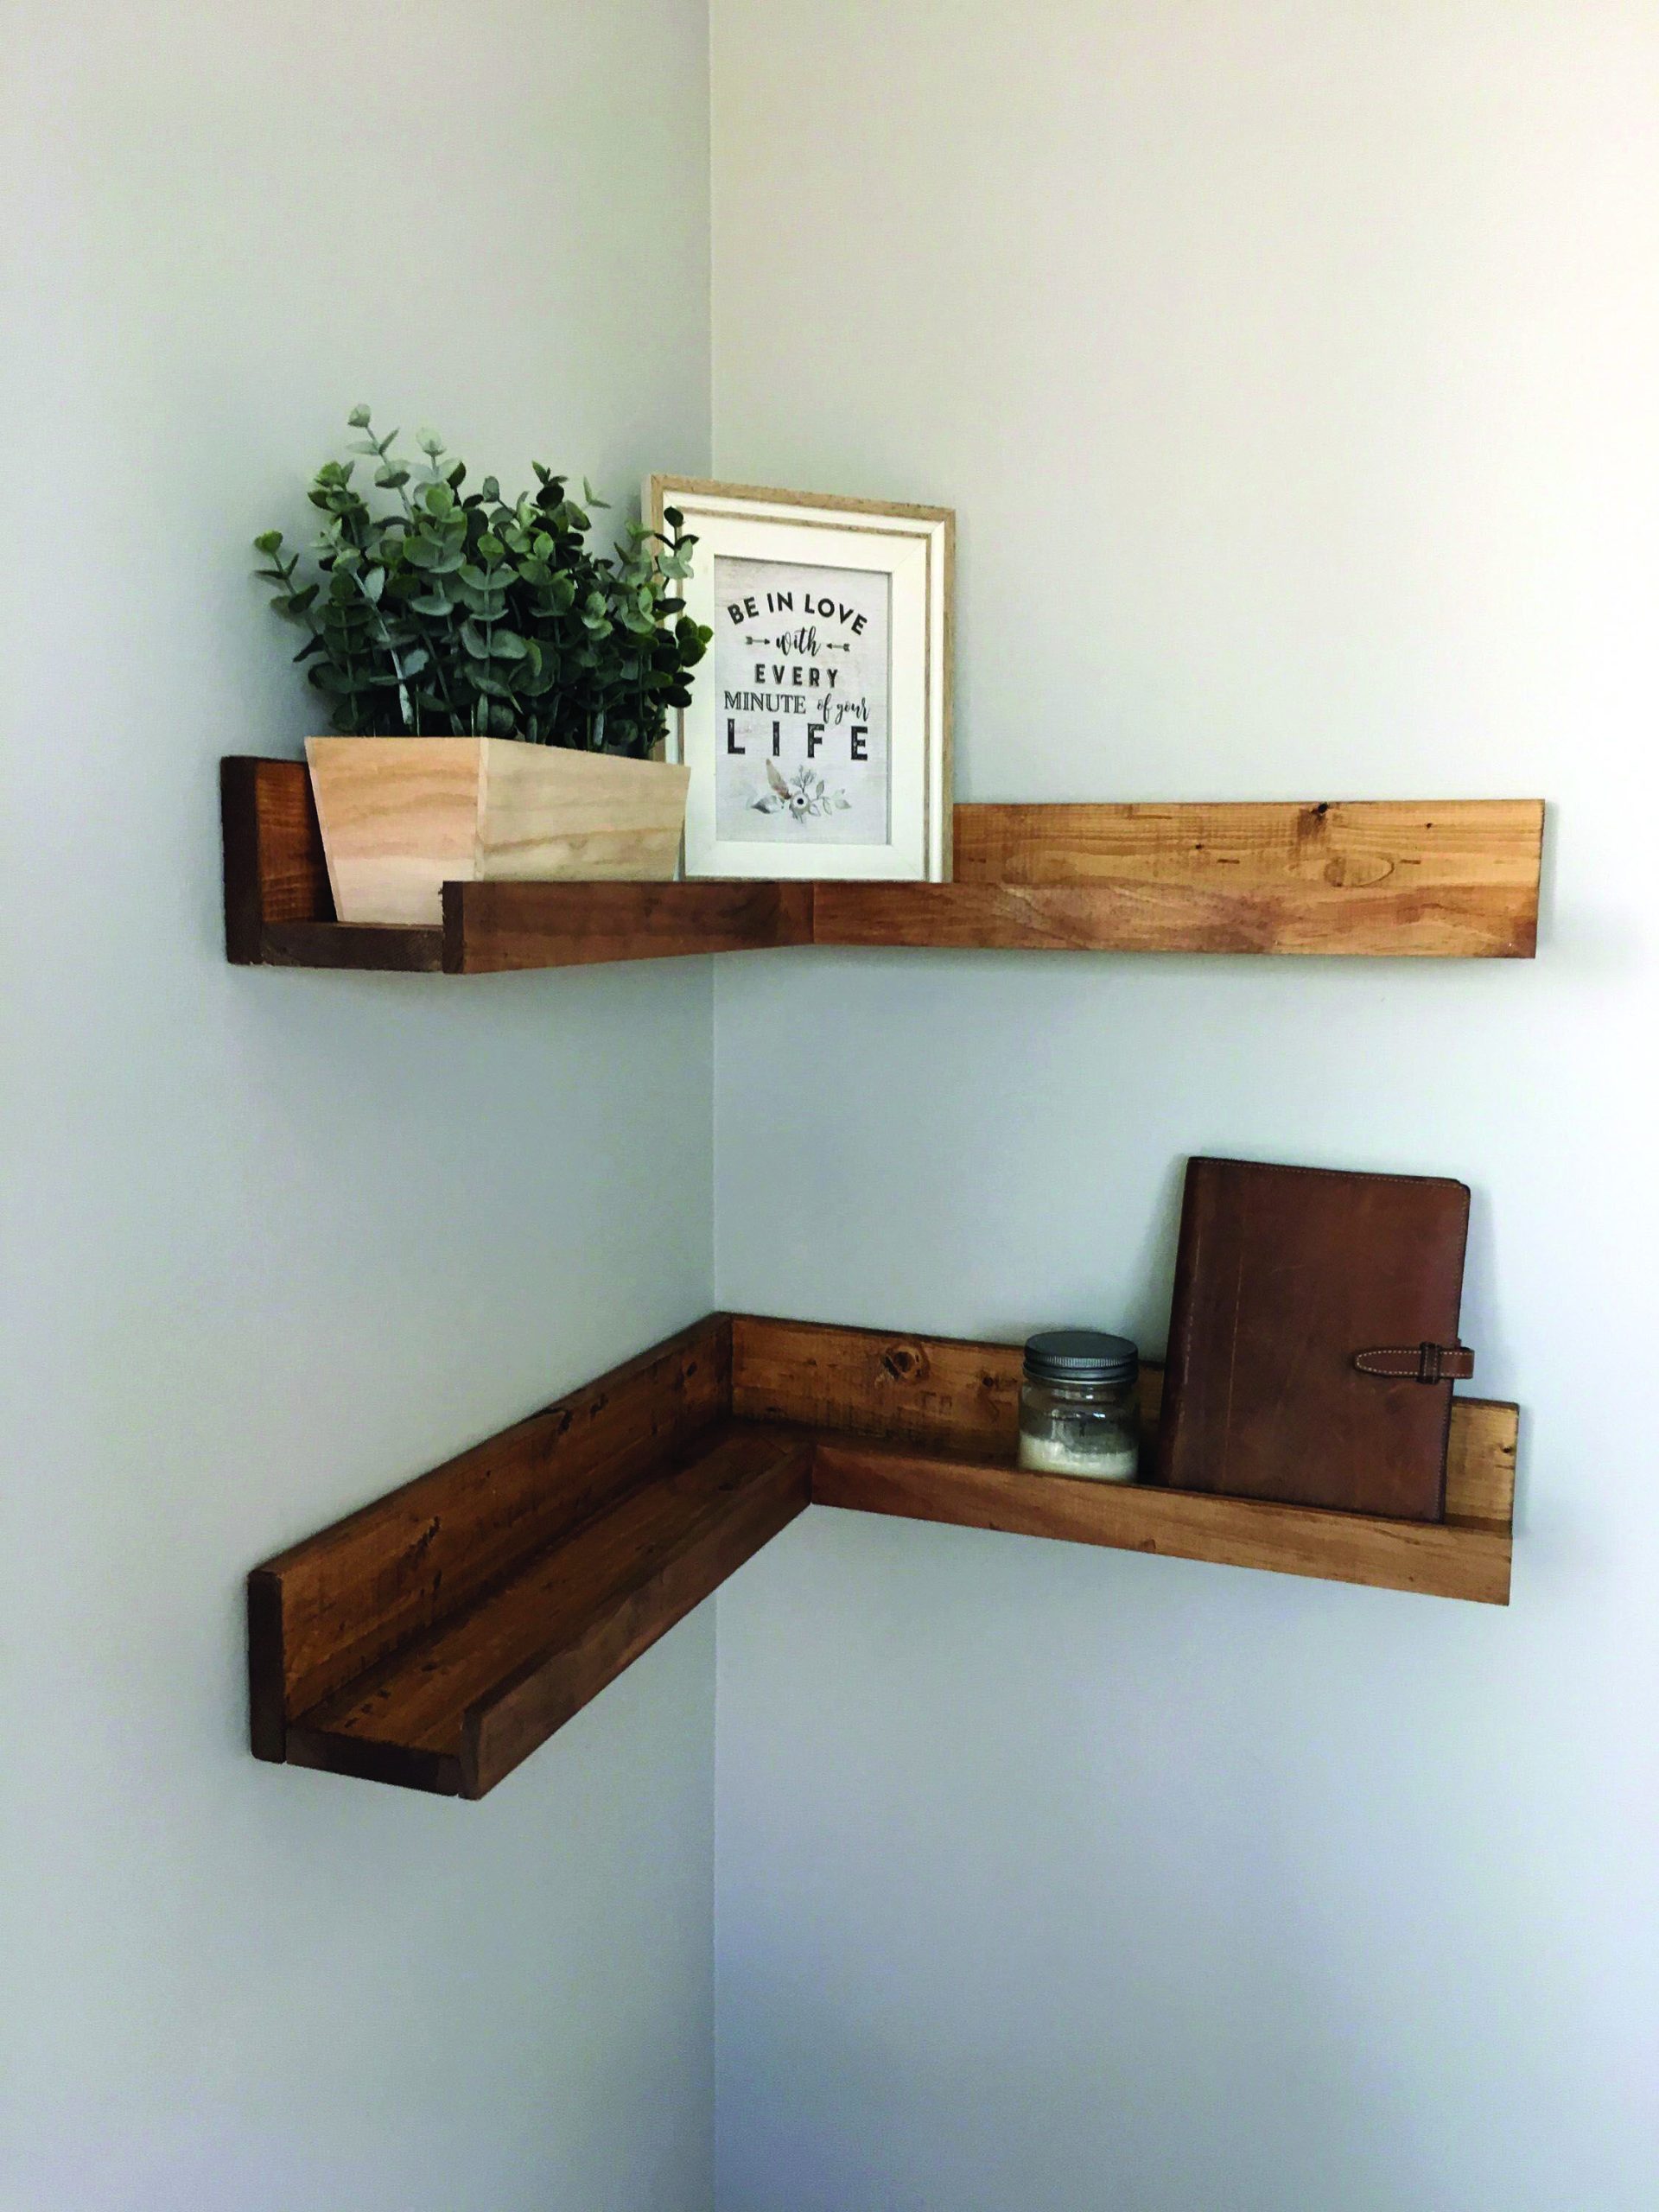
Got those awkward empty corners collecting dust? Transform them into stylish displays with floating corner shelves! This guide covers everything from choosing the right shelf to styling it like a pro. Whether you’re aiming for minimalist chic or cozy functionality, we’ll help you conquer those corners and make them a highlight of your room.
Choosing the Perfect Shelf
Selecting the right shelf involves balancing aesthetics and practicality. Consider these factors:
Material Matters
- Wood: Offers warmth and versatility, fitting rustic, modern, or traditional styles.
- Metal: Provides a sleek, industrial, or modern look.
- Glass: Creates a minimalist and contemporary feel.
- Acrylic: A modern, transparent option.
- Stone: A unique and bold statement.
Transform your living space with the captivating allure of faux stone interior wall.
Size and Shape
- Measure Your Corner: Accurate measurements are crucial for a proper fit.
- Shape Up: Triangular shelves maximize corner space. Curved shelves soften angles. L-shaped shelves offer versatility, particularly when joined to wrap around a corner.
Weight Capacity
Check the manufacturer’s specifications. A sturdy shelf is essential for heavier items like books, while a delicate glass shelf might suffice for lighter décor.
Installing Your Shelf: A Step-by-Step Guide
Installing floating corner shelves is a manageable DIY project with the right preparation.
Finding Studs and Anchors
- Stud Finder: Locate studs for optimal support, especially for heavier items.
- Wall Anchors: Essential if studs aren’t available, providing a secure hold in drywall or plaster. Choose the appropriate anchor for your wall type (toggle bolts for drywall, wall plugs for plaster, concrete screws for concrete, masonry anchors for brick).
Placement and Pre-Drilling
- Level Up: Use a spirit level to ensure the shelf is perfectly horizontal. Mark attachment points precisely.
- Pre-Drilling: Essential for harder walls like concrete, preventing cracks and easing screw insertion.
Bracket Installation and Mounting
- Bracket Power: Most floating shelves use hidden brackets. Follow the manufacturer’s instructions for proper installation.
- The Grand Finale: Slide the shelf onto the brackets. Verify it’s flush, level, and secure.
Corner Considerations and Weight Distribution
- Corner Challenges: Accurate measurements and a level are critical, especially when joining L-shaped shelves.
- Weighty Matters: Distribute weight evenly, with heavier items closer to bracket supports. Never exceed the manufacturer’s weight limit.
Styling Your Shelves: Tips and Tricks
Now for the fun part!
Mixing, Matching, and Breathing Room
- Variety is Key: Combine items of different heights, textures, and colors.
- Less is More: Avoid overcrowding. Let your items “breathe.”
Thematic Displays and Lighting
- Theme It: Create a cohesive look by grouping items with a common theme.
- Light it Up: Add LED lights to enhance the display and create ambiance.
Troubleshooting
- Wobbly Shelf: Check brackets and screws. Consider stronger wall anchors.
- Concrete Woes: Use a masonry bit and appropriate anchors. A hammer drill can be helpful.
Are Floating Shelves Still Trendy in 2024?
Floating shelves haven’t disappeared, but their popularity has likely plateaued. They can still look fantastic, but thoughtful design is crucial. Avoid overuse and consider alternatives like modular shelving, open shelving with visible hardware, or mixed-media shelving (combining wood, metal, and glass).
Tips for Modern Floating Shelves in 2024:
- Quality over Quantity: Fewer, larger, high-quality shelves make a bigger impact.
- Go Big: Oversized shelves create a statement piece.
- Curate Your Display: Avoid clutter. Choose a few key items to showcase.
- Strategic Placement: Highlight architectural features or utilize small spaces effectively.
- Experiment: Mix and match shelving styles for a personalized look.
How to Hang a Floating Corner Shelf
Hanging a floating corner shelf is similar to installing regular floating shelves, but with a few key differences.
Choosing the Right Shelf and Hardware
- Variety: Consider hidden brackets for a minimalist look or decorative supports for a different aesthetic.
- Weight Capacity: Choose a shelf that can handle the intended weight.
- Wall Anchors: Crucial for secure installation. Match the anchor to your wall type.
Step-by-Step Corner Shelf Installation:
- Preparation: Locate studs or choose appropriate anchors. Mark shelf placement on both walls, ensuring they’re level and aligned.
- Bracket Installation: Pre-drill holes and attach brackets securely, verifying they’re level.
- Shelf Attachment: Depending on the shelf type: slide onto hidden brackets or attach with provided hardware.
- Finishing Touches: Check stability and load capacity.
Troubleshooting Corner Shelf Challenges
- Wobbly Shelf: Tighten screws and consider stronger anchors.
- Uneven Corners: Use shims to fill gaps and create a level surface.
- Concrete Walls: Use a masonry bit and a hammer drill for effective installation. Always prioritize safety and follow manufacturer’s instructions.
Does IKEA Offer Corner Shelves?
IKEA doesn’t sell dedicated corner shelf units, but they offer versatile options for creating custom corner shelving.
IKEA Options for Corner Shelving
- LACK Hack: The smallest LACK shelf (11 3/4″ x 10 1/4″) can be easily adapted to fit corners.
- Other Shelves + Brackets: Combine IKEA floating shelves with corner brackets for a customized look.
Installing IKEA Corner Shelves
- Gather Materials: Shelves, brackets, drill, screws, level, pencil, wall anchors.
- Prepare Walls: Locate studs or use wall anchors. Mark shelf positions, ensuring alignment and level placement.
- Install Brackets: Pre-drill and attach brackets securely.
- Mount Shelves: Attach shelves to brackets based on the specific hardware.
- Admire: Style your new shelves!
Styling and Troubleshooting IKEA Corner Shelves
- Styling: Mix heights and textures. Avoid overcrowding. Add lighting for a focal point.
- Troubleshooting: Address wobbly shelves with stronger anchors and uneven corners with shims.
By following these guidelines, you can successfully transform those unused corners into stylish and functional displays. Happy decorating!
- Dora the Explorer Wipe-Off Fun: Safe & Mess-Free Activities for Little Explorers - April 18, 2025
- Does Lemongrass Repel Mosquitoes? Fact vs. Fiction + How to Use It - April 18, 2025
- Do Woodchucks Climb Trees?Fact vs. Fiction - April 18, 2025


