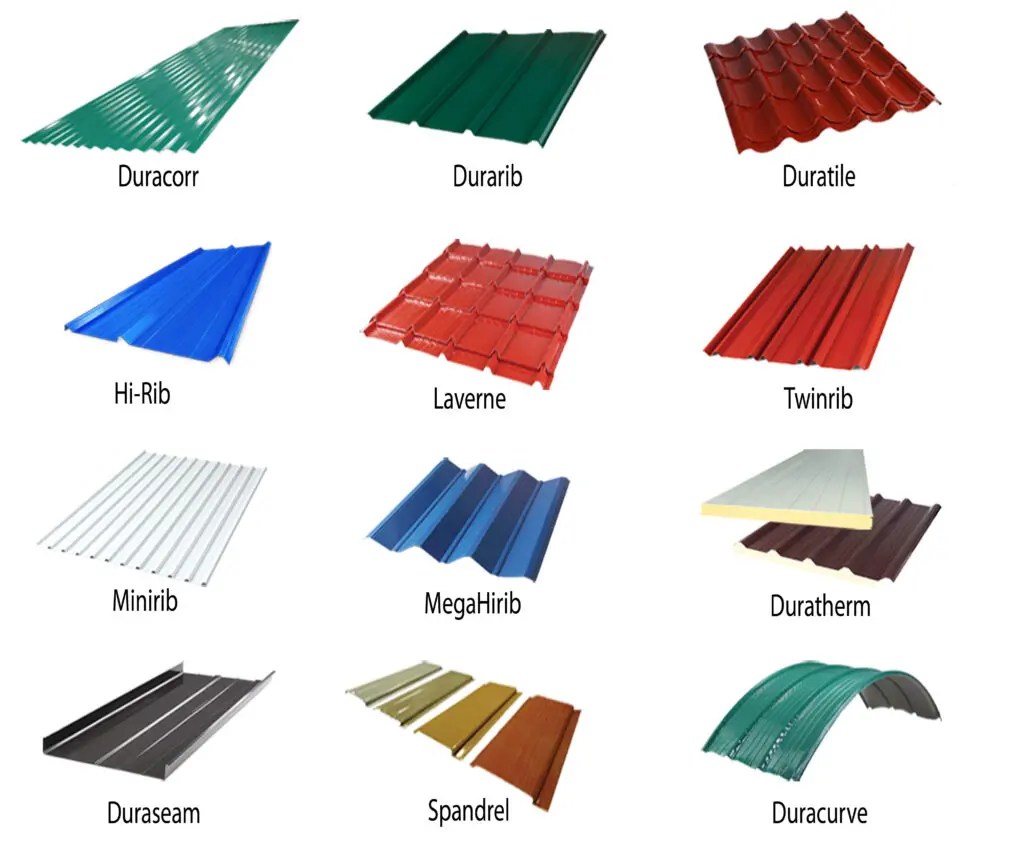
Giving your tin roof a fresh coat of paint not only boosts your home’s curb appeal but also adds years to its life. This guide provides a practical, step-by-step tutorial, empowering you to tackle this DIY project with confidence.
1. Inspect and Prep Your Roof
Before grabbing a paintbrush, inspect your roof like a pro. Look for rust, loose screws, or damage. Addressing these now prevents future headaches. Small repairs, like replacing screws or patching holes, significantly extend your roof’s lifespan. Check out our guide on painting aluminum for insights on prepping similar materials. For stubborn coatings on steel, explore effective paint remover steel techniques.
Initial Inspection
Thoroughly examine your roof for rust, loose screws, damage, and debris. Note any areas needing attention.
Cleaning: The Foundation
A clean surface is crucial for proper paint adhesion.
- Power Washing: The most efficient cleaning method. Use a mild detergent and follow manufacturer instructions. Eye protection and gloves are a must.
- Manual Cleaning: For stubborn grime or hard-to-reach areas, scrub with a stiff-bristled brush and cleaning solution.
Rust Removal: Fight the Corrosion
Rust is the enemy of a lasting paint job.
- Mechanical Removal: Use a wire brush, sandpaper, or a drill with a wire wheel attachment to remove rust down to bare metal. For larger areas, a grinder with a wire wheel may be suitable, but use with caution.
- Chemical Conversion: Apply a rust converter to any remaining rust. This transforms the rust into a stable, paintable compound.
Repairs: Patching and Securing
Address any damage discovered during the inspection. Replace loose screws and patch holes with a high-quality metal roofing sealant.
2. Prime and Protect
Priming is essential for paint adhesion and rust prevention. Choose a metal-specific primer. Consult your local paint store for recommendations based on your climate and chosen paint. Allow ample drying time between steps, following manufacturer instructions.
Priming: The Essential Undercoat
Apply a metal-specific primer to create a smooth, uniform surface for optimal paint adhesion and added rust protection.
Protecting Your Surroundings
Safeguard plants, windows, and other surfaces with drop cloths secured by painter’s tape.
3. Paint Selection and Application
Choosing the right paint and applying it correctly ensures a durable and beautiful finish.
Choosing the Right Armor
Opt for a high-quality, exterior-grade acrylic latex paint designed for metal roofs. Lighter colors reflect sunlight, keeping your house cooler. Ensure compatibility with your primer. Consider specialized metal roof paints for superior adhesion and weather resistance.
Applying the Paint
Apply thin, even coats, allowing each to dry completely before the next. Two coats are generally recommended.
- Roller: Covers large areas quickly.
- Brush: Best for detail work and edges.
- Sprayer: Efficient but requires more skill and setup.
4. Tools, Costs, and Safety
Having the right tools, understanding costs, and prioritizing safety are vital for a successful project.
Tools and Materials: Your Roofing Toolkit
- Pressure washer (or garden hose and scrub brush)
- Wire brush or sandpaper
- Rust-inhibiting primer
- Metal roof paint (acrylic latex recommended)
- Roller, brush, or sprayer
- Drop cloths or plastic sheeting
- Painter’s tape
- Safety glasses
- Gloves
- Sturdy ladder
- Respirator (especially when using a sprayer)
Cost Considerations: DIY vs. Professional
DIY saves on labor, but factor in paint, primer, and tool costs. Professional painting ranges from $1.20-$2.72 per square foot, depending on location and complexity. DIY paint costs are around $0.25-$0.50 per square foot, excluding additional materials.
Safety First: Protecting Yourself
Prioritize safety! Wear appropriate safety gear, including gloves, safety glasses, and a respirator. Use a stable ladder and have someone hold it steady.
5. Troubleshooting and FAQs
Anticipating potential issues and answering common questions ensures a smooth painting process.
Potential Problems: Troubleshooting Tips
- Peeling Paint: Likely indicates inadequate surface preparation. Ensure thorough cleaning and drying before painting.
- Rust Formation: Suggests insufficient primer or incomplete rust removal.
- Leaks: Check for loose screws or damaged flashing.
FAQ: Your Burning Questions Answered
- Can I paint directly over rust? No, remove all rust before priming and painting.
- How often should I repaint my tin roof? Generally, every 5-10 years, depending on climate and paint quality. Ongoing research may suggest changes to this timeframe.
- What’s the best time of year to paint a tin roof? Mild, dry weather. Avoid extreme heat or cold.
Maintaining Your Painted Tin Roof
Regular maintenance keeps your roof looking its best. Clean your roof every 6-12 months and inspect for any signs of damage, rust, or peeling paint. Repainting every 5-10 years is recommended, though this can vary based on local climate and paint type.
By following these steps, you’ll transform your tin roof, enhancing your home’s appearance and protecting it for years to come. Remember, proper preparation is crucial for a successful paint job.
- Dora the Explorer Wipe-Off Fun: Safe & Mess-Free Activities for Little Explorers - April 18, 2025
- Does Lemongrass Repel Mosquitoes? Fact vs. Fiction + How to Use It - April 18, 2025
- Do Woodchucks Climb Trees?Fact vs. Fiction - April 18, 2025


