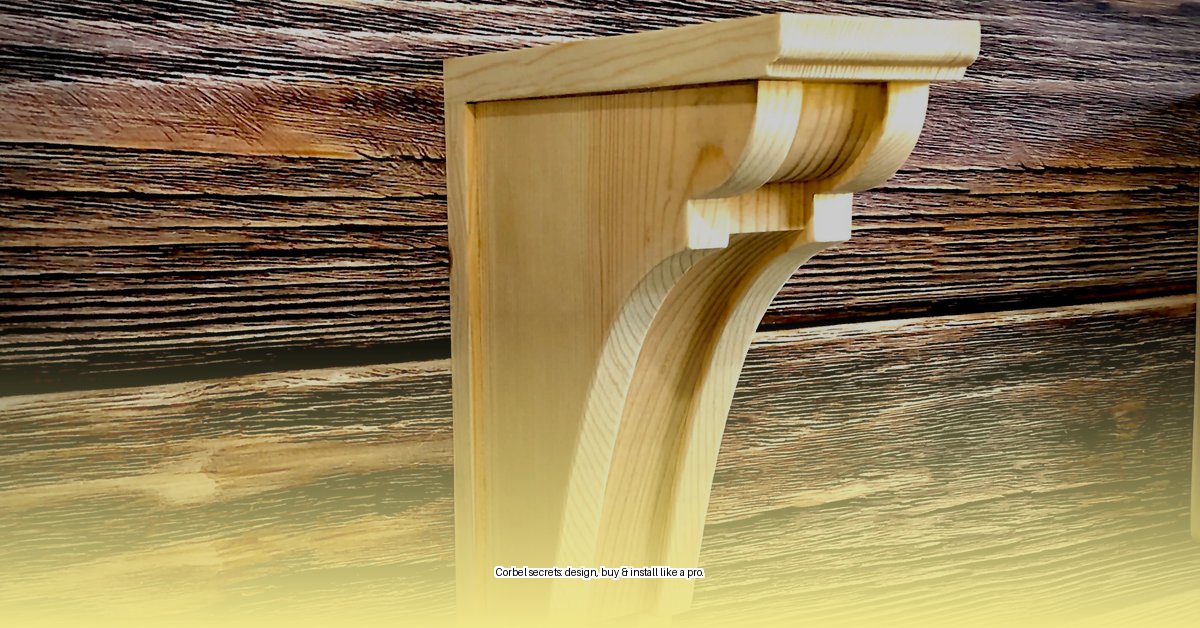
Discovering the Charm and Versatility of Corbels
Wooden corbels: those seemingly simple brackets can add a touch of architectural flair and personality to any space. From supporting shelves and countertops to accenting range hoods and rooflines, these versatile design elements come in a wide range of styles and materials. This comprehensive guide will explore everything you need to know about wooden corbels, from choosing the right wood and style to mastering installation and exploring creative applications.
Selecting the Perfect Corbel: Wood, Style, and Function
Choosing the right corbel involves balancing aesthetics and functionality. Let’s break down the key considerations:
Decoding the World of Wood
The type of wood impacts both the corbel’s appearance and its structural integrity.
-
Softwoods (Pine, Fir): Budget-friendly and easy to work with, softwoods are ideal for decorative, non-load-bearing applications. Pine readily accepts paint and stain, while fir offers slightly more strength.
-
Hardwoods (Oak, Maple, Cherry, Walnut): If your corbels need to support weight, hardwoods are essential. Oak, with its prominent grain, adds rustic charm. Maple boasts a smooth, refined look. Cherry offers rich, warm tones. Walnut exudes luxury, but comes at a premium.
A Style for Every Space
Corbel styles range from ornate to minimalist, allowing you to find the perfect match for your décor.
-
Traditional: Featuring intricate carvings and classic details, traditional corbels evoke a sense of timeless elegance. They’re ideal for period homes or spaces with a classic aesthetic.
-
Modern: Clean lines and geometric shapes define modern corbels. They seamlessly integrate into contemporary interiors, adding a touch of understated sophistication.
-
Rustic: Celebrating the natural beauty of wood, rustic corbels showcase rough-hewn textures and exposed knots. Reclaimed wood adds character and a touch of history.
-
Contemporary: Blending traditional and modern elements, contemporary corbels offer a fresh perspective. Think simplified ornamentation or unique material combinations.
Load-Bearing vs. Decorative: A Critical Distinction
Understanding the intended function of your corbels is paramount.
-
Decorative: Primarily for aesthetic enhancement, decorative corbels don’t support significant weight. Softwoods are generally suitable.
-
Load-Bearing: Designed for structural support, load-bearing corbels require durable hardwoods. Always consult a structural engineer to ensure proper weight capacity and safe installation.
Mastering Corbel Installation: A Step-by-Step Guide
Proper installation is key to both the beauty and safety of your corbels. Let’s explore different methods:
1. Keyhole Slot Method (for lighter applications)
This simple method is ideal for decorative corbels.
- Measure: Determine the distance from the corbel’s top edge to the keyhole slot.
- Mark: Transfer this measurement to the wall, ensuring level placement.
- Install Screws: Use screws with heads that accommodate the keyhole slots, and wall anchors for drywall. Osborne Wood Products’ Industrial Hangers (#955) provide added support for heavier items.
- Hang: Slide the keyhole slots over the screw heads.
2. Hard Mounting (for load-bearing applications)
Directly attaching corbels to the supporting surface provides maximum stability.
-
From Behind (preferred): Apply wood glue, align the corbel, clamp it, and pre-drill pilot holes. Use screws or bolts long enough to penetrate the supporting material by at least 1 ½ inches.
-
From the Front (if rear access is restricted): Screw through the front and conceal the screw heads with wood putty.
3. Hybrid Method (combines hanging and hard mounting)
This method offers extra security for heavier items.
- Install Screws: Secure screws through the supporting surface with nuts on the backside.
- Hang and Tighten: Hang the corbels onto the screws and tighten the nuts.
Placement is Key: Spacing and Depth Considerations
Proper placement ensures both visual appeal and structural integrity.
-
Depth: For countertops, corbels should support at least half the overhang’s depth (⅔ or ¾ is recommended). For shelves supported solely by corbels, aim for at least two-thirds of the shelf’s depth (¾ is preferred).
-
Spacing: Refer to the table below for spacing guidelines. These are estimates, and consulting a professional is always recommended for load-bearing applications.
| Material | Lightweight (e.g., knickknacks) | Heavyweight (e.g., books) |
|---|---|---|
| 1×10 Lumber | Up to 30 inches apart | Up to 24 inches apart |
| 1×12 Lumber | Up to 33 inches apart | Up to 26 inches apart |
| 2×10 Lumber | Up to 60 inches apart | Up to 48 inches apart |
| 2×12 Lumber | Up to 60 inches apart | Up to 48 inches apart |
| 1 ¼” Granite | Up to 36 inches apart | Up to 36 inches apart |
| ¾” Granite | Up to 24 inches apart | Up to 24 inches apart |
Sourcing Your Corbels
Finding the right corbels is easier than you might think.
-
Specialty Retailers: Osborne Wood Products offers a vast selection of high-quality corbels in various styles and wood types.
-
Local Lumberyards: Support local businesses and potentially uncover unique, handcrafted pieces.
-
Online Marketplaces: Etsy offers handmade and vintage finds, while Amazon provides a wide selection of readily available options.
Beyond the Basics: Creative Applications and Maintenance
Wooden corbels can be more than just functional supports. Think decorative bookends, wall décor elements, or incorporated into custom-built furniture.
To keep your corbels looking their best:
- Dust Regularly: Use a soft cloth or feather duster.
- Clean Occasionally: Wipe with a damp cloth, avoiding harsh chemicals.
- Seal Exterior Corbels: Protect from moisture and UV damage with a sealant every few years.
With a little creativity and care, wooden corbels can transform your space, adding character, charm, and a touch of architectural distinction. Remember, when in doubt about load-bearing capacity or installation, consulting a professional is always the safest approach.
- Drhomey’s Top DIY Home Improvement Tips & Tricks - January 7, 2025
- Gustaf Westman Plates: A Collector’s Guide to the Chunky Series - January 7, 2025
- Gilda’s Italian Restaurant: A Portland Dining Experience - January 7, 2025


