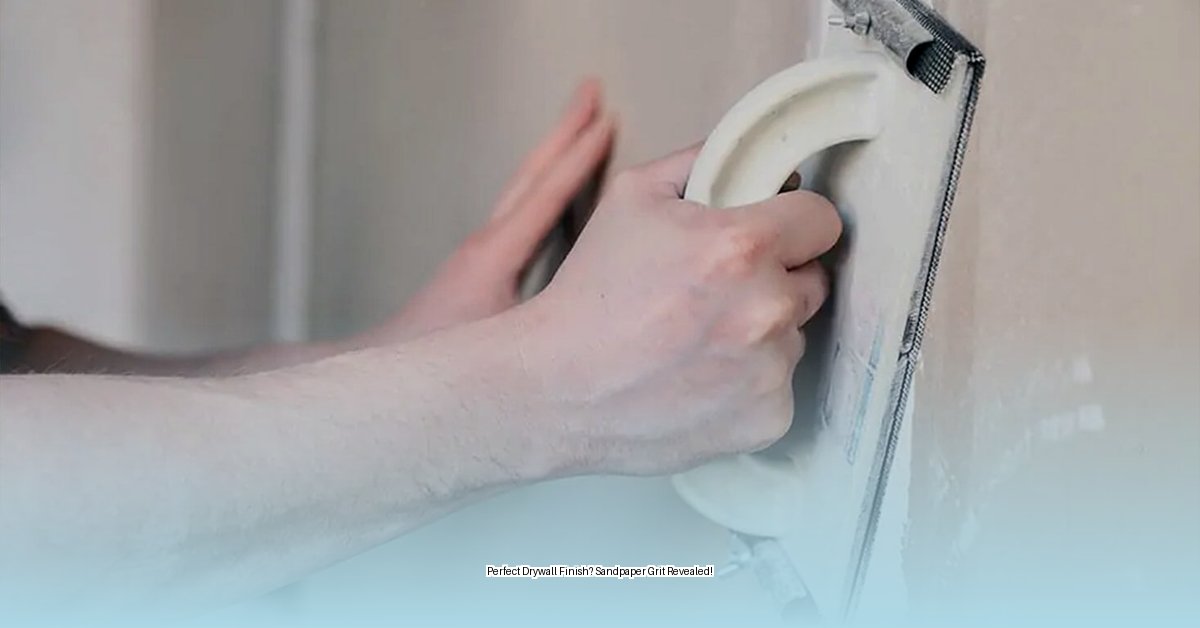
Getting a smooth, professional-looking drywall finish isn’t about magic—it’s about using the right sandpaper grit. This guide will walk you through choosing and using the correct grit for every stage of your drywall project, from initial sanding to final touches.
Choosing the Right Grit: A Step-by-Step Approach
Sandpaper grit refers to the size of the abrasive particles. Lower numbers mean coarser grit, designed for heavy-duty work. Higher numbers indicate finer grit, used for smoothing and polishing. Selecting the right grit is paramount for achieving a flawless finish.
Step 1: Initial Sanding (After Taping)
After the drywall is up and the joint compound has dried, it’s time for the first sanding. Use 80-100 grit sandpaper for this initial pass. This coarse grit effectively knocks down ridges and bumps without damaging the drywall paper. Imagine it like roughing out a wood carving—you’re not aiming for perfection yet, just a good starting point. A sanding block is highly recommended here to distribute pressure evenly and prevent gouges. Some professionals might suggest starting with an even coarser grit (60) for heavily textured drywall, but this is generally unnecessary for most projects.
Step 2: Sanding Between Coats
Just like applying multiple layers of paint, you’ll likely apply several coats of joint compound, sanding between each application. For this in-between sanding, use 120-150 grit sandpaper. This medium grit smooths the dried compound, blending it seamlessly with the drywall and preparing it for the next coat. If you’re aiming for an exceptionally smooth finish, consider using 180 grit, but this isn’t always necessary. Keep in mind that factors like the specific joint compound and drying conditions can influence the ideal grit for this stage.
Step 3: Final Sanding (Before Priming/Painting)
This is where you achieve that magazine-worthy finish. Before priming or painting, use 150-220 grit sandpaper. This fine grit removes any remaining imperfections, creating a smooth surface that’s ready for paint. While some professionals advocate for even higher grits (up to 250) for an ultra-smooth finish, research suggests that 220 grit is usually sufficient. Be gentle—too much pressure can create unwanted scratches.
Step 4: Sanding Small Repairs
For those inevitable nicks and dings, 150 grit sandpaper is your go-to. Apply patching compound, let it dry, and then sand it smooth with the 150 grit. Focus on feathering the edges of the patched area so it blends seamlessly with the surrounding wall. Whether or not to prime the patched area before this final sanding is a subject of some debate, so additional research may be helpful.
Essential Tools & Techniques
Having the right tools and knowing how to use them is just as important as choosing the right grit.
Tools of the Trade
- Sanding Block: This is crucial for even pressure distribution, preventing dips and swirl marks.
- Sanding Pole: Useful for reaching high areas without a ladder.
- Sanding Sponges: Perfect for contours and corners.
- Drywall Sanding Screen: Another option for even pressure distribution.
- Dust Mask and Safety Glasses: Non-negotiable for protecting your lungs and eyes from drywall dust.
- Shop Vacuum: Highly recommended for dust control.
Sanding Techniques
- Long, Smooth Strokes: Avoid short, aggressive movements, which can create uneven surfaces. Think of it like petting a cat, not scrubbing a pot.
- Even Pressure: Let the sandpaper do the work. Too much pressure can lead to over-sanding.
- Proper Lighting: Good lighting helps you see imperfections and ensures a consistent finish.
Troubleshooting & Safety
Even with the best preparation, problems can arise. Here’s how to handle common issues:
Problem: Sanding Marks
Likely Cause: Excessive pressure or too coarse a grit.
Solution: Switch to a finer grit and use a lighter touch.
Problem: Uneven Surface
Likely Cause: Insufficient joint compound or uneven sanding.
Solution: Apply more joint compound, let it dry, and sand again.
Problem: Visible Seams or Cracks
Likely Cause: Inadequate taping or joint compound application.
Solution: Re-tape and apply more joint compound, then sand.
Safety First
Drywall dust is hazardous. Always wear a dust mask and safety glasses. Ensure adequate ventilation by opening windows or using fans. Consider using a shop vacuum with a dust collection attachment for maximum dust control.
Which Type of Sandpaper?
While grit is the primary factor, the type of sandpaper also plays a role.
- Aluminum Oxide: The workhorse of drywall sanding, known for its durability and versatility.
- Garnet: A natural abrasive that’s sharper than aluminum oxide, making it effective for quick removal of material.
- Silicon Carbide: Best suited for wet sanding, which isn’t typical for drywall but can be used for a super-smooth finish.
By following these guidelines and taking the necessary precautions, you can achieve a professional-quality drywall finish that you’ll be proud of. Happy sanding!
- Dora the Explorer Wipe-Off Fun: Safe & Mess-Free Activities for Little Explorers - April 18, 2025
- Does Lemongrass Repel Mosquitoes? Fact vs. Fiction + How to Use It - April 18, 2025
- Do Woodchucks Climb Trees?Fact vs. Fiction - April 18, 2025


