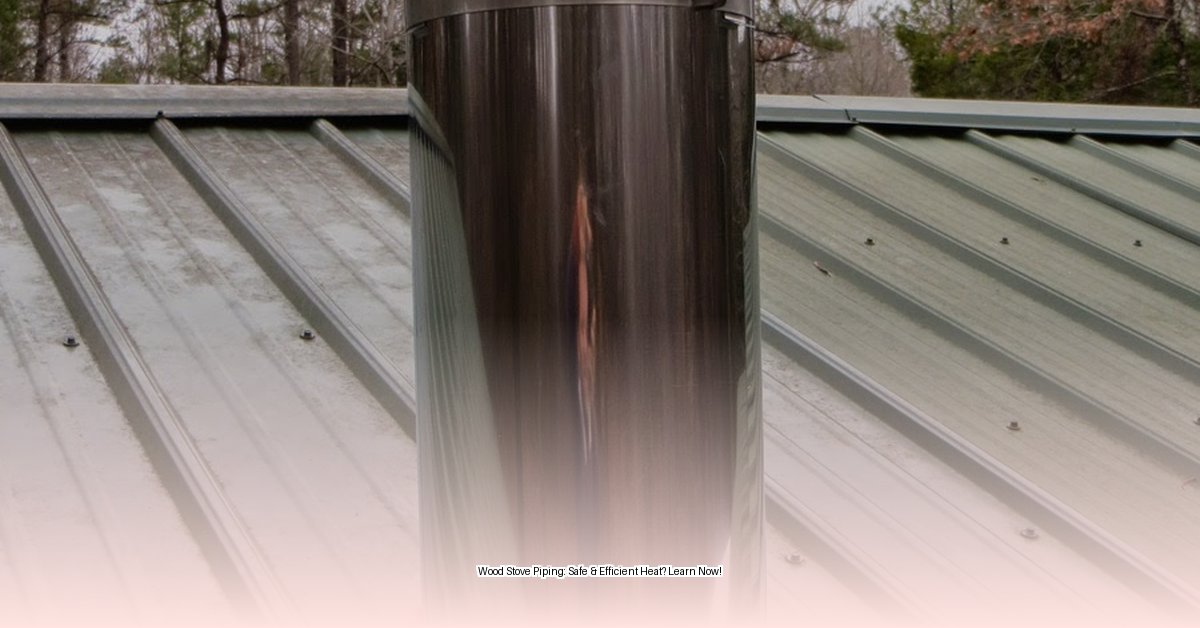
Choosing the Right Pipe: A Buyer’s Guide
Your wood stove’s piping is its lifeline, carrying dangerous exhaust gases safely out of your home. Choosing the right pipe isn’t just about aesthetics; it’s about safety, efficiency, and ensuring your stove performs optimally. This guide will walk you through the crucial decisions, from selecting the correct type and size to understanding installation and maintenance.
Pipe Types and Materials: Navigating the Options
Think of your stove pipe as the highway system for smoke and gases. Just like roads, there are different types designed for various needs:
- Single-Wall Pipe: The “local road” of stove pipes. Economical and suitable for short connections directly to the stove, but its high surface temperature necessitates an 18-inch clearance from combustibles.
- Double-Wall Pipe: The “highway,” offering an extra layer of insulation for improved safety and reduced clearance requirements (typically 6 inches). A popular choice for longer runs.
- Triple-Wall Pipe: The “superhighway,” providing maximum insulation and the smallest clearances. Ideal for tight spaces and high-intensity burning, but often the most expensive.
Material selection is equally important:
- Stainless Steel: The durable workhorse, resistant to rust and high temperatures, making it a long-lasting, though pricier, option.
- Galvanized Steel: A more budget-friendly choice, but its susceptibility to rust makes it less suitable for the moist, high-heat environment of a wood stove.
Sizing Considerations: Diameter and Fuel Type
Just like Goldilocks, you need a pipe that’s “just right.” Too narrow, and airflow becomes restricted, leading to smoke backup. Too wide, and you lose efficiency. Your stove manual specifies the required diameter, but other factors come into play:
- Stove Outlet: Match the pipe diameter to your stove’s flue collar. This is crucial for proper airflow.
- Chimney Liner: Ideally, maintain a consistent diameter throughout the system. Increasers or reducers can be used but should be minimized.
- Fuel Type: Different fuels burn at different temperatures and produce varying byproducts. Coal, for instance, may require a more robust system than seasoned wood.
- Stove Type: Catalytic and non-catalytic stoves operate at different temperatures, influencing the ideal pipe configuration.
Installation: A Step-by-Step Guide
Proper installation is paramount for safety and efficiency. Before starting, consult your local building codes and the NFPA 211 standard for specific requirements. Consider professional installation, especially if you’re unfamiliar with the process.
Step 1: Plan Your Route: Visualize the pipe’s path, ensuring a slight upward slope (¼ inch per foot for horizontal runs) towards the chimney. Mark wall and roof penetrations, maintaining required clearances.
Step 2: Gather Materials: This includes the correct type and size of pipe sections, elbows, adaptors, wall/roof thimbles or flashing, support brackets, high-temperature sealant, screws, and appropriate tools.
Step 3: Assemble Pipe Sections: Start at the stove and work towards the chimney, ensuring secure connections with screws and sealant at each joint. The crimped ends should face downwards.
Step 4: Wall/Roof Penetration: Install the thimble or flashing, creating a weathertight seal to prevent leaks and fire hazards.
Step 5: Connect to Stove and Chimney: Securely attach the pipe to both the stove collar and chimney connector, again using sealant for an airtight fit.
Step 6: Support and Secure: Use brackets or straps to support the pipe, especially for longer runs, preventing sagging and maintaining clearances.
Step 7: Inspect and Test: Check for leaks and proper fit. A smoke test is crucial: light a small, smoky fire and observe for any escaping smoke.
Maintenance and Troubleshooting
Regular maintenance is vital for safety and performance.
Creosote Control
Creosote, a flammable byproduct of wood combustion, can accumulate in the piping, creating a fire hazard. Regular cleaning, at least annually, is essential.
Common Issues
- Smoke Backup: Suggests a blockage or leak. Inspect connections and the pipe for obstructions.
- Poor Draft: May be caused by a short chimney, obstructions near the chimney top, a dirty chimney, or leaks in the system.
- Excessive Creosote: Likely results from burning unseasoned wood, restricted airflow, or consistently low burning temperatures.
Advanced Considerations
Beyond the basics, consider these factors:
- Insulation: Air-insulated, solid-insulated, and hybrid options offer varying levels of heat retention. Solid insulation like ceramic fiber may be more suitable for colder climates.
- Innovations: Explore newer technologies like smart stove pipes with sensors for optimized performance and safety.
- Environmental Impact: Burning seasoned wood and ensuring proper airflow can minimize emissions. Research catalytic combustors for further emission reduction.
This guide provides comprehensive information for choosing, installing, and maintaining your wood stove piping. Remember, local building codes and manufacturer’s instructions take precedence. While this information is thoroughly researched, ongoing studies continue to refine best practices. Consulting with a qualified professional is always recommended. Stay informed about the latest advancements and regulations to ensure a safe and efficient wood-burning experience.
- Dora the Explorer Wipe-Off Fun: Safe & Mess-Free Activities for Little Explorers - April 18, 2025
- Does Lemongrass Repel Mosquitoes? Fact vs. Fiction + How to Use It - April 18, 2025
- Do Woodchucks Climb Trees?Fact vs. Fiction - April 18, 2025


