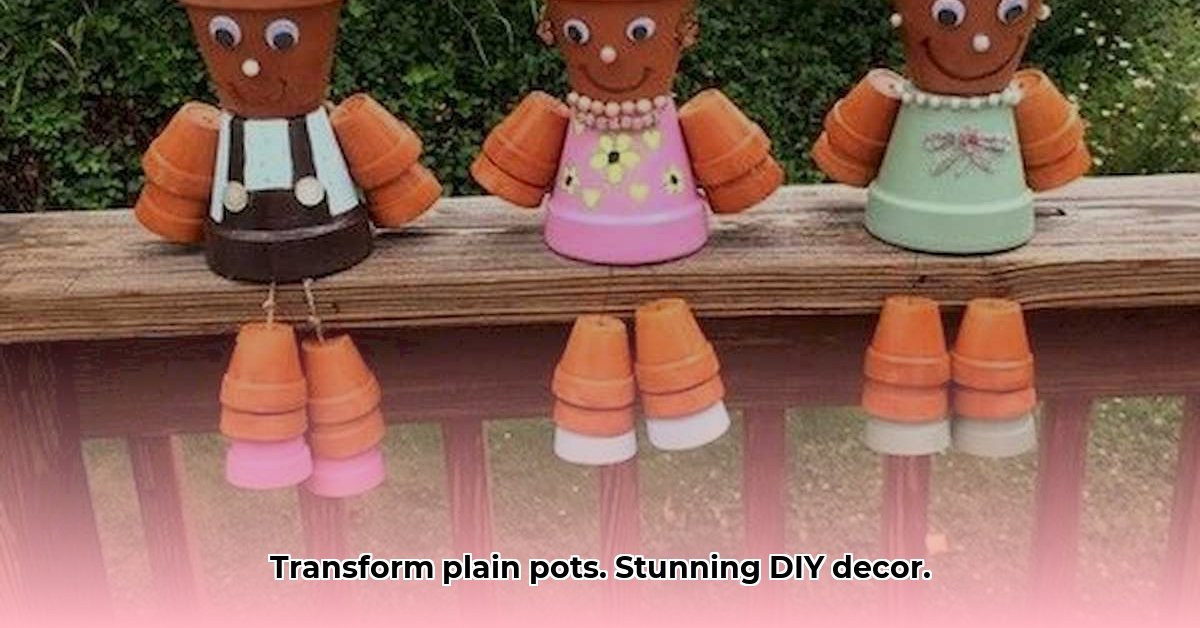
Give Your Greenery a Glow-Up: Easy Pot Decoration Projects
Want to give your plants a stylish home without emptying your wallet? Transforming plain pots into eye-catching décor is easier than you think! Whether you’re a DIY newbie or a seasoned pro, these projects offer something for everyone. From rustic charm to modern chic, get ready to unleash your creativity and give your greenery the glow-up it deserves.
Natural Wonders: Rustic Pot Transformations
Bring the outdoors in with these nature-inspired projects. They’re perfect for adding a touch of rustic charm to your space.
Wood Bark Wonder
- Gather and Measure: Collect bark pieces of varying sizes and textures. Measure the circumference and height of your pot.
- Cut and Adhere: Cut bark pieces to size, allowing for slight overlap. Attach them to the pot using strong adhesive suitable for outdoor use (if applicable). Consider a puzzle-like arrangement for added visual interest.
Stone Sensations
- Curate Your Stones: Choose an assortment of stones – smooth river rocks, colorful pebbles, or even broken tile pieces.
- Adhesive Application: Secure the stones to your pot with strong adhesive, creating a random, organic look, or arranging them in a specific pattern. Grouting the spaces between stones (optional) offers a polished finish.
Coastal Dreams: Seashell and Rope Accents
Capture the essence of the seaside with these charming pot decorations.
Shell We Decorate?
- Cleanse Your Treasures: Rinse collected seashells in warm, soapy water to remove sand and debris. Allow them to dry completely.
- Adhesive Adventures: Attach shells to the pot using waterproof adhesive. A scattered arrangement looks natural, or create patterns for a more stylized look. Decoupage techniques can also be used for added flair.
Rope-Wrapped Elegance
- Secure the Start: Choose a sturdy rope (sisal or jute) and secure the starting end to the pot with hot glue.
- Wrap and Repeat: Tightly wrap the rope around the pot, overlapping slightly, adding more glue as needed. A snug fit creates a neat, polished look.
- Coastal Complements: Painting the pot a nautical color (navy, white) before wrapping enhances the coastal theme. Add seashells for a finishing touch.
Modern Marvels: Paint and Foil Finishes
Elevate your pots with a modern aesthetic using paint and metallic accents.
Marbled Magic with Nail Polish
- Prime and Prep: Apply a base coat of paint to the pot for better nail polish adhesion. Let it dry thoroughly.
- Drip and Swirl: Drip various nail polish colors onto the pot’s surface. Tilt and rotate the pot to create a marbled effect.
Gilding the Lily: Gold Foil Accents
- Design and Cut: Cut desired shapes or words from gold foil sheets.
- Adhesive Application: Use adhesive specifically designed for foil to apply the design to the pot. Smooth out any wrinkles.
Upcycled Ingenuity: Milk Carton Planters
Give new life to old milk cartons with this eco-friendly project.
- Clean and Cut: Thoroughly clean and dry an empty milk carton. Cut it down to your desired height.
- Wrap and Transform: Coat the carton with glue and wrap it with fabric, burlap, or linen. This instantly upgrades the carton into a charming planter.
Beyond the Basics: Advanced Pot Decoration Ideas
Take your pot decorating skills to the next level with these stylish projects.
Mobile Masterpieces: Faux Leather and Wheels
Wrap a pot in faux leather and attach sturdy wheels for a touch of rolling luxury. Metallic studs or decorative trim add extra flair.
Fluid Art Fantasy: Poured Paint Effects
Create mesmerizing designs with poured acrylic paints. Mix paints with a pouring medium and layer them in a cup before gently inverting it over the pot.
Culinary Creations: Cutting Board Herb Gardens
Transform a wooden cutting board into a practical and stylish herb garden. Cut sections to fit small terracotta pots, adding greenery and fragrance to your kitchen.
Concrete Chic: Custom Planters
Craft unique concrete planters using disposable garden pots as molds. Add pigment to the concrete mix for a personalized touch.
Ombre Elegance: Gradient Pots
Glue progressively smaller pots together and use spray paint in graduated shades to create a stunning ombre effect.
Textured Delights: Wood Dowel Designs
Glue wood dowels around a plain pot for a rustic, textured look. Experiment with different dowel sizes and wood types.
Essential Tips for Pot Decoration Success
- Clean Start: A clean pot ensures proper adhesion and a smooth finish.
- Seal the Deal: Use a suitable sealant to protect your decorated pots and enhance their longevity.
- Drainage Matters: Ensure proper drainage by adding holes to the bottom of your pots.
- Texture Play: Combine materials for a multi-textured look that adds depth and visual interest.
| Style | Technique | Difficulty | Estimated Time | Materials |
|---|---|---|---|---|
| Rustic | Twine Wrap | Easy | 1 hour | Twine, Glue, Pot |
| Rustic | Bark Adhesion | Easy | 1-2 hours | Bark, Glue, Pot |
| Modern | Geometric Painting | Medium | 2-3 hours | Painter’s Tape, Paint, Pot |
| Modern | Concrete Casting | Medium | 4+ hours | Concrete Mix, Mold, Pigment (optional) |
| Whimsical | Decoupage | Easy | 2-3 hours | Paper, Glue, Pot, Sealant |
| Whimsical | Fairy Garden Creation | Medium | 3-4 hours | Paint, Stones, Miniatures, Glue, Pot |
With these ideas and tips, you’re ready to transform your plain pots into personalized works of art! Let your creativity bloom and enjoy the process of bringing your unique vision to life.
- Decorative Wall Tiles for Kitchen: Stylish Design Ideas - November 29, 2025
- Decorative Wall Tiles: Style Your Home with Unique Designs - November 28, 2025
- Best Color Backsplash For White Cabinets: Ideas Youll Love - November 27, 2025


