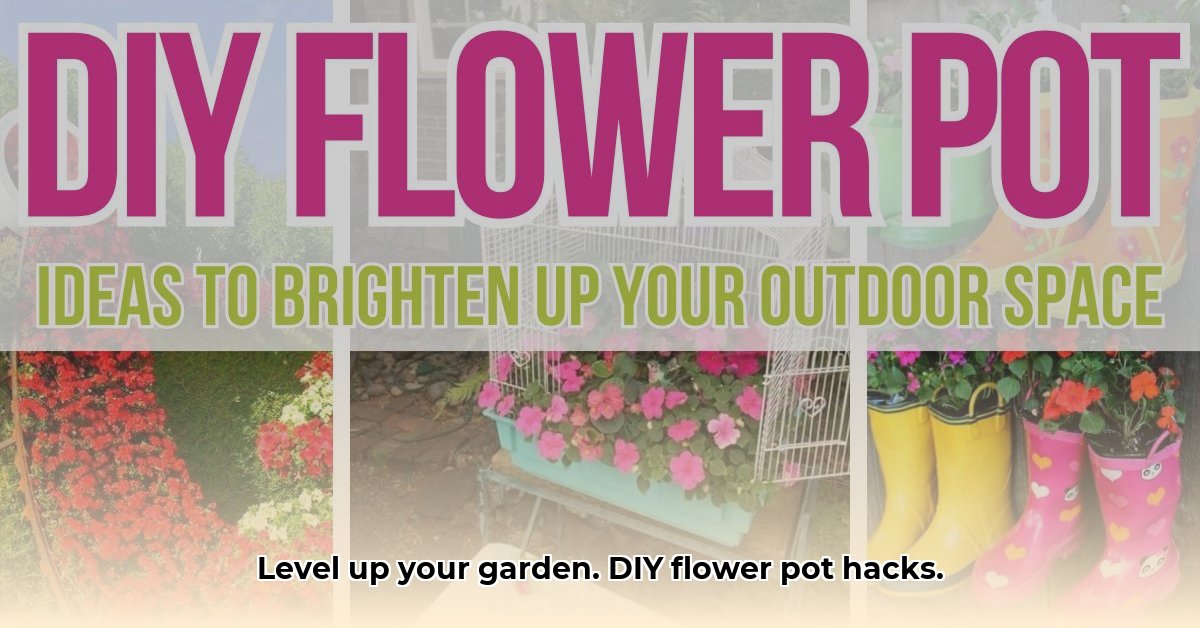
Want to give your plants a stylish new home without breaking the bank? DIYing your own flower pots is a fun, eco-conscious way to add personality to your garden, whether you’re a seasoned gardener or just starting out. This guide offers trendy ideas and easy-to-follow instructions to inspire your creativity. Let’s get crafting!
Project Gallery: A Quick Look at Your Options
| Project | Description | Difficulty | Estimated Time | Image (Placeholder) |
|---|---|---|---|---|
| Tin Can Transformations | Turn old cans into vibrant, colorful planters. | Easy | 30 minutes | [Image Link] |
| Teacup Gardens | Create charming mini-gardens in vintage teacups. | Easy | 20 minutes | [Image Link] |
| Log Planters | Carve out logs for a rustic, natural look. | Medium | 1-2 hours | [Image Link] |
| Twig-Wrapped Pots | Add texture and warmth with twig embellishments. | Easy | 1 hour | [Image Link] |
| Geometric Concrete Planters | Craft modern, minimalist concrete pots. | Medium | 2-3 hours | [Image Link] |
| Marbled Nail Polish Pots | Make a psychedelic splash with nail polish. | Easy | 45 minutes | [Image Link] |
| Upcycled Teacup Gardens | Repurpose teacups for sweet, small gardens. | Easy | 30 minutes | [Image Link] |
| Rustic Wooden Pallet Wall | Build a vertical garden from reclaimed wood. | Advanced | 4+ hours | [Image Link] |
| Photo-Wrapped Pots | Showcase cherished memories as planters. | Easy | 1 hour | [Image Link] |
| Burlap and Branch Planters | Combine burlap and branches for a rustic vibe. | Easy | 1 hour | [Image Link] |
Upcycled Classics: Tin Can & Teacup Gardens
Tin Can Transformations: From Trash to Treasure
Give those destined-for-the-recycling-bin cans a stylish new life! This project is perfect for adding pops of color and exploring different painting techniques.
Materials:
- Cleaned tin cans (remove labels)
- Exterior paint (metallic or vibrant colors)
- Paintbrushes and/or sponges for interesting textures
- Drill (or hammer and nail)
- Potting soil
- Your favorite plants
Instructions:
- Drainage First: Drill (or punch) drainage holes in the bottom of each can. Adequate drainage is crucial to prevent root rot.
- Paint It Up: Apply your chosen paint to the cans. Get creative with patterns, stripes, or even a textured finish using a sponge. Multiple coats may be needed for full coverage. Allow to dry completely.
- Planting Time: Fill the painted cans with potting mix and carefully plant your chosen greenery. Herbs, small flowers, or even succulents work well.
Tips & Troubleshooting:
- For a rusted, vintage look, consider using sandpaper on areas of the paint once dry, or experiment with specialized rust-effect paints.
- If using spray paint, ensure proper ventilation.
Teacup Gardens: Tiny but Mighty
Chipped teacups or mugs find new purpose as adorable mini-gardens. These are perfect for small plants and add a touch of whimsy to any space.
Materials:
- Chipped teacups or mugs
- Small pebbles or gravel
- Potting mix
- Small plants (succulents and herbs are ideal)
Instructions:
- Mini Drainage System: Add a layer of pebbles or gravel to the bottom of each teacup for drainage.
- Potting Up: Fill the teacups with potting mix, leaving enough room for your plants.
- Planting Perfection: Gently plant your chosen greenery. Smaller plants work best in these miniature gardens.
Tips & Troubleshooting:
- Overwatering is a common issue with small containers. Water only when the soil feels dry to the touch.
- These miniature gardens can be susceptible to drying out quickly, especially in sunny locations.
Back to Nature: Rustic Planters
Log Planters: A Touch of Woodland Charm
Bring the outdoors in with these rustic log planters. This project is a bit more advanced but incredibly rewarding.
Materials:
- Logs (different sizes and shapes add visual interest)
- Chisel and hammer (or a chainsaw for larger logs – prioritize safety!)
- Drill
- Potting mix
- Plants suited for a woodland environment
Instructions:
- Carve It Out: Using a chisel and hammer (or chainsaw with appropriate safety gear), carefully carve a trough or hollow in the top of each log.
- Drainage Holes: Drill drainage holes in the bottom of the log.
- Plant It Up: Fill the carved-out section with potting mix and plant your chosen greenery. Ferns, woodland flowers, or even small shrubs work well.
Tips & Troubleshooting:
- Selecting logs already partially hollowed by nature can significantly reduce the carving work involved.
- This project may probably involve power tools, so exercise caution and follow appropriate safety guidelines.
Twig-Wrapped Pots: Woven Delight
Add a touch of rustic charm to any pot with this simple twig-wrapping technique.
Materials:
- A plain clay pot (or any pot you want to embellish)
- Twigs of various lengths and thicknesses
- Twine or jute rope
- Hot glue gun (optional, for extra security)
Instructions:
- Gather & Prep: Collect twigs and, if necessary, trim them to manageable lengths.
- Wrap & Secure: Attach the twigs vertically around the pot using twine or jute rope. The hot glue gun can help secure twigs that are difficult to tie. Aim for a textured, woven appearance.
Concrete Creations: Modern Minimalism
Geometric Concrete Planters: Chic & Simple
These modern planters add a touch of minimalist elegance to any garden.
Materials:
- Concrete mix
- Molds (geometric shapes like cubes or pyramids work well. Consider silicone molds for easier removal)
- Cooking spray or mold release agent
- Sandpaper
- Concrete sealer (optional)
Instructions:
- Prep the Molds: Spray the inside of your molds with cooking spray or apply a mold release agent.
- Mix & Pour: Prepare the concrete mix according to package instructions and carefully pour it into the molds.
- Cure & Demold: Allow the concrete to cure completely (usually 24-48 hours). Gently remove the planters from the molds.
- Smooth & Seal: Sand any rough edges and apply a concrete sealer (optional) for a polished finish.
Creative & Personalized Touches
Marbled Nail Polish Pots: A Psychedelic Splash
Transform plain pots into vibrant, colorful works of art with this easy marbling technique.
Materials:
- Plastic or ceramic pots
- Disposable container larger than your pot
- Room temperature water
- Nail polish in various colors
- Toothpick or skewer
- Gloves (optional)
Instructions:
- Water & Polish: Fill the container with water. Drip nail polish onto the water’s surface.
- Swirl & Dip: Swirl the colors together with a toothpick. Dip the pot into the water, allowing the nail polish to adhere.
- Dry & Enjoy: Let the pot dry completely.
Photo-Wrapped Pots: A Touch of Sentiment
Turn cherished photos into unique and personalized flower pots.
Materials:
- Terracotta pots
- Mod Podge (matte finish recommended)
- Printed photos (laser printed is best)
- Foam brush
- Clear sealant (optional)
Instructions:
- Prep & Cut: Cut your photos to fit the curved surface of the pot.
- Apply & Adhere: Spread Mod Podge on the back of the photo and apply it to the pot. Smooth out any air bubbles.
- Seal & Protect: Once dry, apply a coat of Mod Podge over the entire surface to seal and protect. A clear sealant adds further protection.
Material Selection: A Deeper Dive
Choosing the right material for your DIY flower pots goes beyond aesthetics. It involves understanding your plant’s needs and balancing practicality with your style. Here’s a closer look:
-
Wood: Offers rustic charm but requires sealing to prevent rot. Durability may vary depending on the wood type and finish.
-
Fiberglass: Low-maintenance and weather-resistant, but can be more expensive.
-
Concrete: Modern and sturdy, but heavy and potentially prone to cracking in extreme temperatures. Research into additives may lead to improved temperature resistance.
-
Plastic: Budget-friendly and versatile, but can become brittle over time, particularly with sun exposure.
-
Terracotta/Ceramic: Provides excellent drainage and a classic look, but dries out quickly and can be fragile.
-
Metal: Sleek and stylish, though it can absorb heat – be mindful of placement and consider using a liner or opting for lighter colors.
Advanced Projects: For the Experienced DIYer
Rustic Wooden Pallet Planter Wall
Create a living wall art feature using reclaimed wood.
Materials:
- Wooden pallet
- Landscape fabric
- Staple gun
- Potting mix
- Plants (trailing varieties are ideal)
Instructions:
-
Deconstruct & Build: Carefully disassemble the pallet. Use the reclaimed wood to build small planter boxes or shelves.
-
Line & Secure: Line the boxes with landscape fabric, securing it with a staple gun.
-
Mount & Plant: Attach the planters to the wall in your desired arrangement. Fill with potting mix and plant your chosen greenery.
Conclusion: Unleash Your Inner Plant Stylist!
DIY flower pots are a fantastic way to add a personal touch to your garden while being kind to your wallet and the planet. Experiment with different techniques, materials, and plants to create a space that reflects your unique style. Share your creations! What will you plant next?
- How to Measure Your Belt Size (for Women): 3 Easy & Accurate Methods - April 27, 2025
- How to Remove Permanent Hair Dye From Hair: Safe & Effective Methods - April 27, 2025
- How to Remove Ink from Leather: Effective DIY Methods and Expert Tips - April 27, 2025


