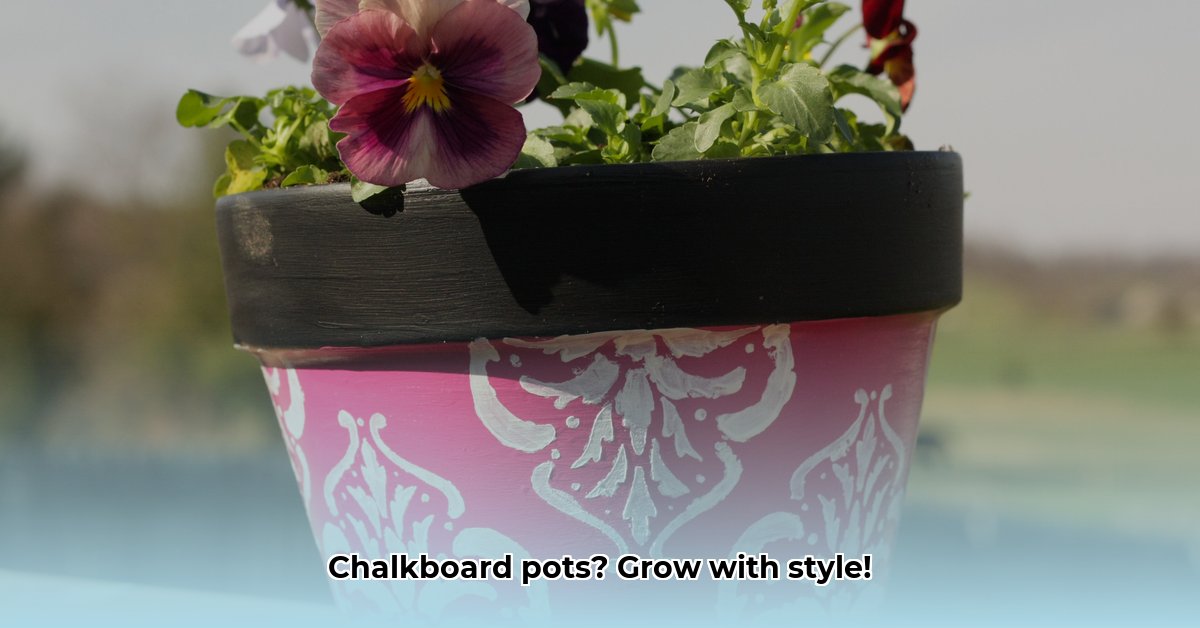
Want to add a touch of rustic charm to your garden or give a personalized gift that will truly grow? DIY chalkboard flower pots are the perfect solution! This easy project lets you label herbs, create seasonal decorations, and add a unique touch to any space. Let’s get crafting!
Gathering Your Supplies
Before we begin, let’s gather our materials. Having everything at hand makes the process smoother.
- Flower Pots: Terra cotta is classic, but any paintable pot works (plastic, ceramic, etc.). Varying sizes adds visual interest.
- Chalkboard Paint: Choose spray or brush-on in black, green, or any color that sparks joy!
- Primer (for non-terra cotta): This helps the paint adhere to slick surfaces.
- Painter’s/Masking Tape: For crisp lines and designs. Freezer paper works great for detailed stencils.
- Sponge Brush/Foam Roller: Your choice for smooth, even paint application.
- Chalk: For priming and drawing.
- Spray Adhesive (Optional): Secures freezer paper stencils.
- Scissors/Utility Knife: For cutting stencils.
- Decorative Elements (Optional): Twine, ribbon, beads – let your imagination run wild!
- Sealant (Optional): Protects outdoor pots and designs.
Prepping Your Pots
Clean your pots with soap and water, ensuring they’re completely dry before painting. This helps the paint adhere properly. For smoother surfaces, light sanding may improve adhesion.
Painting Your Pots: Two Techniques
Method 1: The Full Chalkboard
- Mask any areas you don’t want painted with painter’s tape.
- Apply 2-3 thin coats of chalkboard paint, letting each coat dry completely. Thin coats prevent drips and ensure a smooth finish.
- Carefully remove the tape while the final coat is still slightly wet.
Method 2: The Chalkboard Rim
- Tape below the rim to create a chalkboard label area.
- Follow steps 2 and 3 from Method 1.
Seasoning the Chalkboard Surface
Once the paint is completely dry (at least 24 hours), rub the entire chalkboard surface with the side of a piece of chalk. Wipe clean with a soft cloth. This “seasoning” prevents “ghosting.”
Decorating: Unleash Your Creativity!
Now for the fun part! Label herbs, add whimsical designs, write inspiring quotes, or create seasonal greetings. Stencils, chalk markers, and acrylic paints open up even more possibilities.
Here are some ideas to get you started:
- Herb Garden Labels: Clearly label your basil, mint, rosemary, and other herbs.
- Seasonal Greetings: “Happy Spring,” “Welcome Fall,” or holiday messages add a festive touch.
- Personalized Gifts: Add names, special messages, or inside jokes for a unique present.
- Whimsical Doodles: Flowers, vines, geometric patterns – let your imagination run wild!
- Inspirational Quotes: Share your favorite quote or a reminder to water your plants.
Sealing (Optional)
If your pots will live outdoors, a sealant protects the paint and designs from the elements. Test the sealant in an inconspicuous area first, as some sealants can affect the chalkboard’s ability to erase cleanly.
Caring for Your Chalkboard Pots
Cleaning is easy! Wipe with a damp cloth. Avoid abrasive cleaners.
Troubleshooting
- Chipping Paint: A sealant can help prevent future chipping. If chipping occurs, lightly sand the area and reapply chalkboard paint.
- Smudging Chalk: Ensure the surface is seasoned. Consider using chalk markers for a more durable, smudge-proof design.
DIY Chalkboard Paint (Optional)
For a truly custom touch, make your own chalkboard paint! Combine 2 tablespoons of unsanded tile grout with 1 cup of latex paint. Sanding may be required for a smoother finish. Numerous recipes are available online, so experiment to find your favorite. Results may vary depending on the type of grout and paint you choose.
Now, go forth and create your own chalkboard flower pot masterpieces! Share your creations and inspire others. Happy crafting!
- How to Measure Your Belt Size (for Women): 3 Easy & Accurate Methods - April 27, 2025
- How to Remove Permanent Hair Dye From Hair: Safe & Effective Methods - April 27, 2025
- How to Remove Ink from Leather: Effective DIY Methods and Expert Tips - April 27, 2025


