Got a drippy outdoor faucet driving you crazy? Don’t let that wasted water drain your wallet! This guide shows you how to fix that leaky frost-free faucet yourself, saving you money and giving you a satisfying DIY win. We’ll cover everything from pinpointing the leak to choosing the right repair kit and walking you through the step-by-step repair process.
Diagnosing the Drip
Before grabbing your tools, investigate where that drip originates. This helps identify the likely cause and guide you to the right solution.
- Handle Drips: Water seeping around the handle likely suggests a worn-out O-ring or loose packing nut.
- Spout Drips (when the faucet is off): This probably indicates a worn-out washer inside the faucet body.
- Vacuum Breaker Leaks: Water dripping from this safety device on the side of your faucet likely means it needs replacing.
Know Your Faucet: ID is Key
Before prescribing a fix, we need to know your faucet’s “medical history.” Locate the manufacturer and model number stamped on the faucet body (sometimes hidden under a decorative cap). This is crucial for selecting the right repair kit – parts aren’t universal!
Choosing the Right Repair Kit
Here’s a comparison of popular frost-free faucet repair kit brands:
| Brand | Price Range | Availability | Compatibility | Notes |
|---|---|---|---|---|
| Everbilt | $5 – $15 | Home Depot, online retailers | Varies (check product description) | A solid budget-friendly option for many common repairs. Customer reviews can offer valuable insights. |
| Woodford | $10 – $30 | Online retailers, plumbing supply stores | Often model-specific (Woodford faucets) | Known for durability and quality, often a good choice for Woodford faucets. |
| SharkBite | $15 – $30 | Home Depot, Lowe’s, online retailers | Push-to-connect systems | Easy installation, but double-check compatibility with your existing plumbing. |
| Universal | $5 – $20 | Widely available | Designed to fit a range of brands. | Decent for basic repairs, but verify compatibility. May not include specialized parts. |
Tools and Materials
- 4-in-1 Screwdriver
- Adjustable Wrench
- Slip-Joint Pliers (helpful for gripping stubborn parts)
- Small Container (to keep track of small parts)
- Penetrating Oil (for stuck parts)
- Repair Kit
- Plumber’s Tape (also called Teflon tape)
- Bucket or Rags (to catch drips)
Pro-tip: Lay a towel or old sheet under the faucet to protect surfaces and prevent losing small parts.
Step-by-Step Repair
-
Shut Off the Water: Locate the shut-off valve inside your house that controls the outdoor faucet and turn it clockwise. Open the outdoor faucet briefly to release any remaining pressure.
-
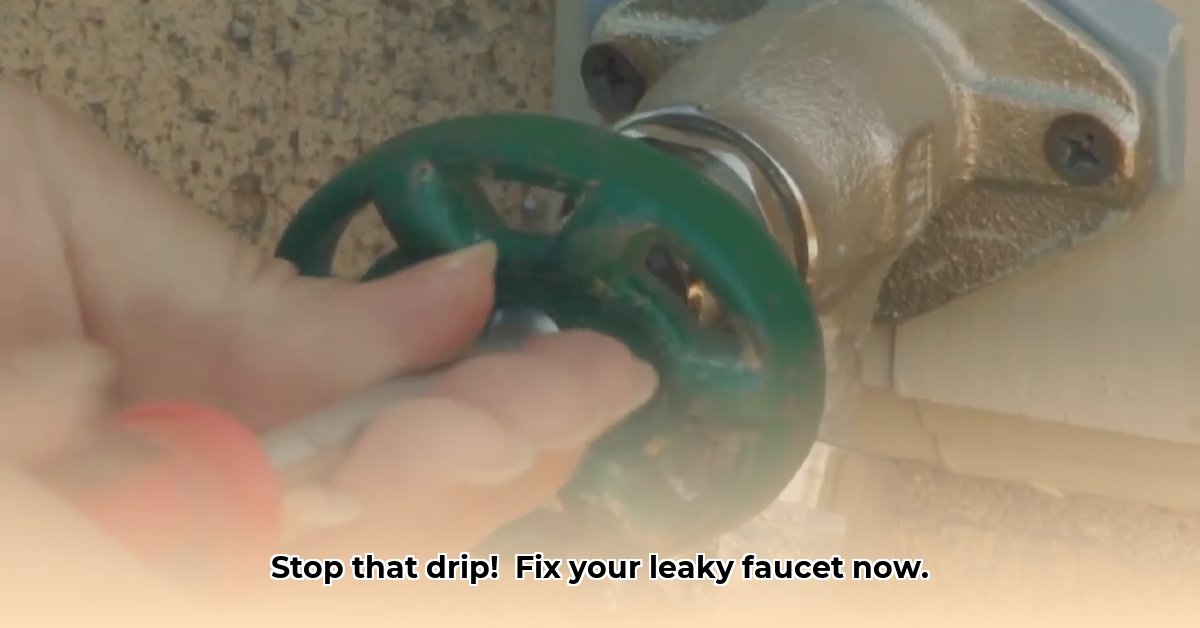
Remove the Handle: Locate and remove the screw securing the handle. The handle should then pull off. Penetrating oil can help if it’s stuck.
-
Address the Leak:
- Handle Leak: Tighten the packing nut beneath the handle. If the leak persists, replace the O-rings or packing using your repair kit.
- Spout Leak: Remove the retaining nut, pull out the stem, and replace the washer at the end of the stem with the new one from your kit. A worn valve seat might also be the cause, which may necessitate faucet replacement.
- Vacuum Breaker Leak: Unscrew and replace the vacuum breaker. Hand-tighten, then give it another quarter turn with pliers.
-
Reassemble: Carefully put everything back together in reverse order, ensuring all connections are snug but not over-tightened. Wrap plumber’s tape around all threaded connections before reassembling.
-
Turn the Water Back On: Slowly turn the shut-off valve counterclockwise.
-
Check for Leaks: Inspect the faucet for any remaining drips. If leaks persist, double-check all connections and ensure parts are seated correctly.
Troubleshooting
- Stubborn Parts: Penetrating oil and patience are your allies.
- Persistent Leaks: Double-check all connections, part seating, and consider adding plumber’s tape.
- Low Water Pressure: Clean the aerator (the screen at the end of the spout).
Preventing Future Leaks
- Winterization: Before winter, disconnect hoses and drain the faucet line completely. A faucet cover offers added protection.
- Regular Inspections: Periodically check for signs of wear and tear.
When to Replace
While repairs often suffice, sometimes replacement is necessary. Extensive corrosion, a cracked body, or persistent leaks despite repairs may indicate it’s time for a new faucet. Consider factors like age, overall condition, and frequency of repairs when making this decision. There is ongoing research into extending faucet lifespan, but current technology suggests replacement every 10-15 years may be necessary depending on use and water quality.
Congratulations! You’ve tackled that leaky faucet. Share your experiences and tips in the comments below!

- How to Remove Water Stains from Fabric: A Complete Guide - April 26, 2025
- How to Get Motor Oil Out of Clothes: Proven Methods & Expert Tips - April 26, 2025
- How to Get Deodorant Out of Black Shirts: Easy Stain Removal Guide - April 26, 2025