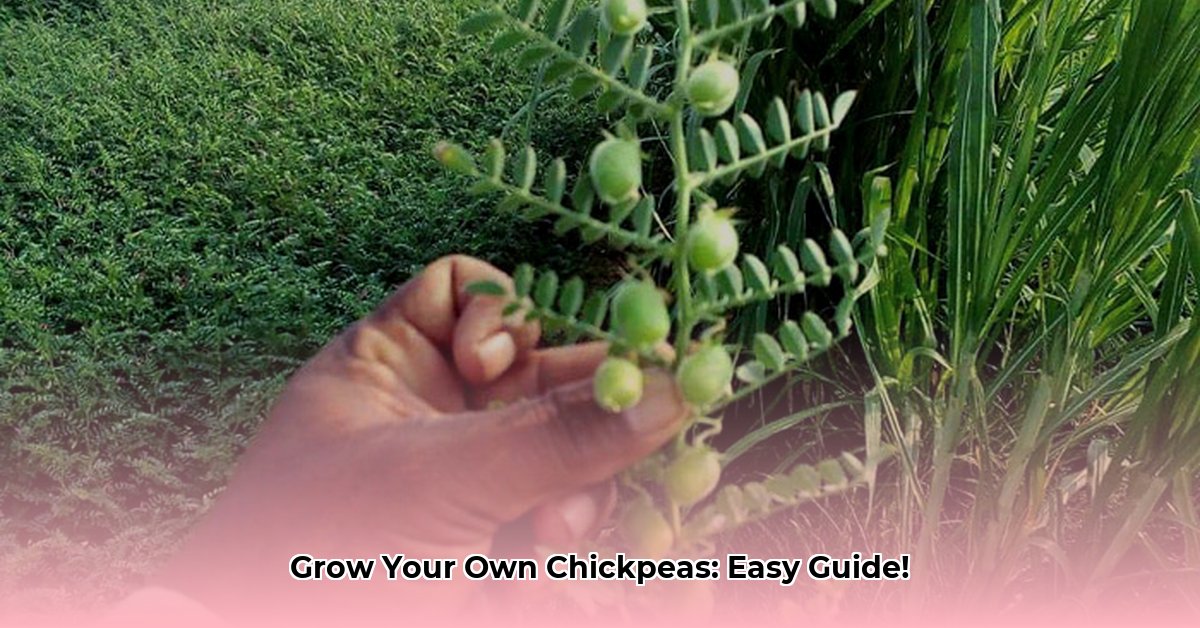
Ever wondered about growing your own chickpeas? It’s surprisingly simple! This guide walks you through every step, from soil preparation to harvest, whether you’re a seasoned gardener or just starting out. Get ready to enjoy the satisfying crunch of homegrown chickpeas!
Choosing Your Chickpeas & Planting Prep
Before you even think about planting, let’s talk chickpeas. Two main types grace our gardens: Kabuli and Desi. Kabuli are the larger, beige beans you find in stores. Desi are smaller, darker, and mature a bit faster. The choice is yours!
Next, timing is key. Chickpeas prefer soil temperatures of at least 50°F (10°C), typically in spring. For cooler climates, start seeds indoors 2-4 weeks before the last frost. Choose a sunny spot with at least 6-8 hours of direct sunlight and well-draining, fertile soil. Avoid planting where legumes recently grew to prevent disease.
Space seeds about 4 inches apart and 1-2 inches deep. No need to soak them before planting – dry is best! Consider using an inoculant like Mesorhizobium ciceri or M. mediterraneum to boost nitrogen fixation. These beneficial bacteria act as a natural fertilizer, helping your chickpeas thrive.
If you’re short on space, container gardening is an option! Choose pots with good drainage and follow the same spacing guidelines, thinning to a maximum of four plants per square foot.
Nurturing Your Chickpea Plants
Watering is crucial. Keep the soil consistently moist, about an inch of water per week, and more during hot spells. Drip irrigation is highly effective, delivering water directly to the roots.
Chickpeas are nitrogen fixers, so they don’t need much fertilizer. If your soil is poor, supplement with a low-nitrogen, high-phosphorus and potassium fertilizer every six weeks. But be careful not to overdo it.
Once seedlings reach 3 inches tall, thin them to about 6 inches apart. This might seem counterintuitive, but it promotes healthier, more productive plants.
Pest & Disease Management: Protecting Your Crop
While generally resilient, chickpeas can face pests and diseases.
Ascochyta Blight
This fungal disease, caused by Ascochyta rabiei, thrives in cool, wet weather. It starts with small brown spots that can spread, leading to broken stems and shriveled chickpeas. Preventative measures include using disease-free seeds, practicing crop rotation, and deep tillage. Resistant varieties like Sanford, Dwelley, or Myles are available. Fungicides can be used as a last resort. Ongoing research explores new methods for controlling this blight, so staying informed is beneficial.
Alfalfa Mosaic Virus (AMV)
Spread by aphids, AMV can cause mottled yellow leaves and stunted growth. There’s no cure, so prevention is key. Time your planting to avoid peak aphid populations. Research suggests some chickpea varieties might show resistance, but this is still being studied.
White Mold
This fungus thrives in damp conditions, causing watery rot and a fluffy white growth. Crop rotation and fungicides during flowering are effective management strategies. Proper spacing improves air circulation, reducing the chances of white mold taking hold.
Regularly inspect your plants for any signs of trouble. Early detection is key to preventing widespread problems.
Harvesting and Storing Your Chickpeas
Patience is rewarded when growing chickpeas. They typically mature in 85-100 days. Harvest green pods early for a fresh treat or wait for the plants to dry completely. For the latter, pull the entire plant and hang it upside down in a warm, dry place until the pods become brittle.
A quick heat treatment (160°F for 30 minutes) or freezing (0°F for 48 hours) can eliminate any insects. Store dried chickpeas in an airtight container in a cool, dry place.
Regional Variations: Adapting to Your Locale
Growing conditions vary by location. Colder climates may require starting seeds indoors, while hotter regions need more frequent watering. Contact your local university extension office for tailored advice.
Troubleshooting: Common Issues & Solutions
Here are some common challenges and how to address them:
-
Yellowing Leaves: Likely indicates overwatering or nutrient deficiency. Check soil drainage and amend with compost if needed.
-
Poor Germination: Probably due to old seeds or cool soil temperatures. Ensure seeds are fresh and soil temperature is above 60°F.
Tips and Tricks for Chickpea Success
-
Companion Planting: Leafy greens create a beneficial microclimate for chickpeas. Aromatic herbs like rosemary and thyme can deter pests.
-
Seed Saving: Select plump pods from healthy plants, let them dry completely, and store the seeds for next season.
-
Mulching: Conserves moisture, suppresses weeds, and regulates soil temperature.
Quick Reference Guide
| Feature | Details |
|---|---|
| Planting Time | Spring (soil temp 50°F/10°C) |
| Spacing | 4 inches apart, thin to 6 inches |
| Depth | 1-2 inches |
| Watering | 1 inch per week (more in hot, dry climates) |
| Fertilizing | Low-nitrogen, if needed |
| Harvest Time | 85-100 days after planting |
Remember, gardening is a learning process. Don’t be discouraged if your first attempt isn’t perfect. Embrace experimentation and adapt your approach as needed. Enjoy the journey and the delicious rewards of your own homegrown chickpeas!
- NYT Connections Answer: Hedgehog, Pineapple, Cactus The Spiky Things Explained - April 20, 2025
- How to Clean a Wool Carpet: A Comprehensive Guide - April 20, 2025
- How to Clean a Pleather Couch: A Complete Guide - April 20, 2025


