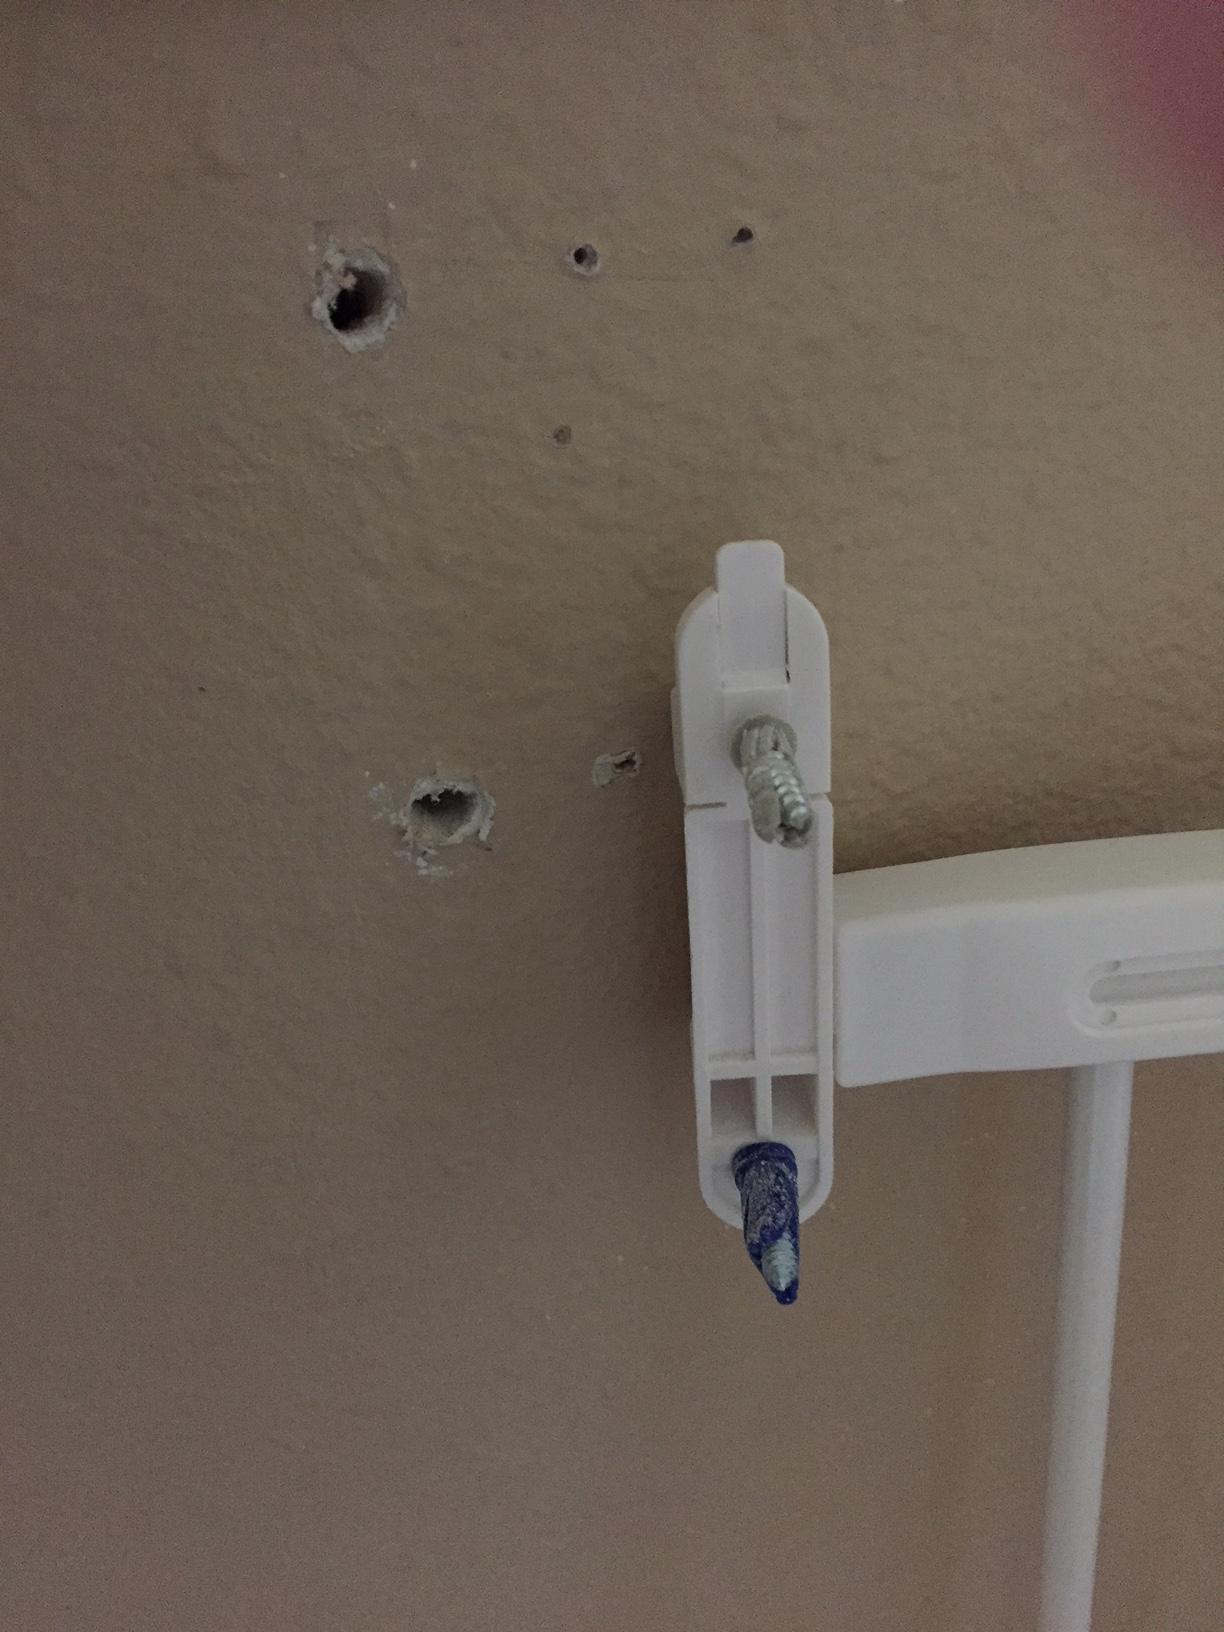
Are your anchor bolts giving you trouble? A loose anchor is a safety hazard, so addressing the issue promptly is crucial. This guide provides step-by-step instructions and helpful tips to diagnose and fix loose anchor bolts in various materials, plus advice on preventing future problems. Let’s get started!
Decoding Anchor Bolt Failures
Incorrect anchor choice and installation are the leading causes of failure. Matching the anchor to the wall material and weight load is crucial. Simple fixes can often save you from costly repairs.
Wall Material Degradation
Damp and crumbling drywall severely compromises anchor integrity. If you are experiencing issues with your anchor bolts not holding, you may want to consider exploring adding sand to type n mortar for a stronger hold. This can happen in areas exposed to moisture, like bathrooms.
- Solution: Replace the damaged drywall section.
Incorrect Anchor Type
Using anchors too small for the pilot hole or weight load leads to pull-out. Think of anchors like shoes – you wouldn’t wear flip-flops to hike a mountain!
- Types of Anchors for Drywall:
- Plastic Screw-in Anchors: Suitable for light loads, such as picture frames.
- Molly Bolts: Offer better grip due to expansion behind the drywall, ideal for medium-weight items like shelves.
- Toggle Bolts: Provide the strongest hold for heavier items, utilizing a wing mechanism that spreads the load behind the wall, making them perfect for hanging heavy mirrors or cabinets.
- Solution: Choose the right anchor for the job. If you’re looking to enhance your pool’s cleaning efficiency, you can learn about adding a polaris to a pool pump system for improved filtration and circulation.
Improper Installation
- Drilling Issues: Oversized holes prevent anchors from gripping.
- Solution: Use appropriately sized drill bits and ensure the hole depth matches the anchor length. Measure twice, drill once!
- Overloading: Exceeding the anchor’s weight capacity causes failure.
- Solution: Choose anchors rated for the intended weight or distribute the load across multiple anchors. Teamwork makes the dream work!
Diagnosing the Anchor Problem
Visual Inspection
Carefully examine the area around the anchor. Look for:
- Cracks: In the wall material around the anchor hole.
- Crumbling: Is the wall material itself deteriorating?
- Gaps: Between the fixture and the wall.
- Movement: Does the anchor shift when you gently wiggle the attached item?
Pull Test (Use Caution!)
Gently tug on the attached item. If it moves easily, the anchor is probably loose. If it feels solid, the issue might lie elsewhere.
Fixing Loose Anchors: Step-by-Step
Drywall Repairs
- Step 1: Cut out the damaged drywall section.
- Step 2: Patch the hole with new drywall compound.
- Step 3: Let it dry completely before reinstalling anchors.
Anchor Upgrades
If the original anchor was too weak, replace it with a stronger type (molly bolts or toggle bolts).
Re-Drilling and Anchoring
- Step 1: Fill the old hole with a suitable filler. Use wood filler for small holes, drywall compound for larger ones.
- Step 2: Let the filler dry completely.
- Step 3: Drill a new, correctly sized pilot hole.
- Step 4: Install the new anchor.
Load Redistribution
Distribute the weight across multiple anchors to reduce stress on individual anchors.
Concrete Anchor Repair
- Epoxy Injection: Clean the hole and inject epoxy to fill gaps and secure the bolt. This may work for minor damage.
- Anchor Replacement: If there is significant damage, replacement is often the best option. Carefully remove the old anchor, clean the hole, and install a new one of appropriate size and type. Consult a professional for heavy structures or complex situations.
Preventing Future Anchor Failures
Choosing and installing anchors correctly the first time prevents many headaches.
- Right Anchor, Right Job: Match the anchor type and size to the weight of the object and the wall material.
- Drilling Precision: Use the correct drill bit size and drill to the specified depth.
- Corrosion Resistance: For damp environments, consider stainless steel or galvanized anchors.
- Regular Inspections: Periodically check for signs of loosening or damage.
- Follow Instructions: Always follow the manufacturer’s instructions.
Anchor Bolt Lifespan: A Complex Equation
Several factors influence an anchor bolt’s lifespan, including material, environment, installation quality, and load. While some might last for decades, regular inspection and maintenance are crucial. Harsh environments can significantly shorten lifespan due to corrosion.
Tightening Loose Anchor Bolts
- Identify the Problem: Check for movement or gaps around the bolt.
- Minor Loosening: Tighten with a wrench. If there’s a gap, use epoxy injection after tightening.
- Severe Damage: Replace the bolt entirely.
This guide provides general advice. If you’re uncertain about any aspect of anchor installation or repair, consulting a qualified professional is always recommended. A secure anchor is a safe anchor!
- Dora the Explorer Wipe-Off Fun: Safe & Mess-Free Activities for Little Explorers - April 18, 2025
- Does Lemongrass Repel Mosquitoes? Fact vs. Fiction + How to Use It - April 18, 2025
- Do Woodchucks Climb Trees?Fact vs. Fiction - April 18, 2025


