Unleash your inner dancer in the comfort of your own home with our comprehensive guide to [At Home Dance Studio Flooring: A Guide to Materials, Installation, and Maintenance]. Whether you’re a seasoned pro or just starting your dance journey, we’ll help you create a home dance studio that supports your every move.
Key Takeaways:
- Proper flooring is crucial for dance performance, safety, and comfort.
- Home dance studio flooring materials, installation techniques, and maintenance practices determine its effectiveness.
- Flooring Inc. provides guidance on installing home dance flooring over different surfaces.
- TakeLessons offers online dance lessons tailored to individual needs and schedules, with qualified instructors.
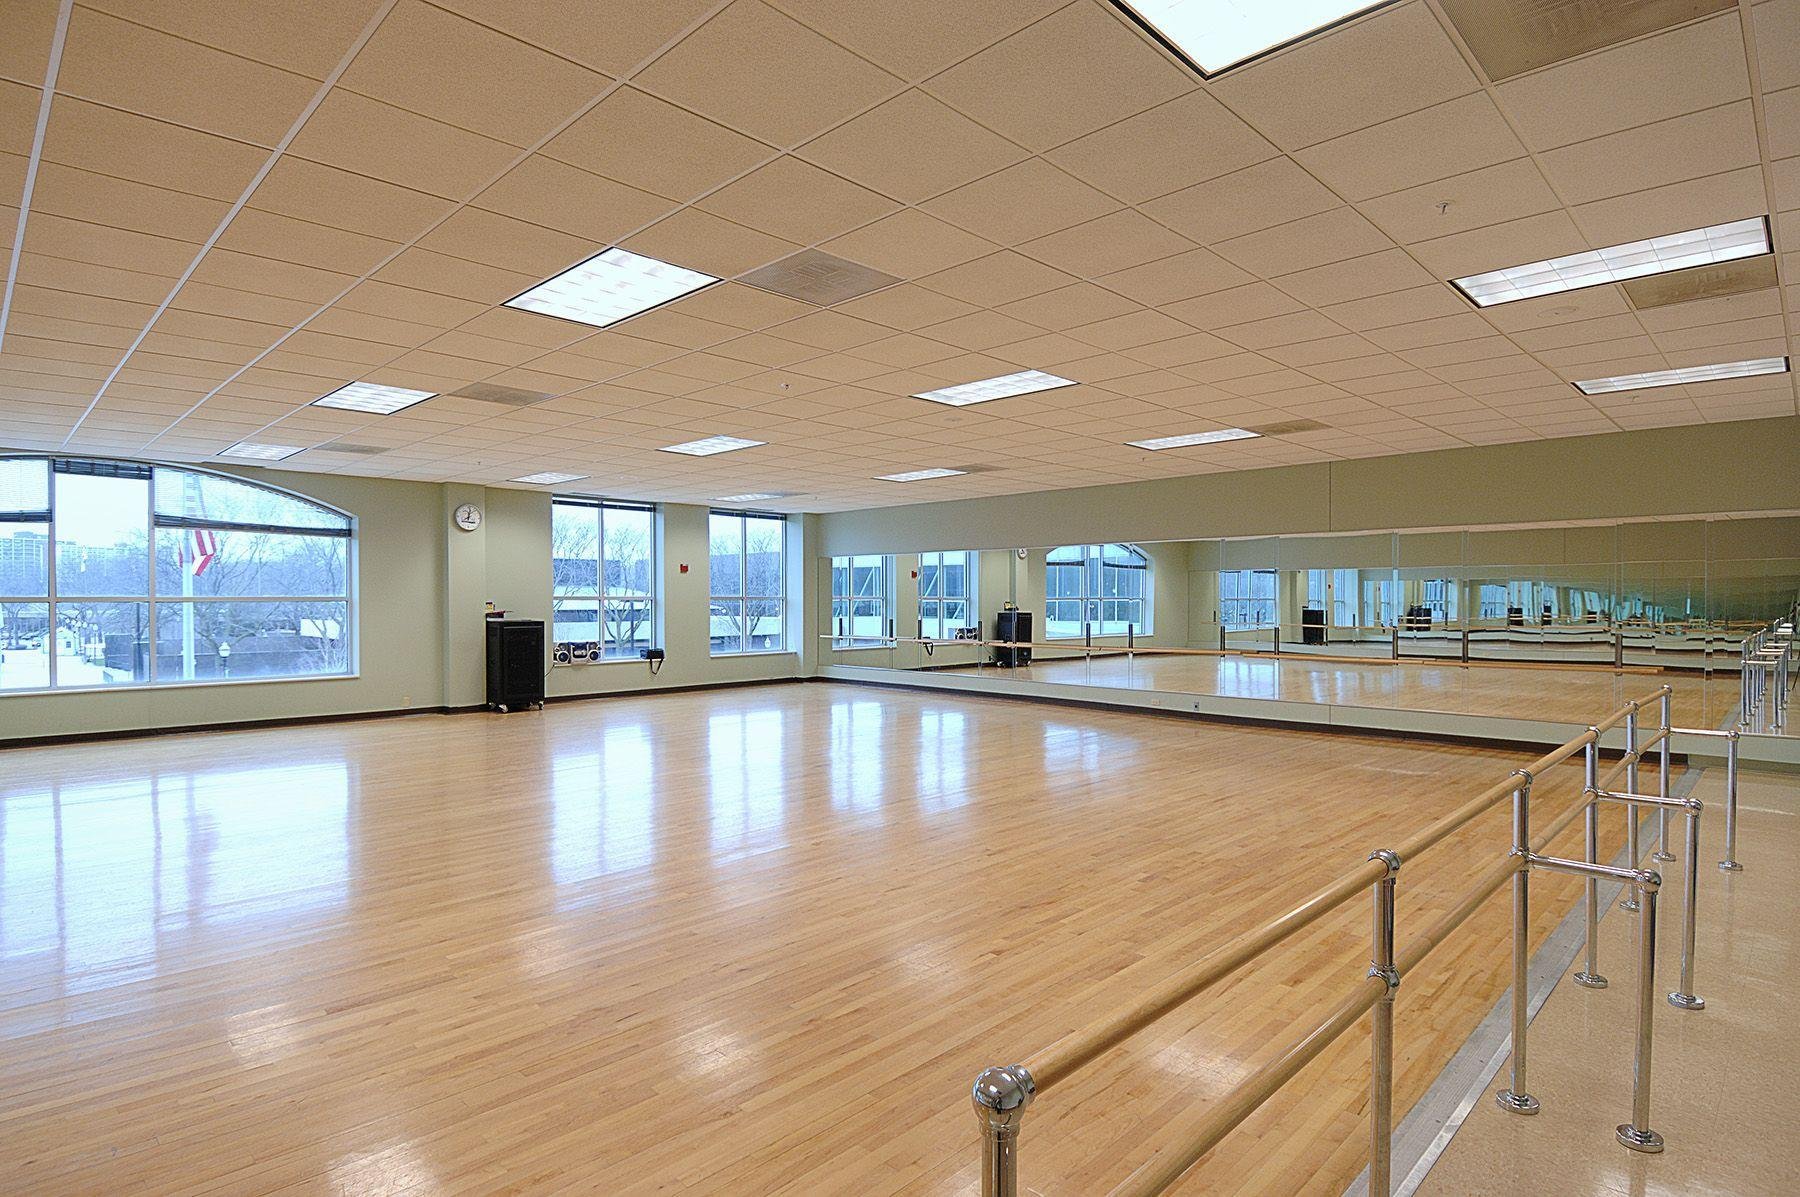
At Home Dance Studio Flooring
Hey there, home dance enthusiasts! Are you dreaming of transforming your home into a dance haven? Flooring is the foundation of your dance space, impacting performance, safety, and comfort. Let’s dive into the world of at home dance studio flooring and create the perfect space to twirl, spin, and leap.
Types of Flooring
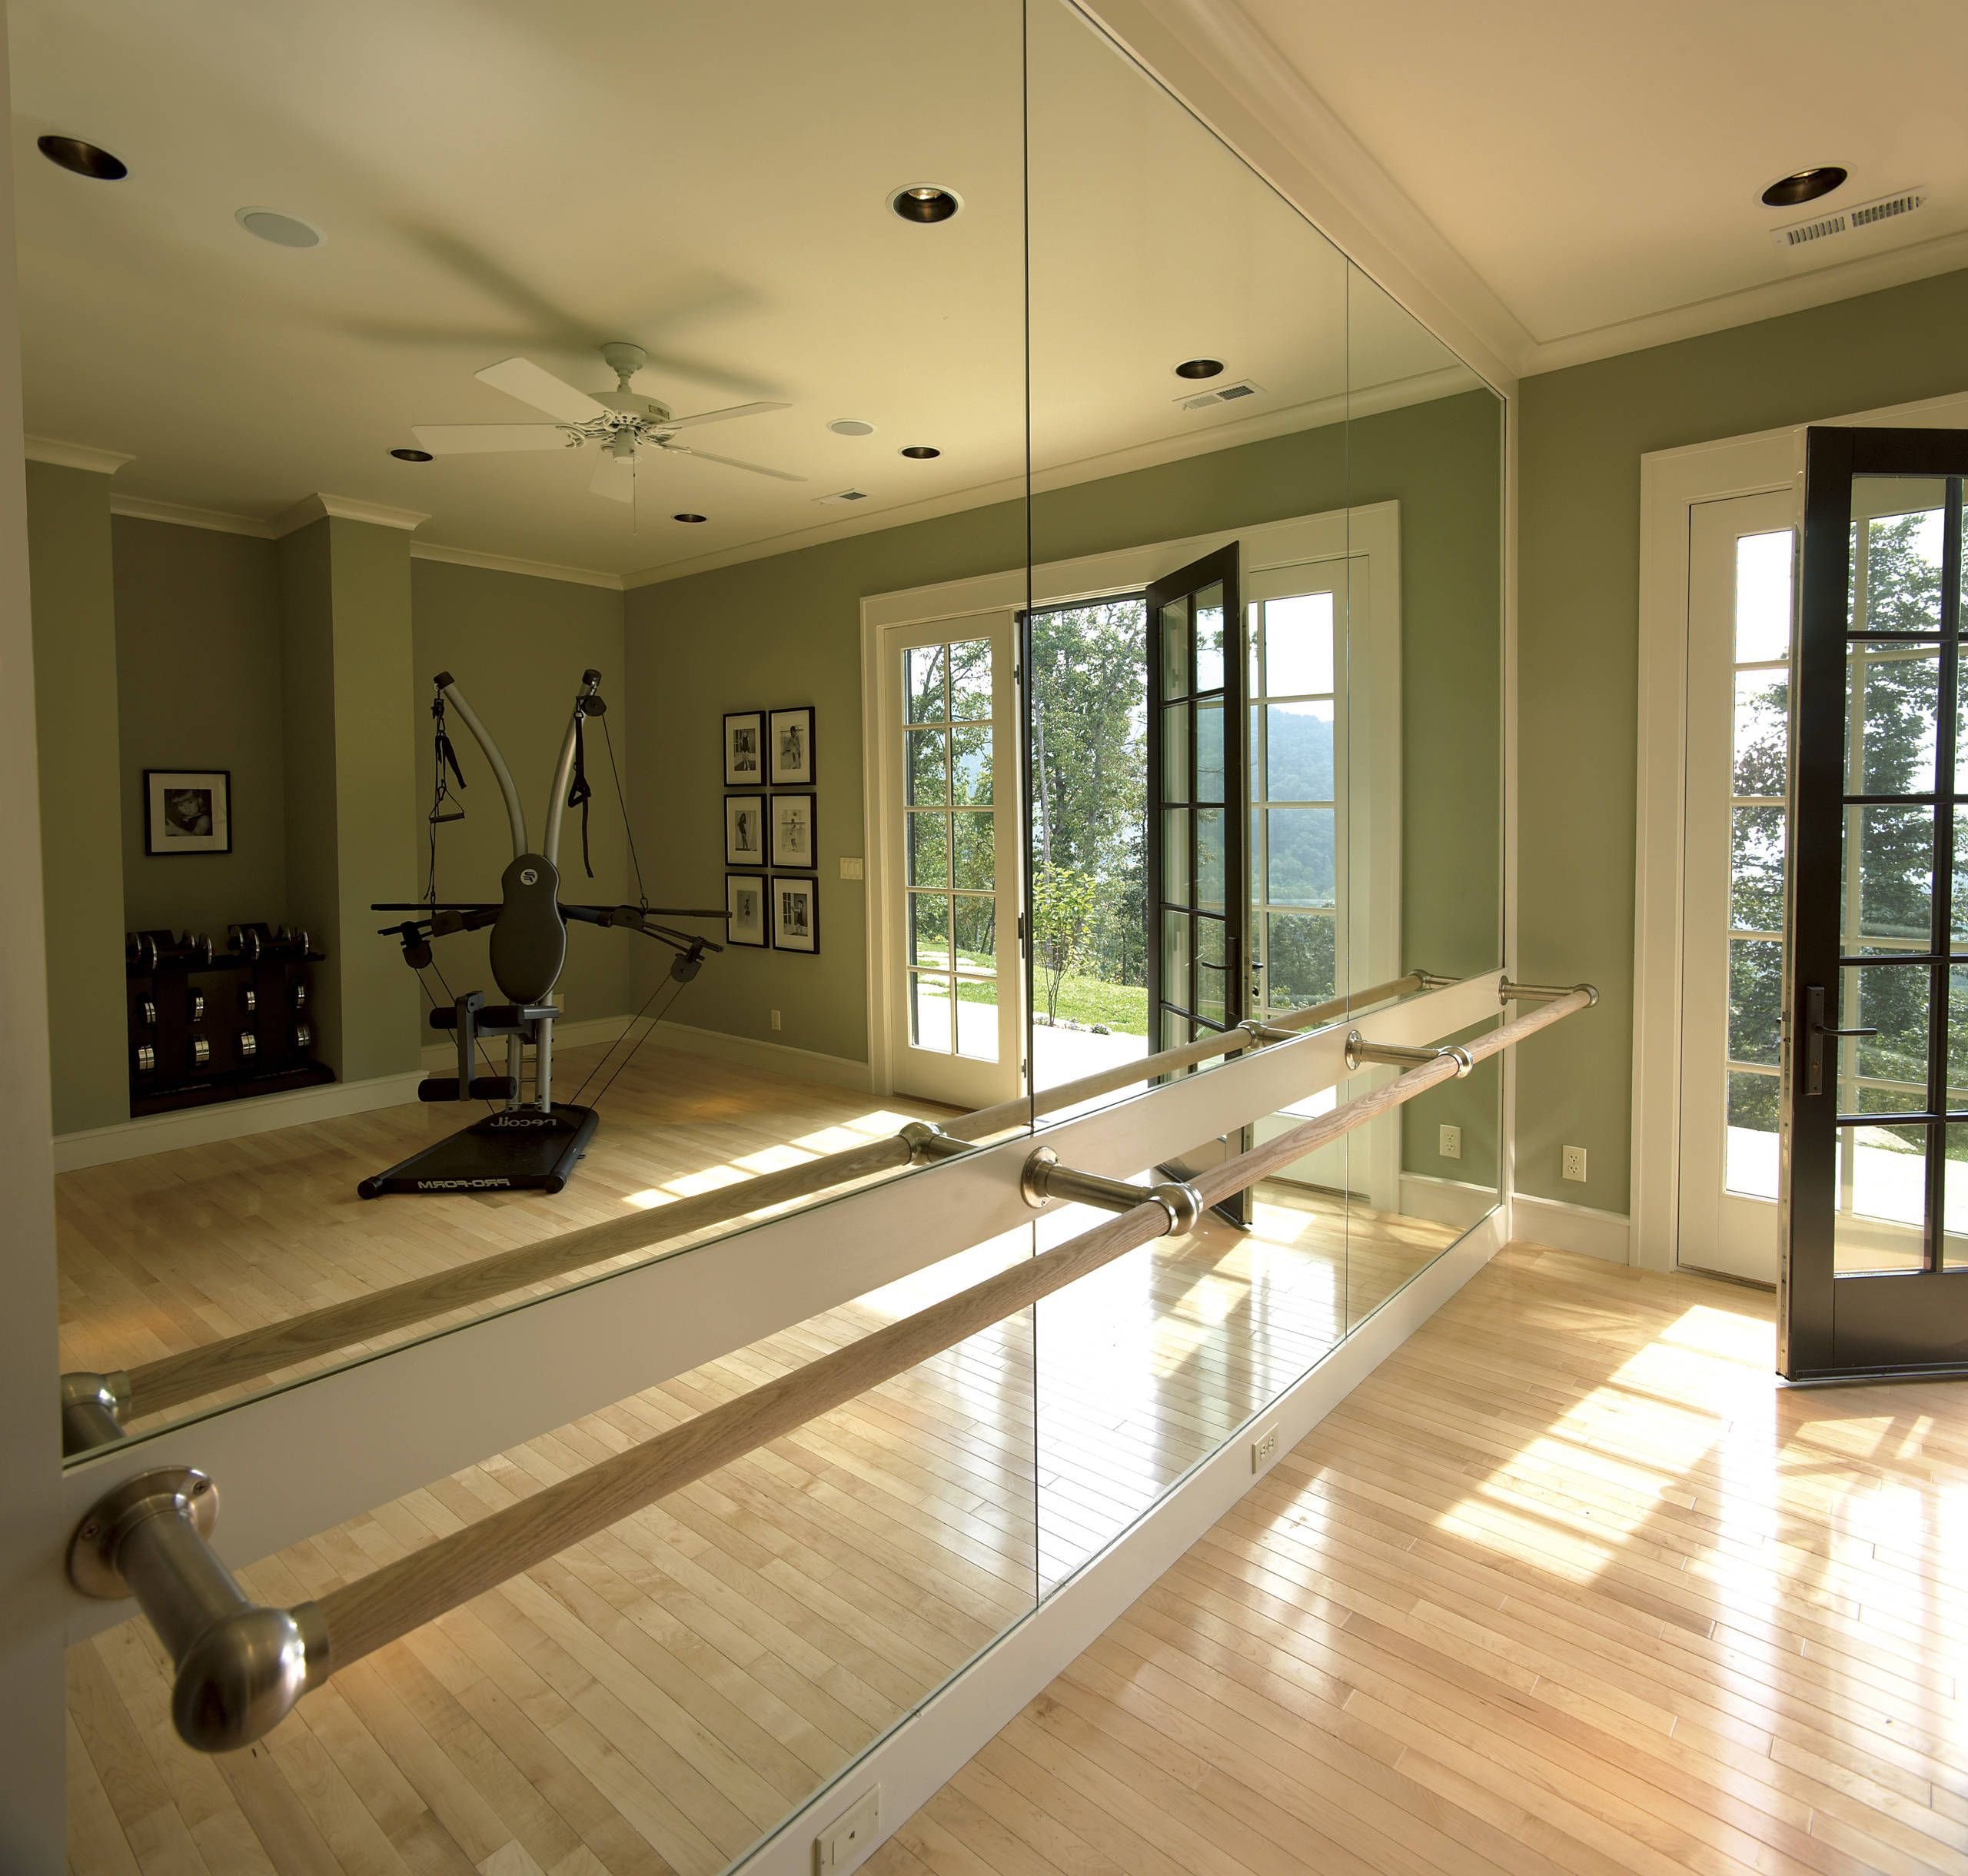
Your flooring options fall into two main categories: resilient flooring and sprung flooring. Resilient flooring, like vinyl or rubber, is less expensive and installed directly onto your existing subfloor. Sprung flooring consists of a suspended floor system with a shock-absorbing underlayment. It provides more cushioning but requires a raised subfloor and professional installation.
Installation
For resilient flooring, installation is straightforward. Measure, cut, and secure the tiles or rolls to the subfloor. If you choose sprung flooring, call in the professionals! Improper installation can affect the longevity and performance of your floor.
Maintenance
Maintaining at home dance studio flooring is crucial. Sweep or vacuum daily, and damp mop regularly. Avoid using harsh chemicals or abrasive cleaners, which can damage the surface. For sprung flooring, occasional professional cleaning is recommended to ensure optimal performance.
Cost Considerations
The cost of at home dance studio flooring varies depending on the type and size of your space. Resilient flooring starts around $3 per square foot, while sprung flooring can range from $8 to $18 per square foot. Installation costs for sprung flooring add an additional $3-$6 per square foot.
Now, grab your dancing shoes, unleash your creativity, and make your home dance studio dreams a reality!
Benefits of At Home Dance Studio Flooring:
- Enhanced performance: Proper flooring provides a supportive surface that improves coordination, balance, and technique.
- Increased safety: Cushioned flooring reduces the risk of slips, falls, and injuries.
- Improved comfort: A comfortable floor minimizes foot fatigue and joint pain, allowing you to dance longer and better.
- Noise reduction: Soundproofing underlayments can reduce noise levels, making your dance practice less disruptive to others.
Pros and Cons of At Home Dance Studio Flooring Options
| Flooring Type | Pros | Cons |
|---|---|---|
| Resilient Flooring (Vinyl, Rubber) | * Affordable * Easy to install * Durable | * Less cushioning * Can be slippery |
| Sprung Flooring | * Optimal cushioning * Shock absorption * Enhanced performance | * Expensive * Requires professional installation * Raised subfloor required |
If you’ve always wanted the experience of a dance studio in the comfort of your own home, now is your chance! Learn about the at-home dance studio that will provide you with all the space and freedom you need to practice your favorite dance moves.
Are you looking for a way to practice your ballet technique at home? If so, then you need to check out the at-home ballet floor. This portable flooring system is the perfect way to create a dedicated space for ballet practice in your home.
If you’re looking for a way to get in shape and improve your flexibility, then you should consider getting an at-home Pilates studio. Pilates is a low-impact, full-body workout that’s perfect for people of all ages and fitness levels.
If you’re looking for a fun and energetic way to get your cardio, then you need to try tap dancing! And with the at-home tap dance floor, you can practice your tap dancing skills in the comfort of your own home.
How to Install At-Home Dance Studio Flooring
Key Takeaways:
- Determine your needs and budget to select the right flooring type.
- Prepare the subfloor by cleaning and smoothing any imperfections.
- Use a vapor barrier to protect the flooring from moisture.
- Install the flooring according to the manufacturer’s instructions.
- Seal the seams to prevent moisture and dirt from penetrating.
Types of Flooring for Home Dance Studios
- Resilient flooring: Vinyl and rubber are durable, easy to maintain, and reduce noise.
- Laminate flooring: Resembles hardwood, is moisture-resistant, and provides a dance-friendly surface.
Installation Process
Materials:
- Flooring material
- Vapor barrier
- Seam tape
- Adhesive (for some flooring types)
Steps:
- Prepare the subfloor: Clean, level, and smooth the subfloor.
- Install the vapor barrier: Lay down a layer of vapor barrier to protect the flooring from moisture.
- Install the flooring: Follow the manufacturer’s instructions for installing the flooring securely.
- Seal the seams: Use seam tape and adhesive to seal the joints between the flooring tiles or planks.
Maintenance Tips:
- Sweep or vacuum regularly to remove dirt.
- Damp mop the flooring with a pH-neutral cleaner.
- Avoid using harsh chemicals or abrasive cleaners.
- Inspect the flooring regularly for any damage or wear.
Cost Considerations
The cost of How to Install At-Home Dance Studio Flooring varies depending on the flooring type and installation method.
Estimated Costs:
| Flooring Type | Cost per Square Foot |
|---|---|
| Resilient flooring | $3+ |
| Laminate flooring | $2-$6 |
Conclusion
With the right flooring, you can create a safe, comfortable, and performance-enhancing dance space in your own home. Following these guidelines and seeking professional assistance when needed will ensure a successful installation.
Sources:
- How to Install Home Dance Studio Flooring: DIY-Friendly Tips
- How to Build a Dance Studio at Home | STEEZY Blog
Maintenance and Repairs
As an experienced dance instructor, I’ve seen firsthand how proper maintenance and repairs can extend the life of your home dance studio flooring. Let’s explore some essential tips:
Daily Cleaning
- Sweep or vacuum daily: Remove loose dirt and debris to prevent buildup.
- Use specific cleaners: Avoid harsh chemicals that can damage the flooring. Instead, choose cleaners designed for your particular floor type.
Deep Cleaning
- Frequency: Schedule deep cleaning every few months, or as needed.
- Methods: For resilient flooring, use a mop and cleaning solution. For sprung flooring, engage a professional cleaner to ensure proper maintenance.
Repair Basics
- Minor repairs: Small tears or scratches on resilient flooring can be patched with adhesive-backed repair kits.
- Major repairs: For more significant damage, such as broken panels or loose subflooring, consult a professional flooring expert.
Key Takeaways:
- Daily cleaning extends flooring life.
- Use specific cleaners to avoid damage.
- Schedule deep cleaning to remove grime.
- Minor repairs can be DIY; consult a professional for major ones.
Relevant Sources:
Cost Considerations
When it comes to home dance studio flooring, cost considerations play a crucial role. The cost of flooring can vary significantly based on the type of material, installation method, and size of the dance space.
Key Takeaways:
- Different types of flooring have varying cost considerations.
- Resilient flooring is generally more cost-effective than sprung flooring.
- Professional installation can add to the overall cost.
- Consider the size of your dance space and budget when choosing flooring.
Deciding on the most suitable flooring for your home dance studio requires a careful balance between cost and other factors such as performance, safety, and comfort.
FAQ
Q1: What flooring material is best for a home dance studio?
A1: Vinyl (Marley) flooring is a versatile and durable option that is suitable for multiple dance styles. Laminate and carpeting are also good choices, offering good shock absorption and noise resistance.
Q2: How do I install dance studio flooring over carpet?
A2: It is not recommended to install dance studio flooring directly over carpet. If you need to install over carpet, consider placing a thin layer of underlayment or plywood first to provide a more stable surface.
Q3: What is the best way to clean a dance studio floor?
A3: Regularly sweeping and dry mopping will help prevent dirt and oil buildup. For deep cleaning, use specific dance floor cleaners and tools to remove stubborn scuff marks and grime.
Q4: How often should I clean my dance studio floor?
A4: The frequency of cleaning will depend on the type of flooring and how often the studio is used. As a general guideline, daily sweeping and dry mopping are recommended, with deep cleaning as needed.
Q5: What are some tips for maintaining a dance studio floor?
A5: Regularly cleaning the floor is essential. Additionally, avoid wearing shoes or dancing with dirty feet, as this can damage the flooring. Use mats or area rugs to protect the floor from scratches and scuffs.

- Pontoon Boat Seat Covers: The Ultimate Guide to Protection & Buying - April 17, 2025
- Covers for Pipework: A Complete Guide to Materials, Installation & More - April 17, 2025
- Dog Patio Door Inserts: A Comprehensive Guide to Choosing & Installing - April 17, 2025