Step into the world of gel nail artistry and achieve salon-perfect manicures from the comfort of your home with our comprehensive guide, [A Comprehensive Guide to Achieving Salon-Perfect Manicures at Home with Gel Nail Tips]. Discover the transformative power of gel nail tips, the art of effortless application, and the techniques that will elevate your DIY manicures to new heights. Prepare to unlock the secrets of long-lasting, chip-free nails, while exploring the diverse designs and styles that await your creative touch. Embrace the freedom of at-home gel nail art and elevate your beauty routine to new levels of elegance and style.
Key Takeaways:
- Prepare Your Nails: Clean, clip, file, and buff nails. Push back cuticles and moisturize. Remove dust and dead skin with an alcohol wipe.
- Apply Base Coat: Apply a thin layer and cure under the UV/LED lamp for the recommended time.
- Apply Gel Polish: Apply two thin coats, curing each coat under the lamp for the recommended time.
- Apply Top Coat: Apply a thin layer and cure under the lamp for the recommended time.
- Remove Sticky Layer: Wipe nails with an alcohol wipe to remove the sticky layer.
- Moisturize Cuticles: Apply cuticle oil to keep cuticles healthy and moisturized.
- Tips: Use a high-quality gel nail kit and UV/LED lamp. Apply thin coats, avoid touching cuticles, and cure each coat for the recommended time. Store gel polish and base/top coat in a cool, dark place.
At Home Gel Nail Tips
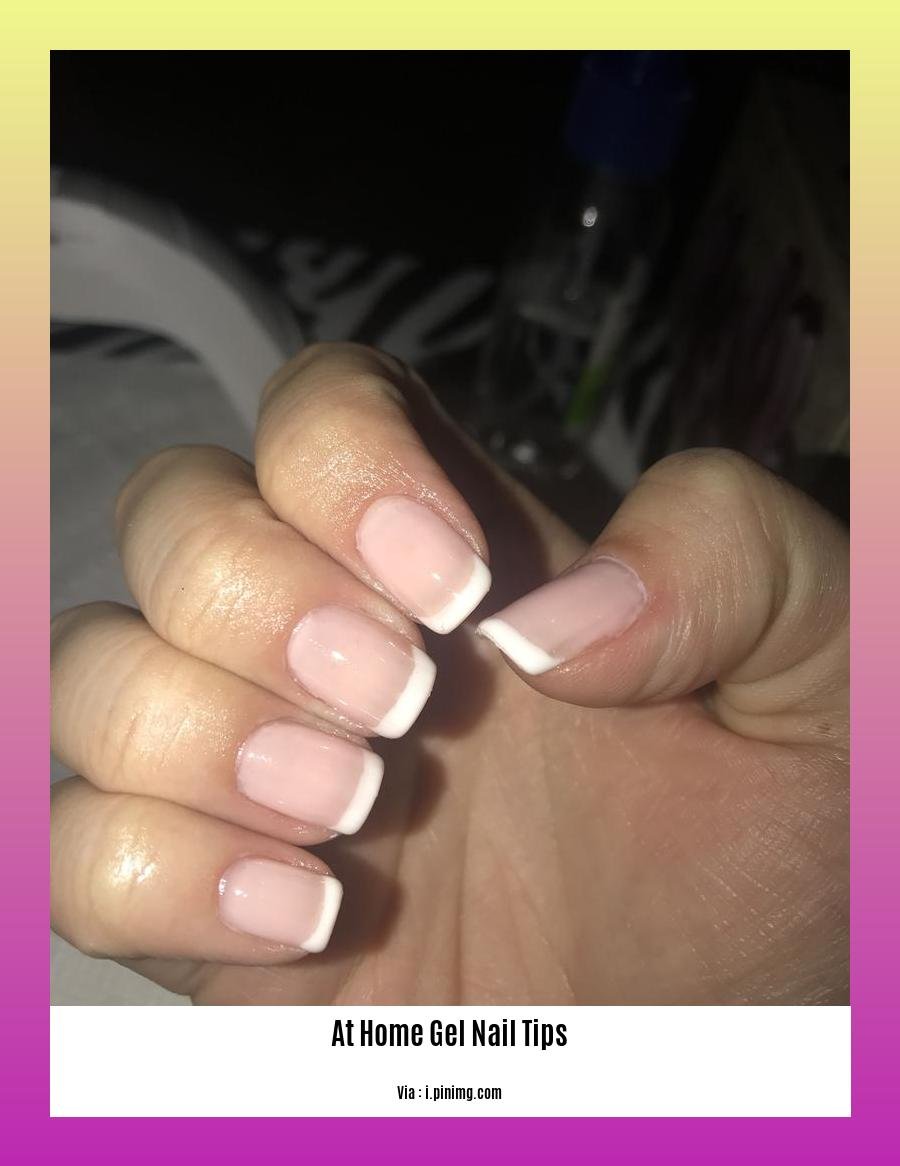
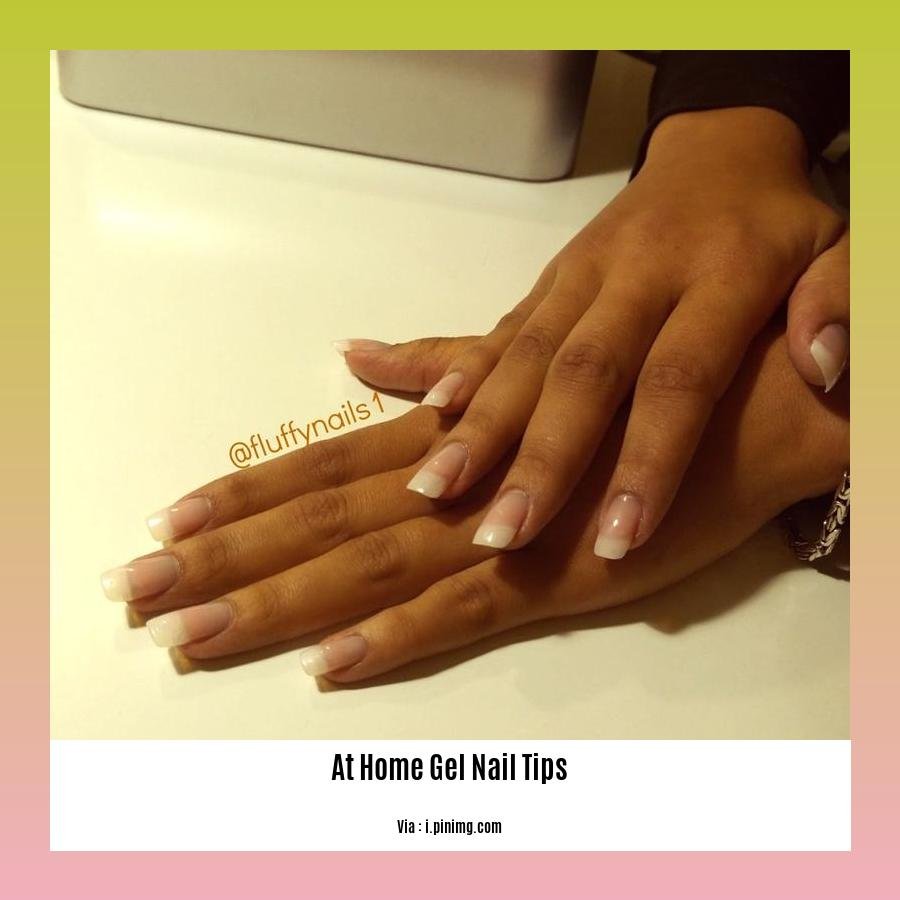
Hello, fellow beauty enthusiasts! Today, we’re diving into the world of gel nail tips, empowering you to achieve salon-worthy manicures from the comfort of your home. Whether you’re a seasoned nail art aficionado or a newbie seeking a DIY adventure, this guide will equip you with the essential knowledge and practical steps to create stunning gel nails.
Preparation is Key!
Before you dive into the colorful world of gel polishes, it’s crucial to prepare your nails for the perfect canvas. Start by removing any lingering nail polish, gently shaping your nails, and pushing back those pesky cuticles. Remember to moisturize your cuticles to keep them healthy and prevent dryness. Finally, cleanse your nails with an alcohol wipe to ensure a smooth and clean surface for the gel polish to adhere.
Gel Base Coat: The Foundation of Your Manicure
Now, it’s time to lay the foundation for your gel nail art masterpiece. Apply a thin layer of gel base coat, ensuring it covers the entire nail surface. This base coat acts as a bonding agent between your natural nail and the gel polish, promoting long-lasting wear. Cure the base coat under your UV/LED lamp for the recommended time, following the instructions provided with your gel nail kit.
Gel Polish: Unleash Your Creativity
With the base coat in place, it’s time to unleash your inner artist and apply the gel polish of your choice. Paint each nail with a thin and even layer, avoiding contact with the cuticles to prevent lifting. Cure each layer under the lamp as per the recommended time to ensure proper hardening. Repeat the process with a second coat of gel polish for an opaque and vibrant finish.
Gel Top Coat: Seal the Deal
To seal your stunning gel manicure and protect it from chipping or peeling, apply a thin layer of gel top coat. This layer adds a glossy shine and provides an extra layer of protection. Cure the top coat under the lamp, following the recommended time.
A Touch of Elegance: Finishing Touches
Once the top coat is cured, it’s time for the finishing touches. Remove the sticky layer left by the gel top coat using a lint-free wipe soaked in rubbing alcohol. This step ensures a smooth and glossy finish. Finally, pamper your cuticles with a nourishing cuticle oil to keep them healthy and moisturized.
Extra Tips for Gel Nail Perfection
- Opt for high-quality gel nail kits that include a reliable UV/LED lamp.
- Apply thin coats of gel polish for better adhesion and faster curing.
- Avoid touching the cuticles with gel polish to prevent lifting and chipping.
- Cure each coat under the lamp for the recommended time to ensure proper hardening.
- Store gel polish and base/top coat in a cool, dark place to maintain their consistency and prevent thickening.
With these simple steps and a touch of practice, you’ll be creating salon-worthy gel manicures at home like a pro! So, gather your supplies, embrace your creativity, and let those nails shine!
- If you are looking to look stunning without stepping out, then book our at home makeup artist and get salon-like services at your convenience.
- Looking for a convenient and hassle-free way to get a fresh new look? Book our at home hair cut service and let our experienced hairstylists transform your look in the comfort of your own home.
Best at Home Gel Nail Kit with Tips
Are you ready to take your at-home manicures to the next level? With the right gel nail kit, you can achieve salon-quality results in the comfort of your own home.
Key Takeaways:
- Choose a kit that includes all the essentials, like a UV/LED lamp, gel polish, base coat, and top coat.
- Look for a kit that offers a variety of colors and finishes to suit your style.
- Read reviews and compare prices before making a purchase.
- Practice makes perfect! Don’t get discouraged if your first few attempts aren’t perfect.
Step-by-Step Guide:
- Prep Your Nails:
- File and shape your nails to your desired length and shape.
- Push back your cuticles and remove any dead skin.
- Buff your nails lightly to create a smooth surface.
-
Clean your nails with rubbing alcohol to remove any oils or residue.
-
Apply Base Coat:
- Apply a thin layer of base coat to each nail.
-
Cure your nails under the UV/LED lamp for the recommended time.
-
Apply Color:
- Apply a thin coat of your chosen gel polish color to each nail.
- Cure your nails under the lamp for the recommended time.
-
Repeat this step for a second coat, if desired.
-
Apply Top Coat:
- Apply a thin layer of top coat to each nail.
-
Cure your nails under the lamp for the recommended time.
-
Remove the Sticky Layer:
-
Once your nails are fully cured, wipe them with a cotton ball or pad soaked in rubbing alcohol to remove the sticky layer.
-
Moisturize Your Cuticles:
- Apply a drop of cuticle oil to each cuticle and massage it in gently.
Tips for Achieving Salon-Quality Results:
- Use a high-quality gel nail kit with a powerful UV/LED lamp.
- Apply thin coats of gel polish and cure each coat thoroughly.
- Don’t touch your nails until they are completely dry.
- Store your gel polish and lamp in a cool, dark place.
Sources:
- Gel Nail Polish: A Step-by-Step Guide for Beginners
- Best At-Home Gel Nail Kits
FAQ
Q1: How can I remove gel nail tips at home?
A1: To remove gel nail tips at home, you will need acetone, cotton balls, aluminum foil, and an orangewood stick. Soak the cotton balls in acetone, place them on your gel nails, and wrap your nails with aluminum foil. After about 10-15 minutes, the gel should be softened enough to gently push off with the orangewood stick.
Q2: What are the best at-home gel nail extensions?
A2: Some popular and highly rated at-home gel nail extension kits include Apres Gel-X Nail Tips Kit, Modelones Poly Gel Nail Extension Kit, and Beetles Gel Nail Extension Kit. These kits typically come with everything you need to apply and remove gel nail extensions at home.
Q3: Which is the best at-home gel nail kit with tips?
A3: Some of the best at-home gel nail kits with tips include the Sally Hansen Miracle Gel Nail Kit with Tips, the Kiss Gel Fantasy Nails Kit, and the Red Carpet Manicure Pro Gel Nail Kit. These kits provide all the necessary tools and materials to achieve a professional-looking gel manicure at home, including gel polish, UV/LED lamp, and nail tips.
Q4: How do I apply gel nail tips at home?
A4: To apply gel nail tips at home, you will need to prepare your nails, apply a base coat, adhere the tips to your nails using gel glue, trim and shape the tips, apply gel polish, and cure each layer under a UV/LED lamp. Make sure to follow the instructions provided with your specific gel nail tip kit.
Q5: How long do gel nail tips last?
A5: Gel nail tips can last up to two weeks or longer, depending on how well they are applied and maintained. To ensure longer-lasting gel nail tips, it’s important to properly prepare your nails before application, apply the tips correctly, and avoid exposing them to excessive water or harsh chemicals.

- Dora the Explorer Wipe-Off Fun: Safe & Mess-Free Activities for Little Explorers - April 18, 2025
- Does Lemongrass Repel Mosquitoes? Fact vs. Fiction + How to Use It - April 18, 2025
- Do Woodchucks Climb Trees?Fact vs. Fiction - April 18, 2025