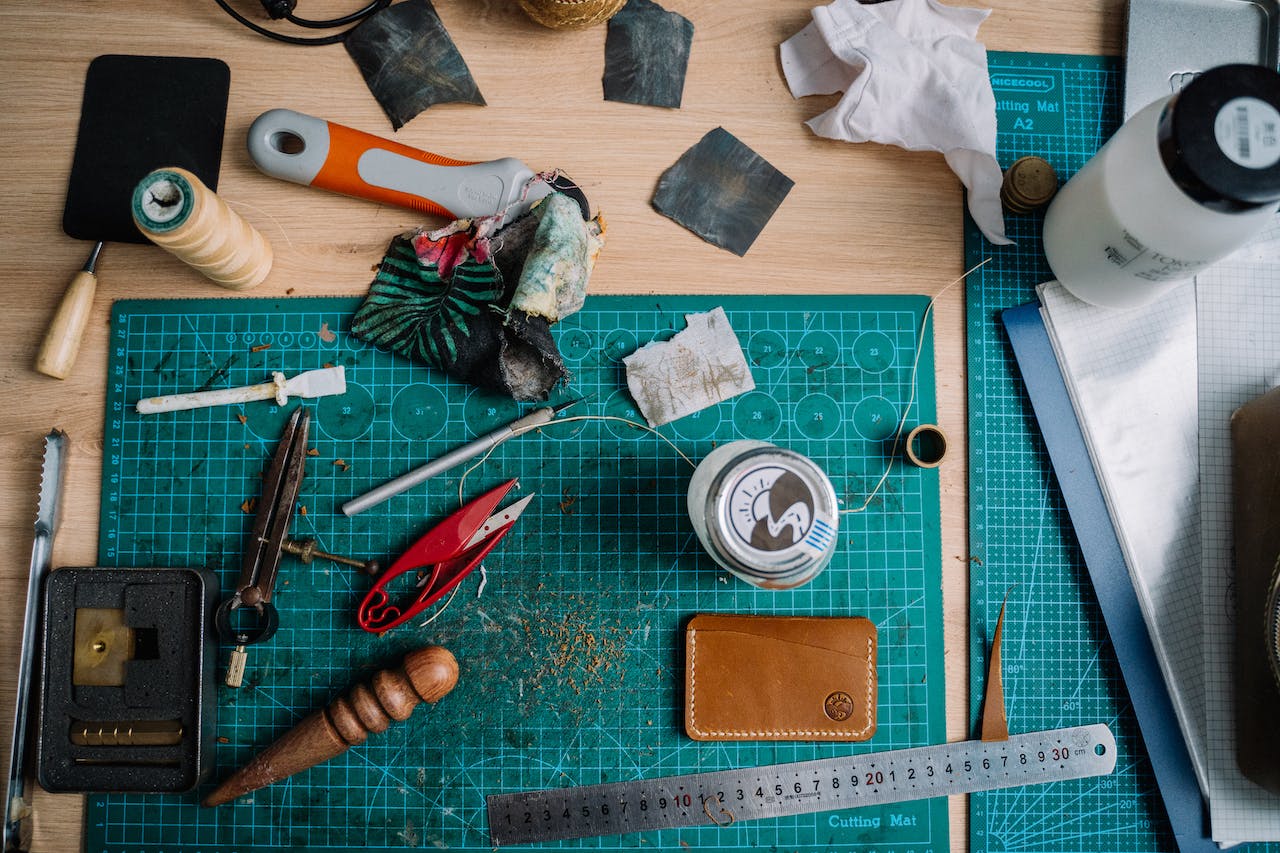
Uh oh, noticed a scratch, tear, or maybe even a crack in your car’s leather seats? Don’t panic! This guide is your one-stop shop for all things auto leather repair. We’ll walk you through fixing those little scuffs yourself and help you figure out when it’s time to call in the experts. Whether you’re curious about those DIY repair kits, wondering about the cost of fixing a tear, or just want to keep your car’s interior looking sharp, we’ve got you covered. We’ll break down the different types of leather damage, show you some DIY fixes for common problems, and help you find a trustworthy pro if you need one. Ready to get your leather looking like new again? Let’s get started!
Restoring Your Ride’s Leather: DIY and Pro Techniques
That luxurious leather interior in your car adds a touch of class and comfort, but it’s susceptible to everyday wear and tear. Scuffs, scratches, and even the occasional tear can happen. But don’t despair! Auto leather repair is often easier than you might think. This guide walks you through everything you need to know, from simple DIY fixes to when professional help is the best option. We’ll empower you to make the right decisions about your car’s leather care.
DIY Auto Leather Repair: Simple Fixes for Common Problems
For minor blemishes and everyday wear, taking the DIY route can be incredibly rewarding and budget-friendly. Think of it like touching up a scratch on a piece of furniture – a little effort goes a long way. Here are some tools you’ll likely need:
- Leather Repair Kits: These all-in-one kits tackle small tears, scratches, and scuffs. They typically include filler, colorant, and sealant.
- Leather Patches: For larger holes or tears that a repair kit can’t handle, patches offer a sturdy fix. Finding a patch that closely matches your leather’s color and texture is key.
- Liquid Leather & Conditioner: Liquid leather revitalizes worn or faded spots, filling in cracks and restoring a smooth surface. Conditioner keeps your leather supple and prevents future damage.
Repairing Tears with a Leather Repair Kit: A Step-by-Step Guide
- Clean the Area: Use a gentle leather cleaner and a soft cloth to remove dirt and grime from the damaged area.
- Assess the Damage: Determine the severity of the damage—surface scratch, deep scuff, or small tear—to estimate the amount of filler needed.
- Apply Filler (if necessary): For deeper damage, apply filler from your repair kit, smoothing it with a spatula or your finger. Let it dry completely.
- Match the Color: Carefully blend the kit’s colorant to match your leather’s shade. Test it on an inconspicuous area first.
- Apply the Colorant: Dab the colorant onto the damaged area in thin layers using a small brush or applicator.
- Seal the Repair: Protect the repair and add a finishing touch with the sealant provided in the kit.
When to Call in the Pros
While DIY repairs are great for minor issues, sometimes professional help is necessary. Professionals have the experience, specialized tools, and knowledge to handle complex repairs, from deep tears and burns to complete reupholstery, delivering flawless results you might not be able to achieve on your own.
Finding a Reputable Auto Leather Repair Shop
Choosing the right professional is essential. Here’s how to find a reputable shop:
- Check Online Reviews: Explore sites like Yelp and Google Reviews for insights into customer experiences.
- Request Before & After Photos: Reputable shops will gladly provide examples of their work.
- Get Multiple Quotes: Compare prices from different shops to ensure a fair price.
Understanding Leather Damage: Common Issues and Solutions
| Damage Type | DIY Solution | Professional Solution |
|---|---|---|
| Minor Scuffs & Scratches | Leather Repair Kit, Conditioner | Cleaning & Conditioning |
| Small Tears & Cracks | Leather Repair Kit | Patching or Resurfacing |
| Large Tears & Holes | Leather Patch (if feasible) | Patching, Restitching, or Panel Replacement |
| Burns | Likely requires professional attention | Specialized Repair Techniques |
| Fading & Discoloration | Leather Re-dyeing Products (DIY with caution) | Professional Re-dyeing |
Leather Care 101: Preventative Maintenance
Regular care can extend the life of your leather interior. Here’s how:
- Regular Cleaning: Wipe down your leather seats every few weeks with a dedicated leather cleaner.
- Conditioning: Apply a leather conditioner every few months to maintain suppleness and prevent cracking and fading.
- UV Protection: Use sunshades and park in the shade to protect your leather from sun damage.
DIY vs. Pro: Making the Right Choice
DIY:
* Pros: Cost-effective, rewarding, ideal for minor repairs.
* Cons: Time-consuming, potentially less effective for complex repairs.
Professional:
* Pros: High-quality results, expert handling of complex repairs.
* Cons: Higher cost.
The best approach depends on the damage, your DIY skills, and your budget. Small imperfections may lend themselves well to DIY, while major damage or the desire for a perfect finish suggests professional help.
Want to elevate your bathroom’s style and functionality? Discover the average cost to install ladder towel rack and transform your space. Explore the durability and design options of Armstrong vinyl flooring for a stunning and resilient floor.
Can You Repair Damaged Car Leather? Yes! Here’s How.
Want to fix up that damaged leather in your car? Absolutely! It’s often entirely possible and significantly cheaper than replacing the whole thing. First, assess the damage: a light scuff or deep cracks? A minor scratch or a significant tear? Knowing the extent of the damage informs your repair strategy.
For light scratches and scuffs, leather cleaner and conditioner are your best friends. Clean the area gently and then apply the conditioner. For cracks and fading, liquid leather or specialized leather dye can work wonders. Precise color matching is essential. Apply thin coats, letting each dry completely.
Tears and small holes require a more advanced approach. Leather repair kits contain fillers and adhesives. Fill the tear, smooth it out, and blend it with a color-matched repair compound. Patience is essential—don’t be discouraged if it takes a few tries.
Here’s a step-by-step guide for tear repair:
- Clean: Clean the area around the tear with leather cleaner and ensure it’s dry.
- Fill: Apply filler from your repair kit, filling the tear completely.
- Dry: Let the filler dry completely according to the kit’s instructions.
- Smooth: Smooth the filled area with fine-grit sandpaper.
- Blend: Apply color-matched repair compound, blending with surrounding leather.
- Dry Again: Allow the compound to dry completely.
- Seal: Apply a leather sealant for protection.
For major rips, deep gouges, or widespread damage, professional repair is the recommended route. They have the experience and tools to handle complex jobs.
Here’s a quick guide for choosing DIY or professional repair:
| Feature | DIY | Professional |
|---|---|---|
| Cost | Low | High |
| Time | Moderate | Usually quicker |
| Skill Level | Beginner to Intermediate | Expert |
| Best For | Minor scratches, scuffs, small tears | Major tears, rips, burns |
Preventing damage is the best approach. Regular cleaning, conditioning, and UV protection are crucial. Leather repair is an evolving field, so further research or professional consultation may be helpful. A little care goes a long way in maintaining your car’s interior!
Do Leather Repair Kits Really Work? It Depends.
Wondering if a leather repair kit can fix that scuffed sofa, scratched jacket, or worn car seat? The effectiveness of a leather repair kit depends on several factors. Like a first-aid kit, it’s great for minor damage, but serious issues might require professional attention. Small scratches and scuffs are often manageable with a kit, but deep gashes, burns, or widespread cracking usually require professional help.
Kit quality also matters. Inexpensive kits might contain subpar materials that crumble or peel. Investing in a quality kit, although pricier upfront, probably provides better, longer-lasting results.
The leather type and specific damage also influence the kit’s effectiveness. Different leathers react differently to repairs. Repairing a deep crack in aged, dry leather is more challenging than fixing a light scratch on newer leather.
DIY Kit Suitability for Various Damage Types:
| Damage Type | DIY Kit Suitability | Professional Recommended? |
|---|---|---|
| Scratches & Scuffs | Excellent | Generally No |
| Surface Cracks | Good | Potentially, if widespread |
| Small Tears | Fair | If complex or in a high-stress area |
| Burns & Deep Gouges | Poor | Yes |
| Widespread Cracking | Poor | Yes, or consider replacement |
Here’s a step-by-step guide for using a DIY kit:
- Clean the Area: Remove dirt and grime using a leather cleaner.
- Prep the Damage: Sand down any raised edges or rough spots.
- Apply Filler (If Needed): Apply filler in thin layers, allowing each to dry.
- Color Matching: Test the color in an inconspicuous area.
- Apply the Colorant: Apply the colorant in thin coats, dabbing rather than smearing.
- Seal the Deal: Apply a sealant for protection and a professional finish.
Patience is key. Allow ample drying time between steps. While kits can be cost-effective, professional repair might be the smarter choice for valuable items or extensive damage. Their expertise can deliver a flawless finish.
How Much Does it Cost to Repair a Tear in Leather Car Seats?
The cost to repair a tear in your leather car seat varies, ranging from $75 to over $300 professionally, while DIY kits cost $20 to $50. Factors influencing the cost include the size and depth of the tear, its location, the type of leather, and the chosen repair method. Small nicks are cheaper to fix than large gashes. Tears on high-stress areas like seams might require more complex, expensive repairs. Delicate leathers can also add to the cost. DIY is generally more budget-friendly than professional repair.
DIY fixes are usually suitable for minor imperfections like light scratches or small nicks. For significant tears, especially in high-end leather, professional repair is probably recommended. Replacing an entire car seat is the most expensive option, costing between $350 and $2,000, so repair is almost always more economical.
Cost Breakdown:
| Repair Type | Estimated Cost |
|---|---|
| Scratch/Scuff Repair | $75 – $200 |
| Small Crack Repair | $100 – $300 |
| Minor Tear/Seam Fix | $150 – $400 |
| General Tear Repair | $75 – $300+ (per seat) |
| DIY Kit | $20 – $50 |
| Pro Hourly Rate | ~$100/hour |
| Full Seat Replacement | $350 – $2000 |
These are estimates, and the actual cost may vary. If choosing DIY, follow these steps:
- Clean the Area: Clean the damaged area with leather cleaner.
- Apply Filler: Smoothly apply filler, potentially in multiple applications.
- Drying Time: Allow adequate drying time.
- Sanding (If Needed): Lightly sand to blend with surrounding leather.
- Color Matching: Apply color-matched compound after testing.
- Sealant: Protect the repair with a sealant.
For professional repairs, research shops thoroughly, checking reviews and requesting before-and-after photos. Preventative measures like regular cleaning, conditioning, and UV protection can help avoid future costly repairs.
- Burning Plastic Smell in House: Causes, Solutions, and Safety Measures - April 8, 2025
- Best Bug Killer for Yard: Effective Pest Control Guide (2024) - April 8, 2025
- Brown Recluse Spider Bites: Identification, Treatment, and Prevention - April 8, 2025


