Choosing the right tile can transform a space, but what’s underneath is just as important. Backer board is the unsung hero of any tiling project, providing a stable, water-resistant foundation. This guide covers everything you need to know about backer board, from choosing the right type to expert installation tips. Dreaming of a backyard oasis? Consider the possibilities with a spacious 12×24 shed or a robust 12×24 storage shed for your outdoor essentials.
Understanding Backer Board
Backer board is a crucial element in tile installation, especially in moisture-prone areas. It acts as a barrier, protecting your walls and floors from the damaging effects of water. Think of it as the bedrock for your tile masterpiece, preventing cracks, moisture damage, and mold growth. But why is it so important? Regular drywall, made of gypsum, crumbles and deteriorates when exposed to moisture. Backer board, typically composed of cement, silica, and limestone, offers a durable, water-resistant alternative.
What is Backer Board Made Of?
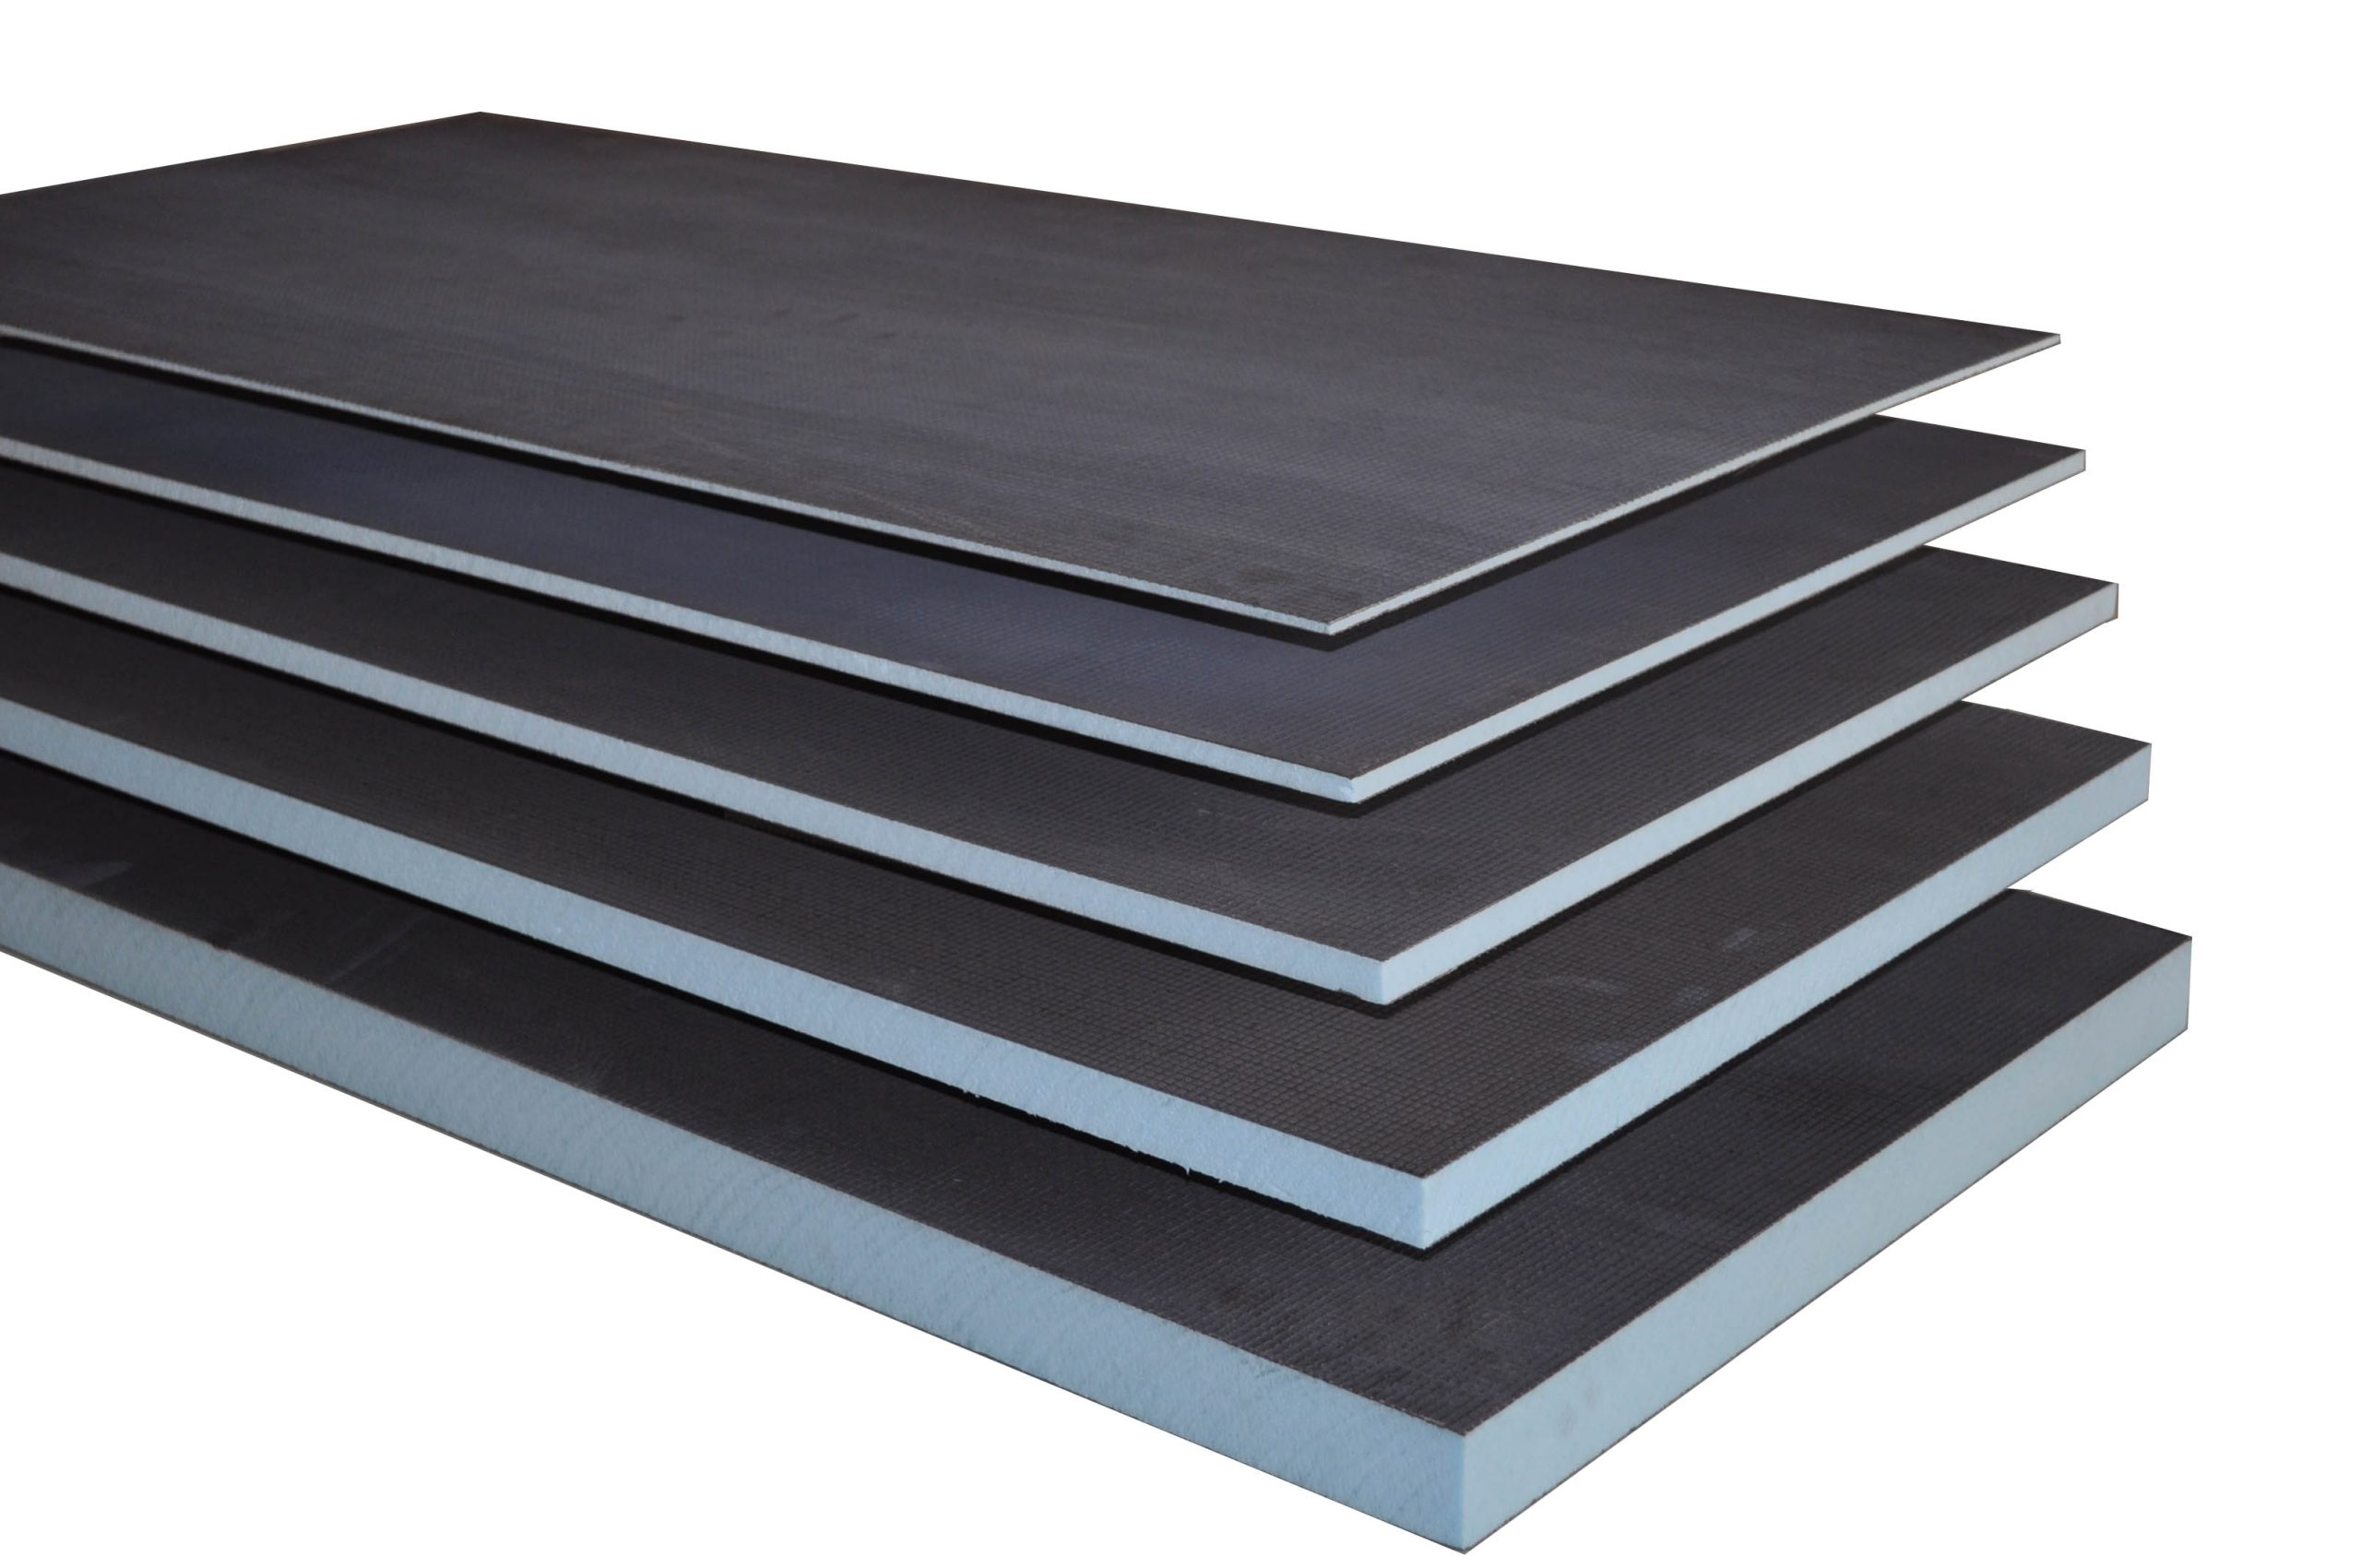
The most common type, cement backer board, is a mix of Portland cement, aggregate, and fiberglass mesh. This combination creates a robust and water-resistant panel, ideal for wet areas like showers, bathrooms, and kitchens. Other types include fiber-cement, glass mat gypsum, and foam boards, each with varying properties and applications.
Why Use Backer Board?
Backer board’s primary purpose is to provide a stable and level surface for tile adhesion. This prevents the tiles from cracking or loosening due to shifts in the underlying structure or moisture expansion and contraction. It also safeguards against mold and mildew, maintaining a healthy and aesthetically pleasing tiled surface.
Choosing the Right Backer Board
Selecting the right backer board can feel overwhelming. There isn’t a one-size-fits-all solution, as different types cater to specific needs. Factors like tile weight, moisture levels, and project location play a role in your decision.
Types of Backer Board
- Cement Backer Board: The heavy-duty champion for wet areas like showers and floors, offering superior water resistance and stability. It handles heavy tiles with ease but can be challenging to cut.
- Fiber-Cement Backer Board: A more flexible alternative to cement board, easier to work with, particularly on curved surfaces. While water-resistant, it’s slightly less so than pure cement board, making it suitable for moderately wet areas like walls and ceilings.
- Glass Mat Gypsum Backer Board (DensShield): A balance of performance and ease of installation. It scores and snaps easily, offering decent moisture resistance, making it suitable for walls and ceilings in less wet areas like powder rooms or backsplashes.
- Foam Backer Board (Extruded Polystyrene – XPS): Lightweight and entirely waterproof, this option simplifies installation. While easy to cut, it’s less robust and better suited for lighter tiles like mosaics in wet areas.
Backer Board Thickness Guide
Choosing the correct thickness is crucial for a successful tile project:
| Location | Recommended Thickness | Why? |
|---|---|---|
| Walls | 1/4″ | Provides ample support without adding significant bulk. |
| Countertops | 1/4″ | Offers a stable base while maintaining a manageable thickness. |
| Floors | 1/2″ or 5/8″ | Handles the weight and stress of foot traffic and heavier floor tiles. |
| High-Stress Areas | 1/2″ or 5/8″ | Offers extra durability for areas subject to heavy use or potential impact. |
Local building codes may have specific requirements, so it’s always best to check before starting your project.
Installing Backer Board: A Step-by-Step Guide
Installing backer board might seem daunting, but with the right approach, it’s manageable even for DIY enthusiasts.
- Measure and Cut: Accurate measurements are essential. Use a carbide-tipped scoring knife for straight cuts and a jigsaw for intricate shapes. Always wear safety glasses.
- Apply Thin-Set Mortar: Spread a thin, even layer using a notched trowel to ensure proper adhesion.
- Secure the Board: Press the backer board firmly onto the mortar and secure it with backer board screws every 8 inches.
- Tape and Mud the Joints: Apply alkali-resistant mesh tape to the joints and cover with thin-set mortar, creating a smooth, waterproof surface.
- Allow Drying Time: Let the thin-set dry completely (typically 24 hours) before tiling. Check the manufacturer’s instructions.
Expert Tips for Success
- Screw Length: Ensure screws penetrate the substrate by at least 3/4 inch for a secure hold.
- Uneven Surfaces: Use shims to level the backer board before securing it, preventing lippage.
- Curved Surfaces: Opt for flexible backer board for arches and curved walls.
- Waterproof Membrane: In shower areas, an additional waterproof membrane over the backer board provides extra protection.
Where to Buy Backer Board
Backer board is readily available at most home improvement stores and tile specialty retailers. Online retailers also offer options, but factor in shipping costs.
Backer Board vs. Drywall: Why Not to Tile Directly Over Drywall
While technically possible, tiling directly over drywall is generally discouraged, especially in wet areas. Drywall’s porous nature absorbs moisture, leading to softening, deterioration, and potential mold growth. This can compromise the tile adhesion and create health risks. Installing backer board directly onto studs offers a far superior, stable, and water-resistant base for your tile.
If installing over drywall is unavoidable due to project constraints:
- Assess and Prepare: Ensure the drywall is clean, dry, and firmly attached.
- Apply Thin-Set: Use a high-quality modified thin-set for better adhesion and moisture resistance.
- Secure: Fasten the backer board with screws, not drywall screws.
- Tape and Mud: Seal the joints with tape and thin-set to prevent water penetration.
Is Cement Board the Same as Backer Board?
“Backer board” is a general term for any tile underlayment, while “cement board” refers to a specific type. Other types include fiber-cement board (like HardieBacker), glass mat gypsum, and waterproof drywall. Each has distinct properties, making it crucial to select the appropriate material for your project needs and location.
Making Backer Board an Investment, Not an Expense
Backer board, while an upfront cost, is a long-term investment. It protects against costly repairs associated with cracked tiles, water damage, and mold. By providing the necessary support and moisture resistance, backer board ensures the longevity and beauty of your tile installation. It’s a crucial step that prevents future headaches and maintains the value of your home.
- Contemporary Kitchen Backsplash Ideas for a Stylish Home - December 20, 2025
- Modern Kitchen Backsplash Ideas To Inspire Your Refresh - December 19, 2025
- Modern Backsplash Ideas: A Guide to Todays Kitchen Trends - December 18, 2025


