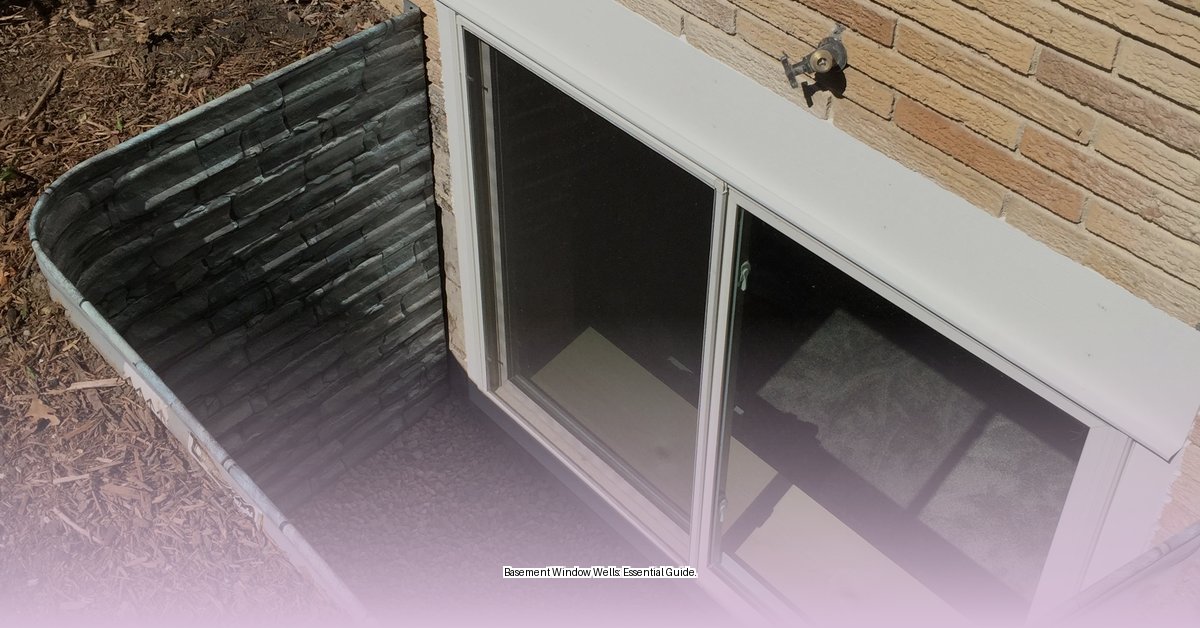
Brighten Your Basement: Understanding Window Wells
Basement windows often get overlooked, but they’re key to a comfortable, usable space. Window wells are essential for keeping those windows functional and safe. This guide covers everything you need to know about basement window wells, from choosing the right type to installation and maintenance.
Types and Materials: Finding the Right Fit
Choosing the right window well involves considering various factors, including material, size, and local building codes, especially for egress windows. Here’s a breakdown of common window well materials:
| Material | Pros | Cons |
|---|---|---|
| Plastic | Affordable, lightweight, easy installation, resists rust | Less durable, prone to cracking/fading, especially in cold climates |
| Galvanized Steel | Durable, rust-resistant, moderate cost | Can dent, may eventually rust |
| Fiberglass | Strong, low-maintenance, design options, long lifespan | More expensive |
| Concrete | Most durable, long-lasting, customizable | Heavy, requires professional installation |
| Pressure-Treated Wood | Natural aesthetic, can blend with landscaping | Requires regular maintenance (sealing/staining) to prevent rot |
Beyond material, window wells come in various shapes and sizes. Half-circle or crescent wells are common for smaller windows, while square or rectangular wells are often used for egress windows, which require more space. Custom wells are an option for unique window shapes or basement layouts.
Sizing: It’s More Than Just the Window
Proper sizing is crucial, especially for egress windows, which serve as emergency exits. The International Residential Code (IRC) provides guidelines, but local building codes may have additional requirements. Generally, egress window wells need around 9 square feet of clear opening, often 36 inches wide and projecting 36 inches from the house. Wells deeper than 44 inches require a permanently attached ladder or steps meeting specific safety criteria. Always check with your local building authority before starting any project.
Window Well Covers: Essential Protection
Window well covers are like a shield, protecting your wells from debris, pests, snow, and rain. They also offer insulation, potentially saving you on energy bills. Covers must be easily opened from the inside without keys or tools for quick escape in emergencies. Ongoing research suggests improvements in cover design for enhanced safety and energy efficiency.
Installation: DIY or Pro?
Installing a window well can be a DIY project, but if you’re unsure about any aspect, especially drainage or working with concrete, hiring a professional is recommended. Always call 811 before you dig to mark underground utility lines. Here’s a simplified installation process:
- Excavation: Dig a hole slightly larger than the window well, ensuring proper sloping for drainage.
- Gravel Base: Add a layer of gravel at the bottom for drainage.
- Placement: Carefully position the window well, ensuring it fits snugly against the foundation.
- Securing and Sealing: Secure the well to the foundation with appropriate anchors and sealant, creating a watertight barrier.
- Backfilling: Fill the surrounding area with gravel, sloping it away from the house for proper water runoff.
- Cover Installation: Install the window well cover.
Drainage: Keeping It Dry
Proper drainage is vital to prevent water from pooling around your foundation. This often involves connecting the window well to your existing foundation drainage system or installing a French drain. The type of soil you have influences drainage needs. Sandy or gravelly soil may drain well enough on its own, but it’s best to consult local recommendations.
Maintenance: A Little Goes a Long Way
Regular maintenance ensures your window wells function correctly and last longer. Remove debris, check for proper drainage, and inspect for cracks or damage. In colder climates, consider adding insulation or a specialized winter cover.
Costs and Where to Buy
Window well costs vary based on material, size, and features. Plastic wells might start around $50, while larger egress wells or those made of composite materials can cost several hundred dollars. You can find window wells at home improvement stores, online retailers, and specialized building supply companies.
Egress Windows: Your Basement Safety Net
Egress windows are essential safety features, providing escape routes in emergencies. They’re often required by building codes for finished basements, especially those with bedrooms. Ensure your window wells meet the size requirements for egress and comply with local building codes.
Beyond the Basics: Landscaping and Energy Efficiency
Landscaping around your window wells can improve drainage, enhance curb appeal, and create a more inviting basement space. Consider decorative gravel, shrubs, or flower beds. Insulated window wells and covers can also improve energy efficiency, reducing heat loss during winter.
Finding and Hiring a Contractor
If DIY isn’t your thing, especially for complex projects like egress window installation, hiring a qualified contractor is advisable. Look for licensed and insured professionals with experience in window well installation, especially egress windows. Get multiple quotes and ask about warranties.
This guide provides a comprehensive overview of basement window wells. Remember, ongoing research and evolving building practices mean staying up-to-date is always beneficial. By understanding the different types, installation processes, and maintenance requirements, you can transform your basement into a brighter, safer, and more functional space.
- Dora the Explorer Wipe-Off Fun: Safe & Mess-Free Activities for Little Explorers - April 18, 2025
- Does Lemongrass Repel Mosquitoes? Fact vs. Fiction + How to Use It - April 18, 2025
- Do Woodchucks Climb Trees?Fact vs. Fiction - April 18, 2025


