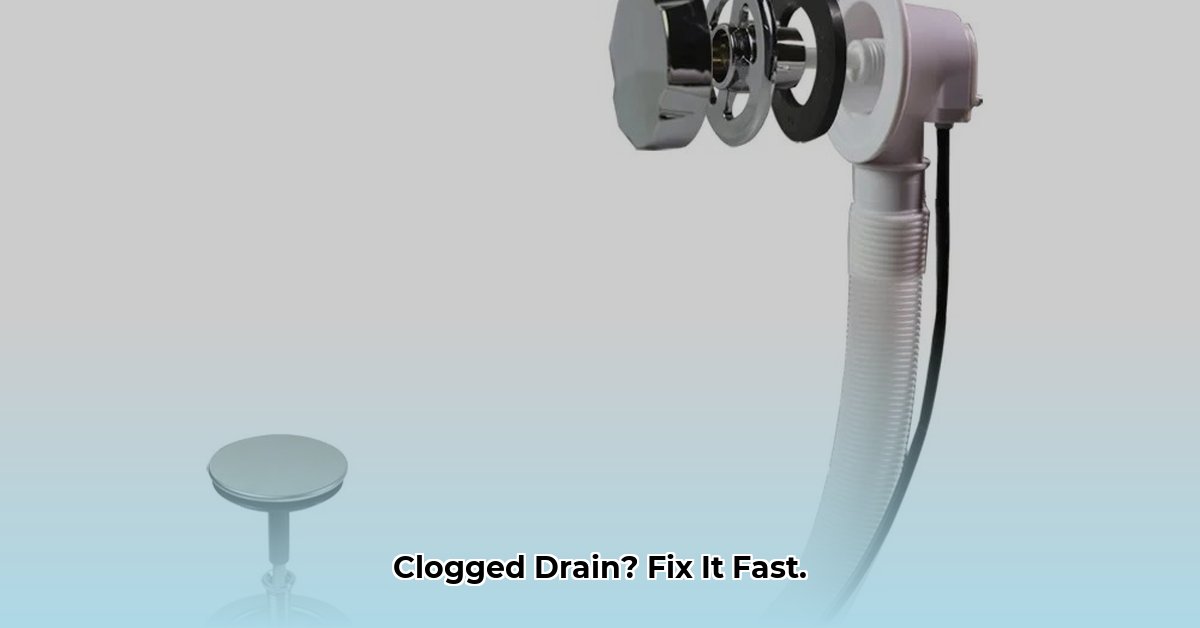
Is your bathtub drain giving you the blues? A slow drain or a leaky one can be a real headache. But don’t worry, you don’t need a plumbing degree to fix it. This ultimate guide will walk you through everything you need to know about bath drainage kits, from picking the right type to installing it like a pro. We’ll even touch on some cool new tech that might just change the way you think about drains!
Drain Kit Decoded: Choosing Your Champion
Before diving into installation, let’s explore the different types of bath drainage kits. Each has its own perks and quirks, so selecting the right one depends on your tub and your preferences.
- Trip Lever Drain: This classic uses a lever on the overflow plate to control the stopper. Simple, widely available, and budget-friendly, but the linkage can sometimes become finicky.
- Push-Button Drain: Modern and sleek, a push opens and closes the drain. Easy to use, but might require a bit more pressure than a trip lever.
- Toe-Touch Drain: Hands full? No problem! Tap with your toe to open and close. Ultimate convenience, but often comes with a higher price tag.
- Lift-and-Turn Drain: A more secure seal, requiring a lift and twist to operate. Reliable, but not as hands-free as other options.
- Pop-Up Drain: Controlled by a lever behind the faucet, these less common bathtub drains offer a different aesthetic.
- Freestanding Tub Drains: These specialized drains are essential for freestanding tubs, but installation can be more complex, potentially requiring a plumber’s expertise.
Here’s a comparison table to help you choose:
| Drain Type | Pros | Cons |
|---|---|---|
| Trip Lever | Simple, widely available, typically affordable | Potential linkage issues, may wear faster |
| Push-Button | Stylish, easy to use | May require more force to operate |
| Toe-Touch | Hands-free operation | Higher cost |
| Lift-and-Turn | Secure seal | Not as convenient as toe-touch |
| Pop-Up | Unique aesthetic | Can be more complex to repair |
| Freestanding | Designed for freestanding tubs | May require professional installation |
Materials and Finishes: Style and Substance
Your drain’s material isn’t just about looks; it impacts durability. The finish adds a touch of personal style to your bathroom.
- Plastic (PVC): Inexpensive and easy to install, but less durable and may discolor over time. Best for budget-conscious projects or temporary fixes.
- Brass: Durable, corrosion-resistant, and available in various stylish finishes (chrome, brushed nickel, oil-rubbed bronze, matte black). A great balance of style and durability.
- Stainless Steel: Extremely durable, corrosion-resistant, and modern. Can be tricky to install and is typically the most expensive. Best for high-end renovations where longevity is key.
Size and Compatibility: The Right Fit
Measuring your existing drain is crucial. Key measurements include:
- Drain Opening Diameter: Most tubs use 1-1/2″ or 1-7/8″.
- Overflow Drain Style: Ensure your new kit matches your existing overflow drain (two-hole, slotted, etc.). If they differ, an adapter may be necessary.
- Rough-in Dimensions (for new tubs): This is the distance between the drain and overflow opening centers. Accurate measurement is essential for proper installation.
Installation: A DIYer’s Dream (Mostly)
Installing a bath drainage kit is usually a straightforward project. Always refer to the manufacturer’s instructions, as there may be variations between kits.
Tools You’ll Need:
- Pliers
- Screwdriver
- Plumber’s Putty
- Teflon Tape (may be needed)
- Adjustable Wrench
- Utility Knife (for trimming excess putty)
- Bucket or rags (to catch water and debris)
Steps:
- Remove the Old Drain: Loosen the nut underneath the tub and remove the old drain. Penetrating oil can help loosen stubborn connections.
- Clean the Drain Opening: Remove all old putty and debris. A clean surface is key for a good seal.
- Prepare the New Drain: Apply plumber’s putty to the underside of the new drain flange.
- Install the New Drain: Press the flange into the opening and tighten the nut from below. Avoid over-tightening.
- Connect the Overflow Drain: Attach the overflow pipe and tighten connections. Teflon tape on the threads can help prevent leaks.
- Test for Leaks: Fill the tub with a few inches of water and check for leaks. Tighten connections or reapply putty if needed.
[Consider embedding a short video tutorial here demonstrating the installation process.]
Maintenance: Happy Drains, Happy Home
Regular maintenance prevents future headaches:
- Hair Catchers: Use a hair catcher to prevent clogs.
- Regular Cleaning: Flush the drain with boiling water monthly. Avoid harsh chemicals that could damage the finish. A baking soda and vinegar mixture is a natural cleaning alternative.
- Inspect Regularly: Check for leaks and signs of wear.
Smart Drains: The Future of Bathing
Technology is transforming our bathrooms. Smart drains offer touchless operation, leak detection, and water conservation features. Some even integrate with smart home systems. Explore these options for a futuristic bathing experience.
Budget and Brands: Finding the Sweet Spot
Bath drainage kits range from $20 to over $100. Reputable brands include Kohler, Delta, and Moen. Research and compare prices before making a purchase.
Where to Buy: Your Drainage Destination
Find bath drainage kits at home improvement stores (Home Depot, Lowe’s) and online retailers (Amazon).
Troubleshooting: Conquering Common Issues
Leaks: Most leaks stem from loose connections, worn gaskets, or a cracked drain body. Identify the source of the leak and replace the necessary parts.
Clogs: Hair and soap scum are common culprits. Try a plunger, drain snake, or a baking soda and vinegar mixture to clear clogs.
Slow Drains: Partial clogs or buildup can restrict water flow. Regular cleaning and maintenance can prevent slow drains.
Conclusion: Drain Dilemma Solved!
With this guide, you’re armed with the knowledge to tackle any bath drainage challenge. Say goodbye to drain drama and hello to relaxing soaks! Leave your comments and questions below – we’re here to help.

- How to Remove Water Stains from Fabric: A Complete Guide - April 26, 2025
- How to Get Motor Oil Out of Clothes: Proven Methods & Expert Tips - April 26, 2025
- How to Get Deodorant Out of Black Shirts: Easy Stain Removal Guide - April 26, 2025