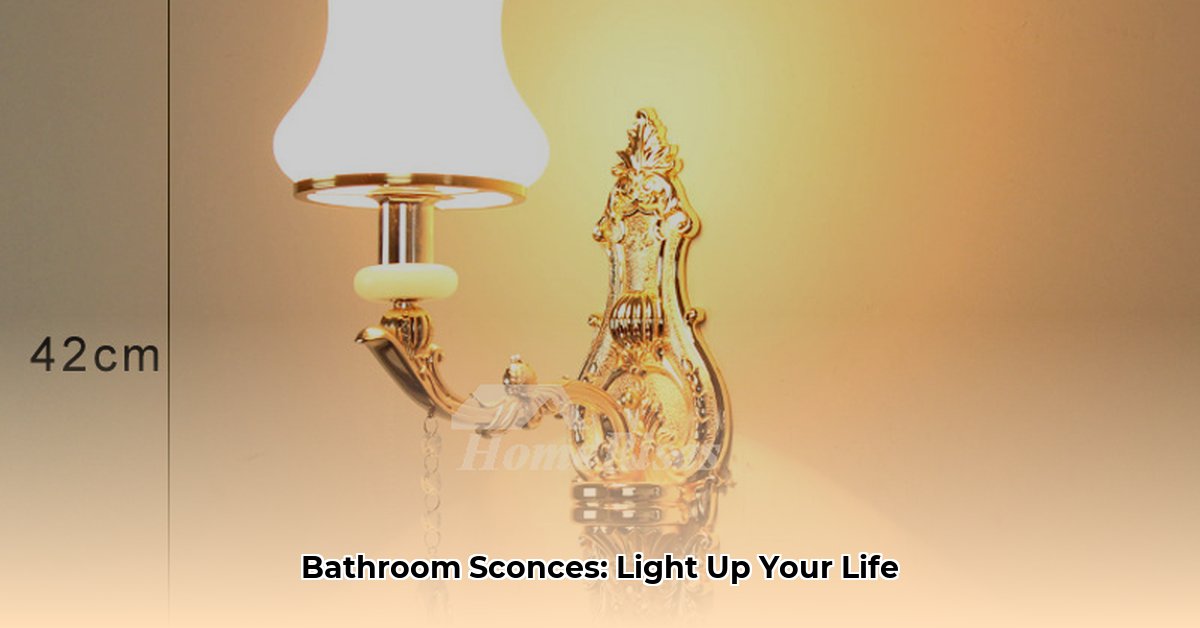
Ready to transform your bathroom from basic to brilliant? Wall sconces are the secret weapon for adding style and function. This guide covers everything from choosing the right style to strategic placement and installation tips, empowering you to create the bathroom of your dreams.
Sconce Styles: Finding Your Perfect Match
Choosing the right sconce style is key to achieving your desired bathroom aesthetic. Let’s explore some popular options:
- Modern: Sleek lines, metallic finishes (brushed nickel, chrome), and geometric shapes define modern sconces. They bring a clean, sophisticated look to contemporary bathrooms.
- Farmhouse: Think rustic wood, metal accents, distressed finishes, and seeded glass. These sconces add warmth and character to farmhouse, vintage, or shabby chic bathrooms. A visible Edison bulb can enhance the rustic charm.
- Traditional: Classic shapes, glass shades, and ornate details (crystal drops, fabric shades) epitomize traditional sconces. Finishes like polished brass or antique bronze create a timeless elegance in classic bathrooms.
- Industrial: Exposed bulbs, metal piping, and vintage-inspired designs characterize industrial sconces. They add a touch of edgy, vintage charm to loft-style, urban, or eclectic bathrooms.
- Art Deco: Geometric patterns, bold colors, and luxurious materials (e.g., etched glass, polished chrome) define Art Deco sconces, adding a touch of vintage glamour.
- Coastal: Light colors, natural materials (e.g., wicker, frosted glass), and nautical themes create a breezy, beachy vibe.
| Style | Characteristics | Ideal Bathroom Setting | Materials | Finishes |
|---|---|---|---|---|
| Modern | Clean lines, metallic finishes, geometric shapes | Contemporary, minimalist bathrooms | Chrome, Nickel, Glass | Brushed, Polished |
| Farmhouse | Rustic wood, metal accents, distressed finishes | Country-inspired, vintage, or shabby chic bathrooms | Wood, Metal, Glass | Black, Galvanized, Oil-Rubbed Bronze |
| Traditional | Classic shapes, glass shades, ornate details | Timelessly elegant, classic bathrooms | Brass, Bronze, Crystal | Antique, Polished |
| Industrial | Exposed bulbs, metal piping, vintage-inspired designs | Loft-style, urban, or eclectic bathrooms | Metal, Glass | Oil-Rubbed Bronze, Black |
| Art Deco | Geometric patterns, bold colors, luxurious materials | Glamorous, vintage-inspired bathrooms | Glass, Chrome, Nickel | Polished, Etched |
| Coastal | Light colors, natural materials, nautical themes | Beach-themed, breezy bathrooms | Wicker, Frosted Glass, Wood | White, Natural Wood |
Don’t be afraid to mix and match! A modern farmhouse vanity can be beautifully complemented by sleek modern sconces. The key is to create a cohesive look that reflects your personal style.
Placement: Maximizing Light and Style
Strategic sconce placement enhances both function and ambiance:
- Vanity Lighting: Position sconces on either side of the mirror, roughly 60-68 inches from the floor, and 36-40 inches apart. This minimizes shadows and provides even, flattering light for grooming.
- Accent Lighting: Sconces can highlight artwork, architectural features, or create a relaxing glow near the bathtub. For areas near water, ensure the fixtures are wet-location rated.
- Small Spaces: Even powder rooms can benefit from sconces. Choose smaller fixtures to maximize space and create a warm, inviting atmosphere. Placement can draw the eye upward, creating the illusion of a larger space.
Lighting Considerations: Creating the Perfect Ambiance
Understanding lumens, color temperature (Kelvin), and CRI allows you to fine-tune your bathroom lighting:
- Lumens (Brightness): Higher lumens mean brighter light. Consider the size of your bathroom and the desired mood. A relaxing atmosphere may call for lower lumens, while a task-oriented space needs more.
- Kelvin (Color Temperature): Lower Kelvin (2700-3000K) produces a warm, relaxing light. Higher Kelvin (3500-4100K and above) emits a cooler, brighter light, ideal for tasks like applying makeup.
- CRI (Color Rendering Index): A higher CRI (80+) ensures colors appear true to life, crucial for makeup application and coordinating your bathroom’s color scheme.
Installation: A Step-by-Step Guide (with Disclaimer!)
While installing sconces can be a DIY project, always prioritize safety. If you’re uncertain about any part of the process, consult a qualified electrician. Local building codes may also apply.
- Power Down: Turn off the power at the breaker box. Double-check that the power is off before proceeding.
- Bracket Installation: Securely mount the sconce bracket to the wall, ensuring it’s level.
- Wiring Connection: Carefully connect the wires (black to black, white to white, ground to ground), using wire nuts to secure the connections.
- Fixture Attachment: Attach the sconce to the bracket, following the manufacturer’s instructions.
- Bulb Installation: Insert compatible light bulbs.
- Power Up and Test: Turn the power back on and test your new sconces.
Budget and Planning: Illuminating Your Investment
Sconce prices vary widely, from budget-friendly to high-end designer fixtures. Setting a budget beforehand helps narrow down your options. Consider long-term value – investing in quality lighting enhances your home and daily comfort. Also, factor in bulb costs (LEDs offer long-term energy savings).
Beyond the Basics: Smart Lighting and More
- Smart Lighting: Explore smart bulbs and dimmable sconces for ultimate control over your bathroom lighting, creating personalized ambiance with a simple tap on your phone.
- Layered Lighting: Combine sconces with overhead lighting and accent lights for a dynamic and visually appealing space.
By carefully considering style, placement, and lighting characteristics, you can transform your bathroom into a stylish and functional sanctuary. Remember, this guide offers general advice. Ongoing research in lighting design may suggest further refinements in the future. So, explore, experiment, and create a bathroom that truly reflects your unique style.
- How to Measure Your Belt Size (for Women): 3 Easy & Accurate Methods - April 27, 2025
- How to Remove Permanent Hair Dye From Hair: Safe & Effective Methods - April 27, 2025
- How to Remove Ink from Leather: Effective DIY Methods and Expert Tips - April 27, 2025


