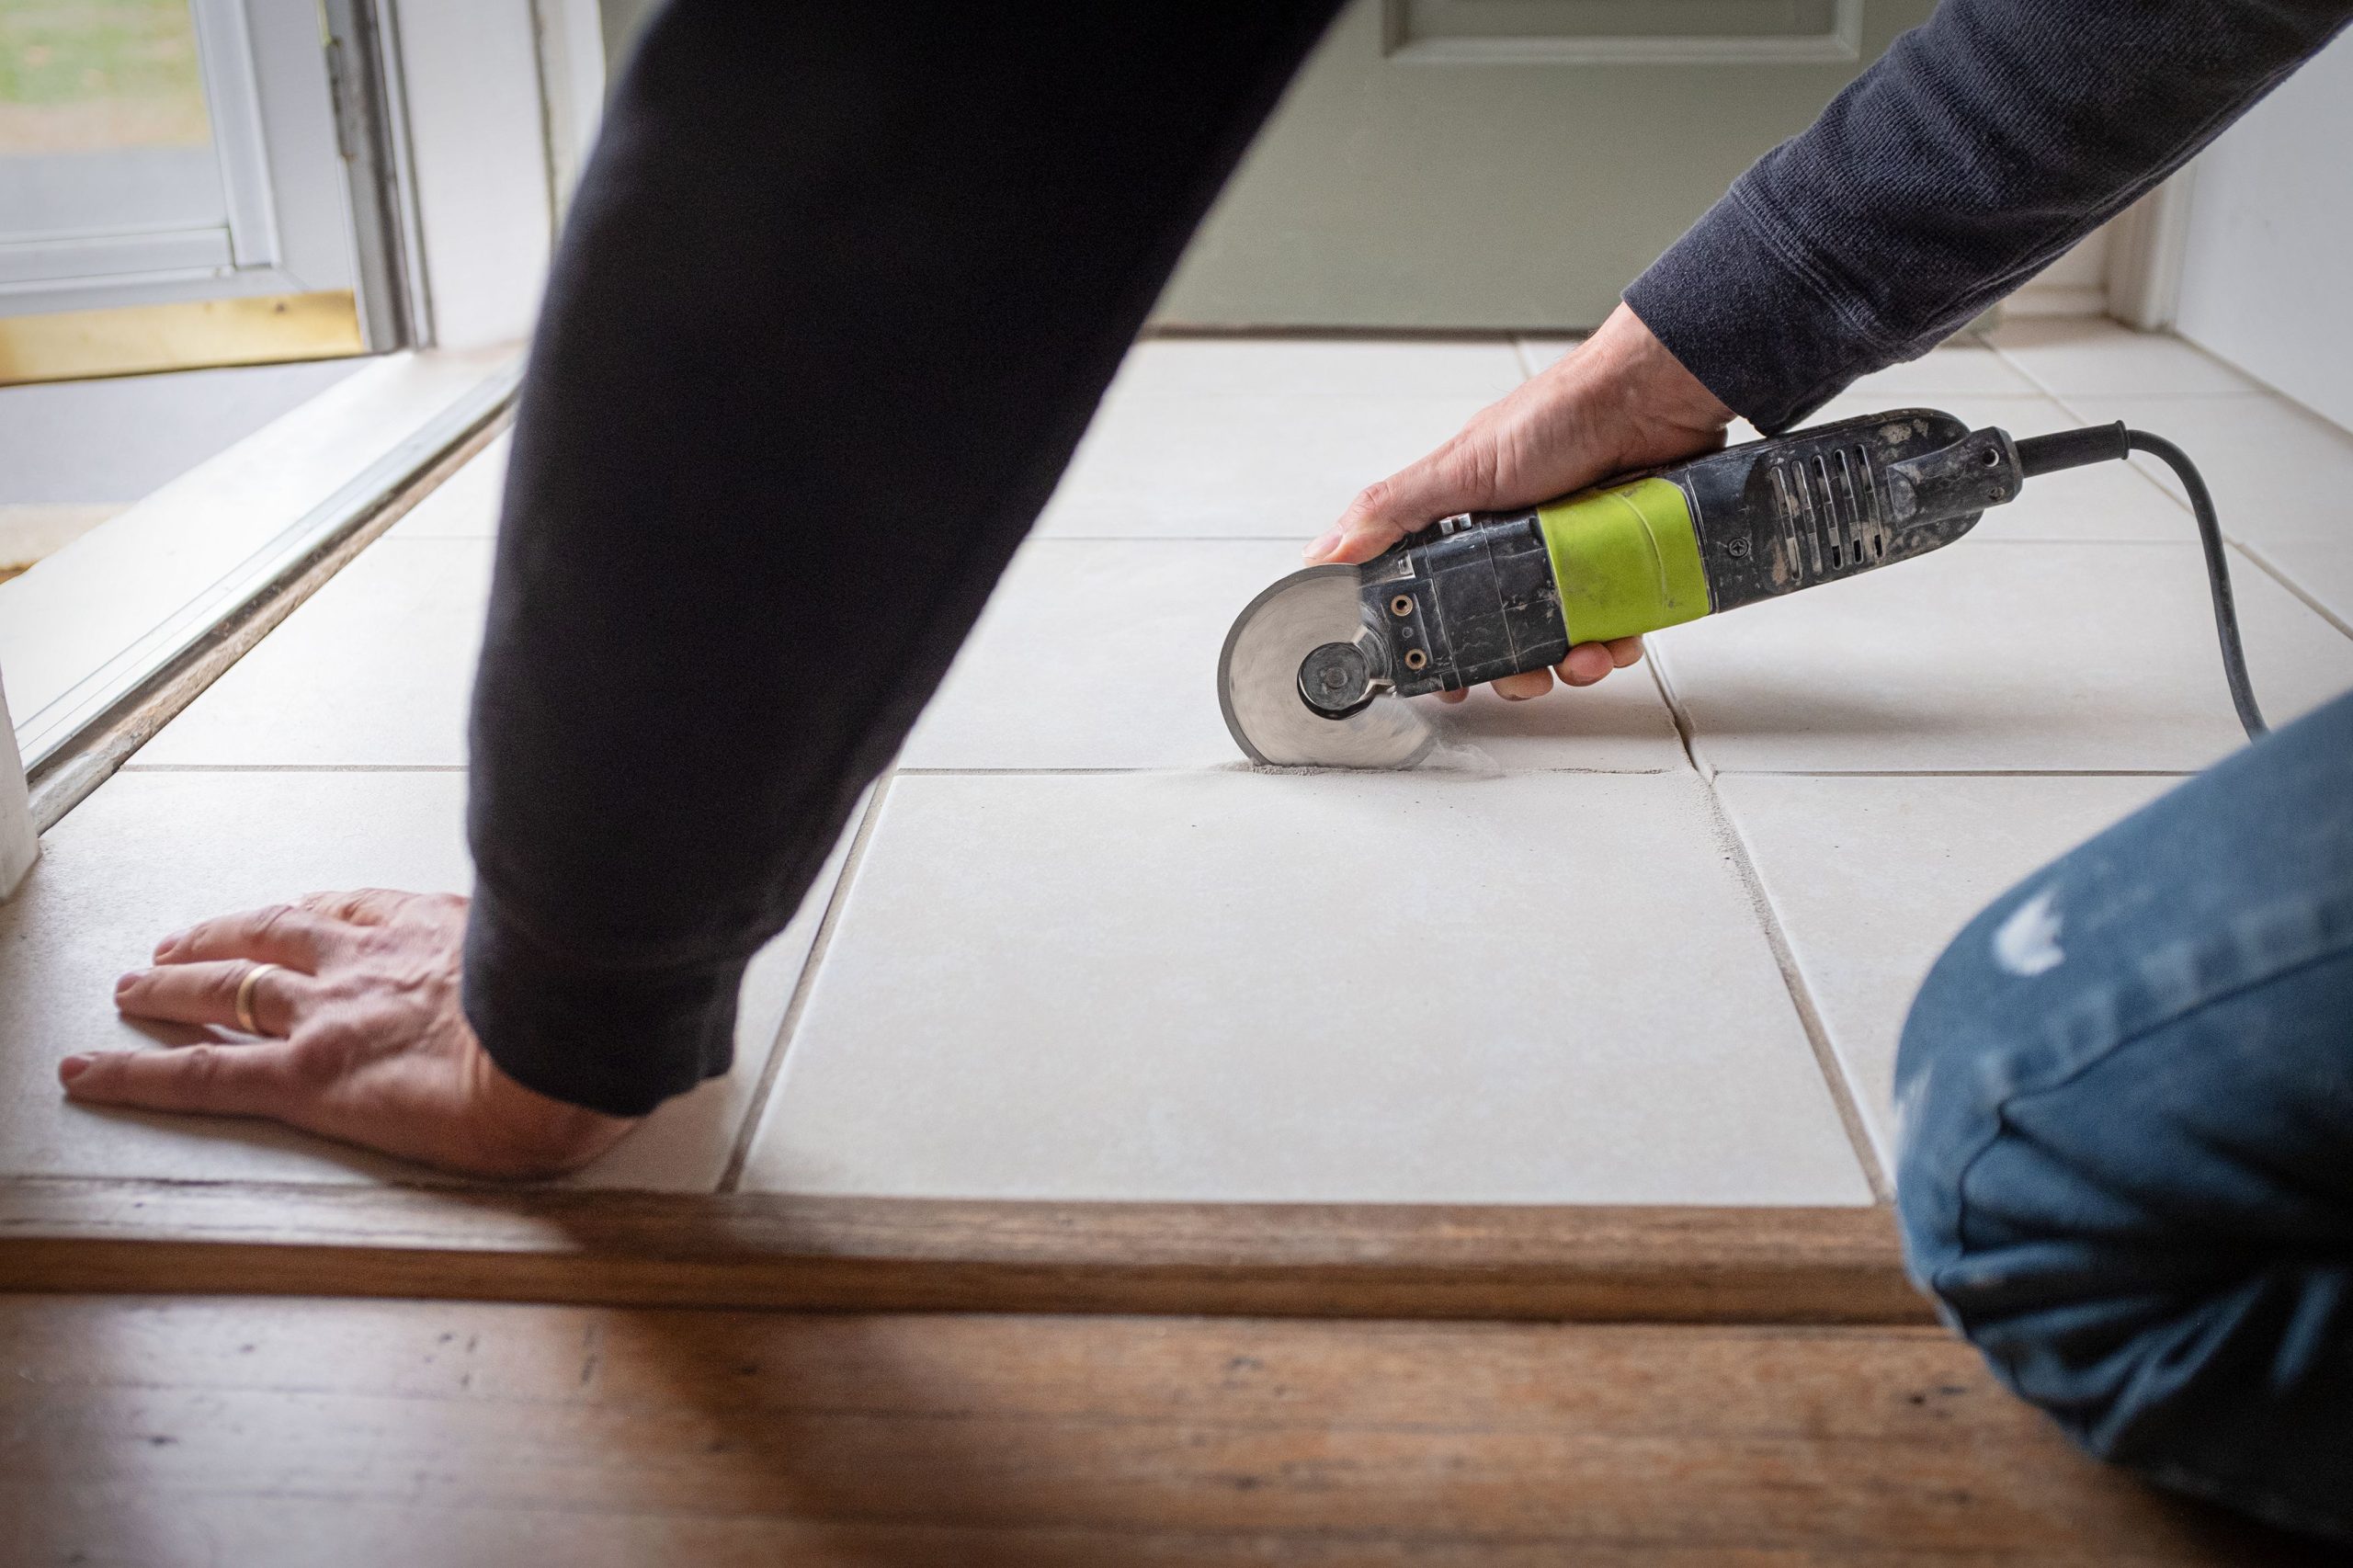
Want that sleek, seamless tile look with barely-there grout lines? You’re in the right place! This comprehensive guide breaks down everything you need to know, from choosing the right tiles to mastering precision cuts, empowering you to achieve professional-looking results.
Selecting the Right Tile and Grout
The foundation of minimal grout lines lies in selecting the perfect tile and grout combination. Let’s explore the essential factors:
Tile Type: Rectified vs. Non-rectified
- Rectified tiles are the key to achieving those super-thin grout lines. These tiles are precision-cut, ensuring consistent size and shape, much like perfectly sized puzzle pieces. This uniformity allows for grout lines as thin as 1/16″, creating that coveted seamless look.
- Non-rectified tiles, however, have slightly irregular edges. This means you’ll need wider grout lines (at least 3/16″) to compensate for these variations. While non-rectified tiles are generally more budget-friendly, they’re not ideal for achieving minimal grout lines.
Grout: The Right Consistency for Thin Joints
For those coveted thin grout lines (1/8″ or less), unsanded grout is your go-to. Its smooth consistency flows effortlessly into narrow spaces, ensuring a clean, even fill. For wider joints (1/8″ to 3/8″), finely sanded grout provides added strength and durability. Quarry-type grout, with its coarser texture, is best suited for joints wider than 3/8″, typically used in high-traffic areas or with uneven tiles.
Dreaming of a coastal-inspired space? Explore these beachy color palette hex codes to capture the essence of the seaside.
Mastering Tile Cuts and Spacing
Precision is paramount when aiming for minimal grout lines. Let’s dive into the essential techniques:
Tools of the Trade: Investing in Accuracy
- Wet saw: This is your best friend for achieving clean, straight cuts, especially with harder tiles like porcelain. Its water-cooled blade minimizes chipping and dust, ensuring precise cuts every time.
- Tile nippers: These handy tools are perfect for making intricate cuts and notches around obstacles like pipes or outlets.
- Snap cutter: Ideal for snapping ceramic tiles, offering a quick and efficient way to make straight cuts.
Remember, investing in quality tools is an investment in the success of your project.
Spacing for Uniformity
Spacers are crucial for maintaining consistent grout lines. For minimal grout lines, opt for 1/16″ or 1/8″ spacers. These small but mighty tools ensure uniform gaps between tiles, preventing shifting during installation and creating a professional, polished finish.
Size and Pattern Considerations
- Larger Format Tiles: These tiles can sometimes have slight size variations, requiring wider grout lines for proper alignment and to accommodate these inconsistencies.
- Tile Patterns: Some patterns, like the classic brick or offset pattern, inherently require wider grout lines for visual appeal and structural integrity. For a truly seamless look, stick with a straight lay pattern using rectified tiles. Elevate your kitchen design with the sleek sophistication of beige high gloss cabinets for a truly modern aesthetic.
Troubleshooting and Grouting Techniques
Even with meticulous planning, challenges can arise. Let’s explore some common issues and their solutions:
Lippage: Achieving a Level Surface
Lippage, where adjacent tiles sit at different heights, can disrupt your seamless design. Tile leveling systems, using clips and wedges, are essential for combating lippage, ensuring a perfectly flat surface for even grout lines.
Grouting Like a Pro: Tips for a Smooth Finish
Applying grout to thin joints requires a delicate touch. Hold your grout float at a 45-degree angle, applying firm, even pressure. Avoid overfilling the joints and clean up any excess grout promptly. This prevents staining and ensures a smooth, polished finish.
Grout Color: The Illusion of Seamlessness
Grout color significantly impacts the overall aesthetic. A contrasting grout color will accentuate individual tiles, creating a bold, defined look. Conversely, a grout color that blends with your tiles minimizes the appearance of grout lines, enhancing the seamless effect.
Addressing Common Challenges
This section delves into frequently asked questions and provides expert insights:
What is the smallest grout line for tile?
While 1/16″ is technically achievable with rectified tiles and precise installation, 1/8″ is generally recommended for a balance of aesthetics and practicality, particularly in areas subject to temperature fluctuations. It’s also worth noting that some tile manufacturers may recommend wider grout lines, even for rectified tiles.
What is the minimum grout spacing for tile?
The minimum grout spacing varies depending on the tile type and manufacturer’s recommendations. Always consult the manufacturer’s specifications, as they provide tailored guidance for their specific products. Going smaller than the recommended minimum might lead to issues like cracking or inadequate adhesion, potentially causing moisture damage down the road.
Material Selection Guide
Here’s a quick reference guide for selecting the right materials for minimal grout lines:
| Tile Size | Grout Line Size | Grout Type | Application |
|---|---|---|---|
| Small (Mosaic) | 1/16″ | Unsanded | Backsplashes, decorative accents |
| Medium (12×12″) | 1/8″ | Unsanded | Walls, floors |
| Large (24×24″) | 1/8″ – 1/4″ | Unsanded/Finely Sanded | Floors, large walls |
Remember, achieving minimal grout lines requires patience and attention to detail. With the right tools, techniques, and a bit of perseverance, you can transform your tiling project into a stunning showcase of sleek, modern design. While the information presented here serves as a comprehensive guide, consulting with a tiling professional can provide personalized advice for your specific project, ensuring optimal results. Don’t hesitate to seek expert guidance, especially for large or complex installations.
- How to Measure Your Belt Size (for Women): 3 Easy & Accurate Methods - April 27, 2025
- How to Remove Permanent Hair Dye From Hair: Safe & Effective Methods - April 27, 2025
- How to Remove Ink from Leather: Effective DIY Methods and Expert Tips - April 27, 2025


