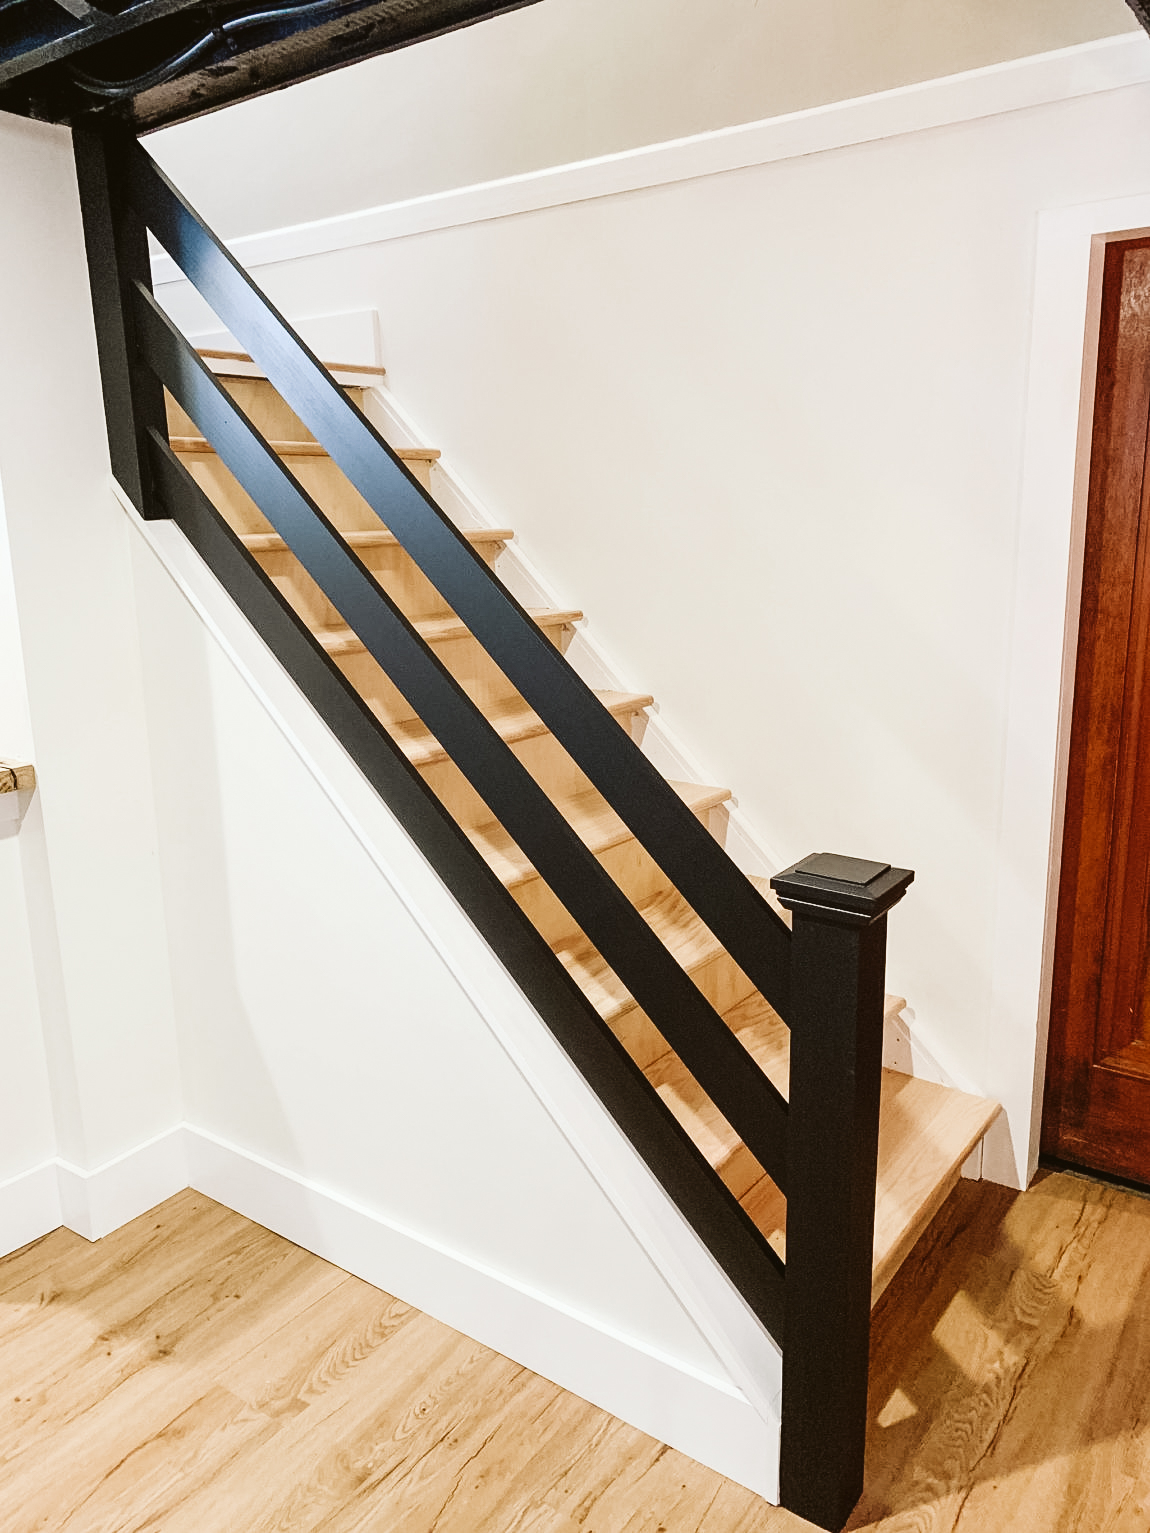
A sturdy railing transforms basement stairs from a potential hazard into a safe, stylish, and valuable home feature. This comprehensive guide provides step-by-step instructions for building a basement railing, covering everything from planning and material selection to installation and finishing touches. Building closet shelves in the basement can further enhance functionality and organization, and if you’re looking to maximize laundry room space, check out our guide on building a shelf over washer for dryer.
Planning Your Basement Railing Project
Before you begin, careful planning is essential. This involves accurate measurements, material selection, and compliance with building codes.
Measure and Prepare
- Measure Staircase: Measure the total length of the staircase, the rise (vertical height from bottom to top), and the angle of the stairs.
- Check Building Codes: Research local building codes regarding railing height, baluster spacing, and other safety regulations. Most areas adhere to the International Building Code (IBC), which mandates a minimum height of 36 inches, measured vertically from the nosing (front edge) of the stair tread to the top of the handrail. However, local codes may have stricter requirements.
- Choose Materials: Select your railing material (wood, metal, composite) based on your budget, aesthetic preferences, and the basement environment. Consider factors like moisture levels, which may influence the suitability of certain materials like wood.
- Removable Sections: If you anticipate needing to move large furniture up or down the stairs, plan for a removable railing section.
Selecting Your Materials
Choosing the right materials is key to a successful project.
Material Comparison
| Material | Pros | Cons | Estimated Cost per Linear Foot |
|---|---|---|---|
| Wood | Classic look, easy to work with, cost-effective | Requires regular maintenance, susceptible to moisture | $20 – $600 |
| Metal | Durable, modern aesthetic, low maintenance | Can be more difficult to install, potentially higher cost | $40 – $120 |
| Composite | Weather-resistant, durable, low maintenance | More expensive than wood or metal, limited style options | Varies |
Additional Materials
Beyond the main railing material, you’ll need:
- Newel Posts: The main vertical supports.
- Balusters: Smaller vertical supports between newel posts.
- Handrail: The top horizontal rail.
- Fasteners: Screws, brackets, anchors appropriate for your chosen material.
- Finishing Supplies: Paint, stain, sealant (if applicable).
Installing Your Basement Railing
A step-by-step guide for a secure and stylish railing.
- Install Newel Posts: Securely anchor the newel posts to the floor and, if applicable, the upper level. Ensure they’re plumb (perfectly vertical) and level using a level.
- Attach Balusters: Install balusters between newel posts, maintaining consistent spacing as dictated by building codes. Use a spacer for accuracy.
- Secure the Handrail: Attach the handrail to the balusters and newel posts, ensuring it’s at the correct height (at least 36 inches, but verify local codes) and level.
- Finishing Touches: Apply paint, stain, or sealant if desired.
Special Considerations for Basements
Basements often present unique challenges, like moisture and uneven surfaces.
- Moisture: In damp basements, use pressure-treated lumber, metal, or composite materials.
- Uneven Surfaces: Shims can help level newel posts on uneven floors.
- Limited Headroom: Carefully choose a railing design that accommodates low ceilings.
Safety First
Prioritize safety throughout the project.
- Code Compliance: Double-check that your railing meets all local building codes.
- Secure Installation: Ensure all components are firmly attached and stable.
- Regular Maintenance: Inspect and tighten screws periodically to maintain safety and prevent wear.
DIY vs. Professional Installation
While many can DIY a railing, complex designs or challenging layouts may benefit from professional expertise.
- DIY: Cost-effective but requires time, tools, and skills.
- Professional: Ensures a code-compliant and high-quality installation, but increases cost.
Cost Breakdown
Railing costs vary significantly based on material and installation method.
- Materials: See the table in the “Selecting Your Materials” section for estimated costs per linear foot.
- Installation: Professional installation can range from $500 to $10,000+, averaging around $900 for indoor railings.
- Hidden Costs: Account for demolition of existing railings, difficult access, and finishing expenses.
Conclusion
Building a basement railing enhances both safety and style. By following this guide and prioritizing safety, you can create a durable and attractive railing that adds value to your home. Remember that ongoing research in building materials and safety standards constantly evolves; staying informed about the latest recommendations is always beneficial. Don’t hesitate to consult with a professional if you encounter any challenges or uncertainties along the way.
- How to Get Rid of Mushrooms in Your Lawn: A Complete Guide - April 24, 2025
- How to Get Rid of Ground Hornets: A Safe and Effective Guide to Eliminating Nests - April 24, 2025
- How to Get Rid of German Roaches Fast: DIY Methods for Quick Control - April 24, 2025


