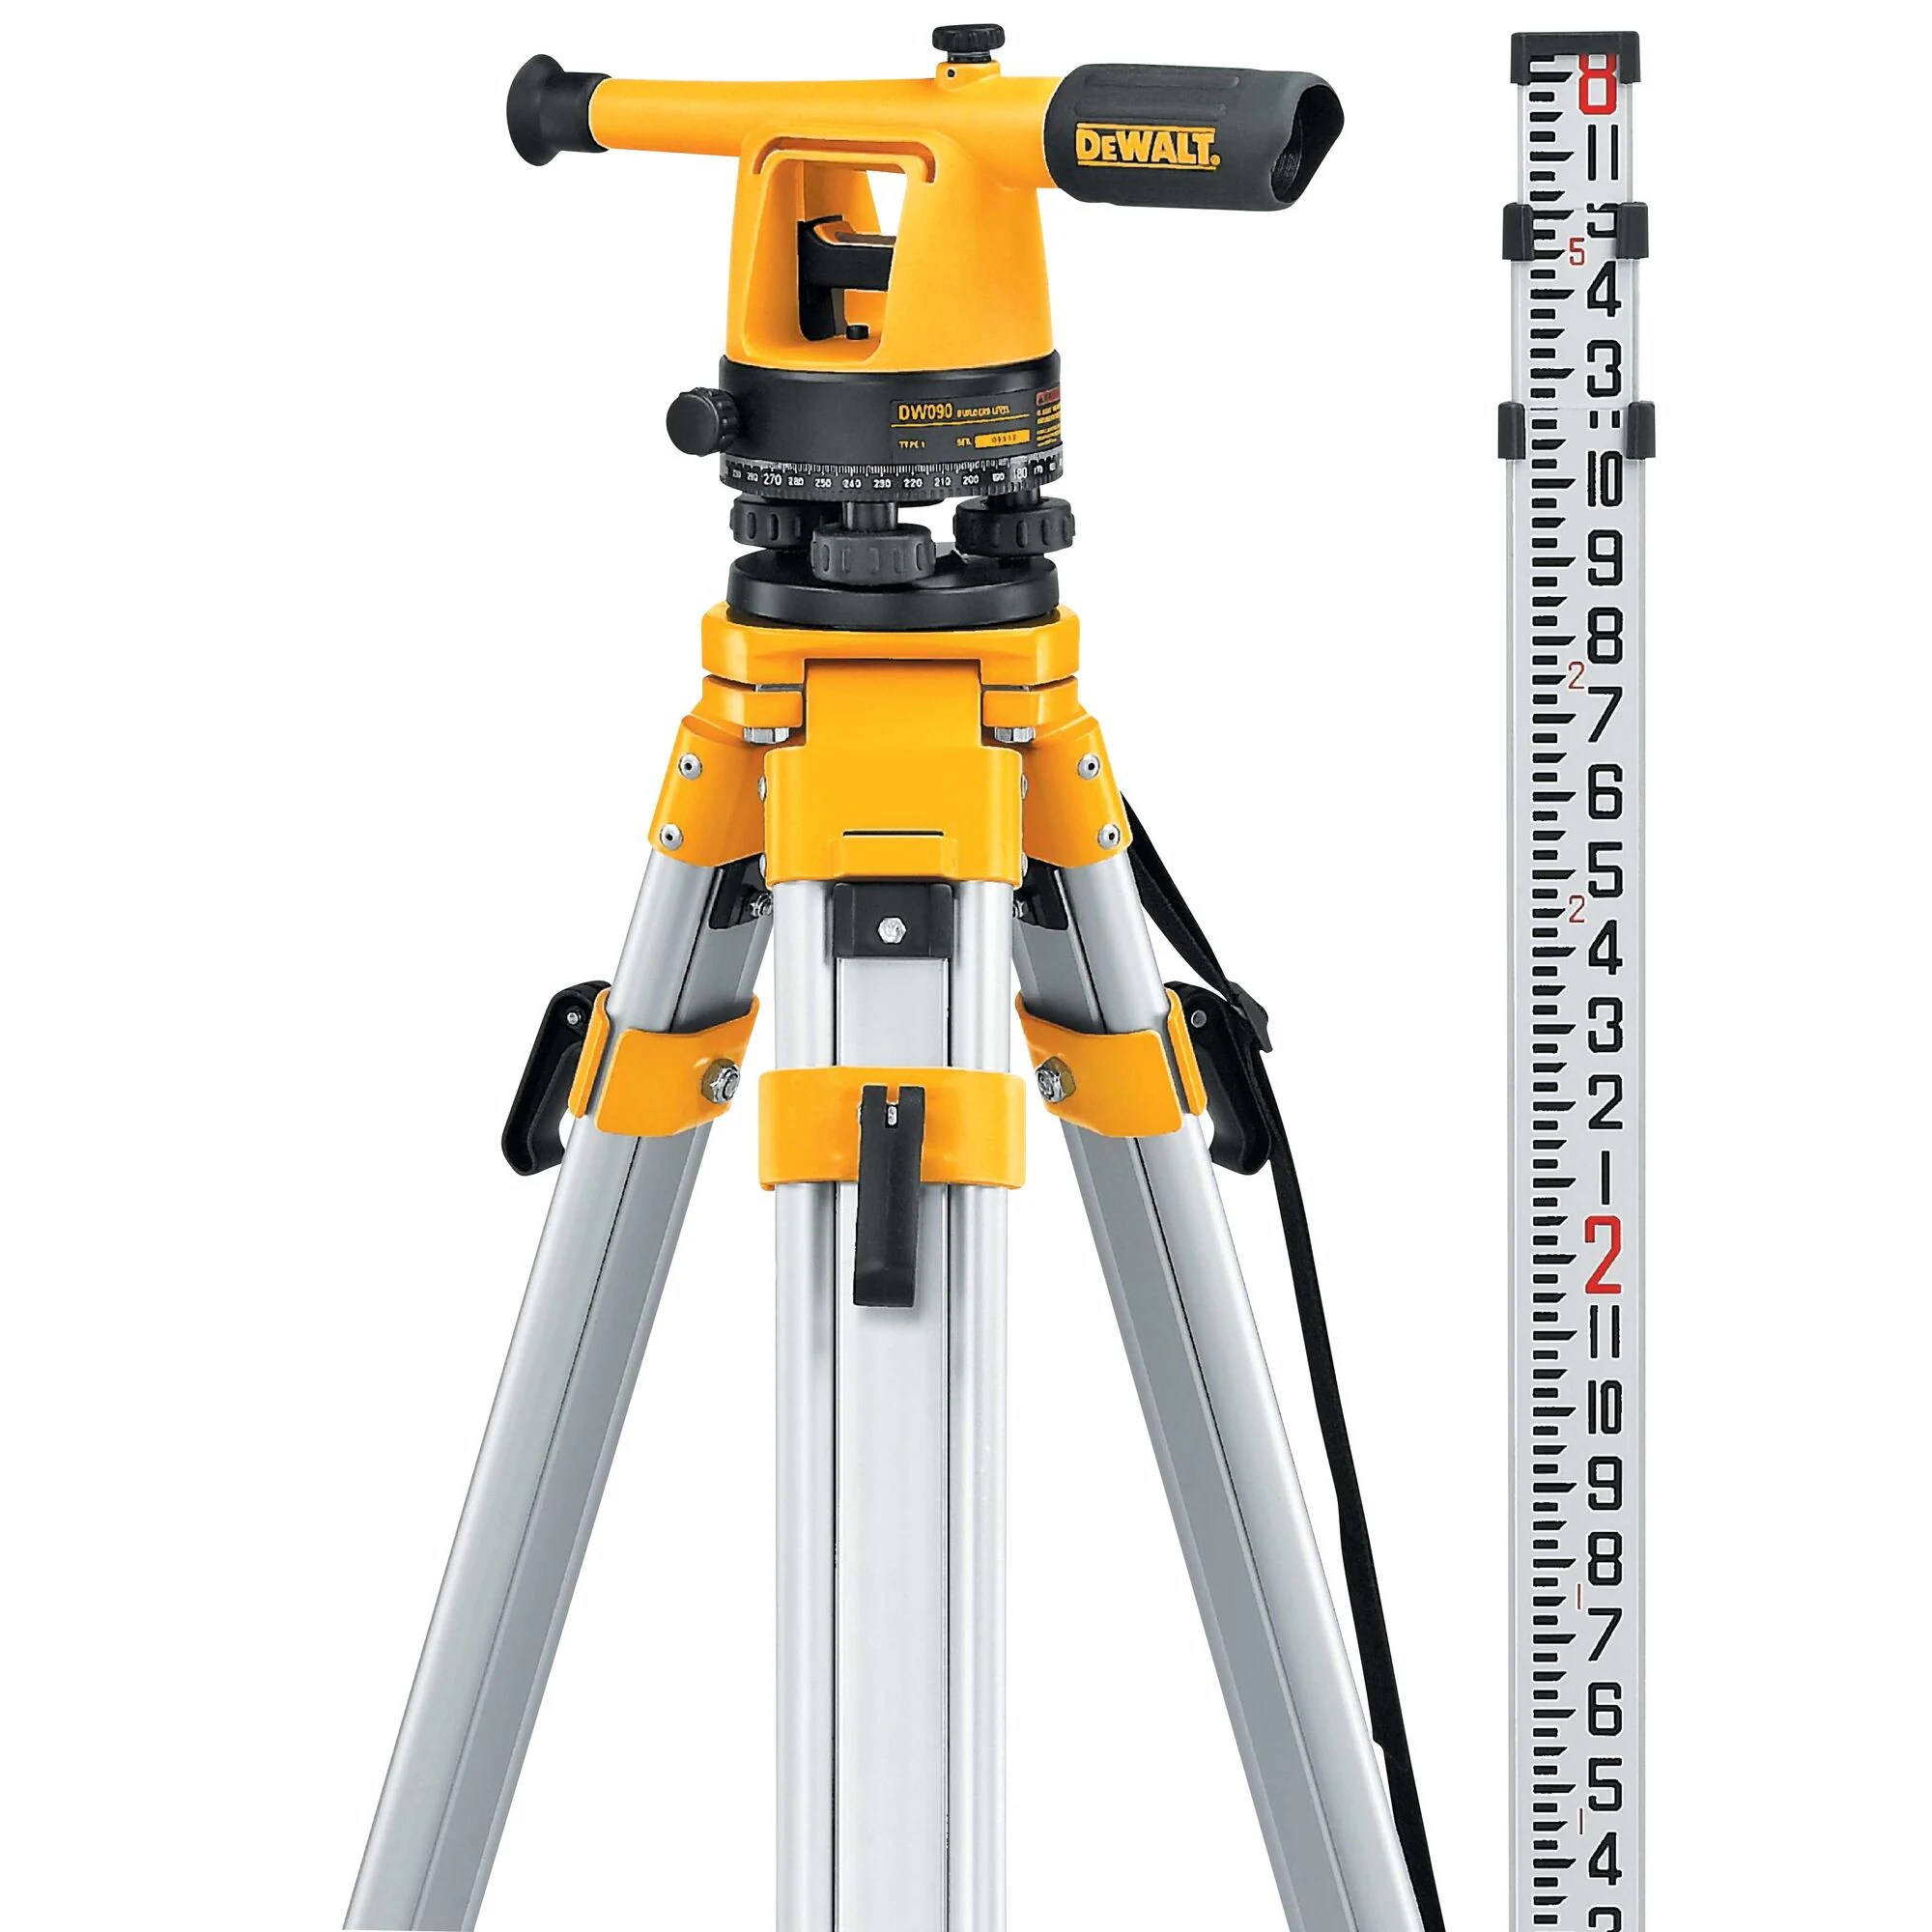
Getting things perfectly level is crucial in any construction or DIY project. A wonky shelf or a tilted floor can ruin the look and functionality of your hard work. That’s where the builder’s level comes in. This comprehensive guide covers everything you need to know about builder’s levels, from the basics to advanced techniques. We’ll explore the different types, explain their uses, and provide step-by-step instructions on how to use them like a pro. We’ll even clear up the confusion between “builder grade” and “builder’s level.” So, whether you’re building a house, embarking on a shop building project, or simply want a straight shelf, this guide has you covered.
Level Up Your Skills: Choosing the Right Level
Imagine building a retaining wall without a level—it probably wouldn’t end well! A builder’s level ensures accuracy, saving you time, money, and potential disasters. It’s a small investment that pays off big, whether you’re a seasoned pro or just starting your first DIY adventure. Just like choosing the right wrench for a specific bolt, selecting the appropriate builder’s level is crucial for project success.
Leveling the Playing Field: Types of Builder’s Levels
The world of builder’s levels can seem overwhelming, but it doesn’t have to be. Here’s a clear breakdown of the common types:
| Type of Level | Description | Best For |
|---|---|---|
| Dumpy Level | The classic. Simple, manual leveling, and usually the most affordable. | Basic tasks, checking foundations, smaller projects, DIY enthusiasts |
| Automatic Level | Contains a self-leveling compensator, saving you time and effort. | General construction projects, versatile use, contractors |
| Digital Level | Electronic measurements and often uses a bar-coded staff for highly accurate readings. | Large projects requiring extreme precision, surveying, engineering |
| Laser Level | Projects a laser line for easy visualization. Great for interior work. Aligning objects, and room layouts. | Aligning shelves, installing cabinets, interior finishing, DIY projects |
Anatomy of a Level: Key Components
Understanding the key parts of a builder’s level helps you use and maintain it effectively. They might have slightly different configurations depending on the type, but these core components are usually present.
- Telescope: Magnifies the target for accurate readings.
- Leveling Vial/Compensator: Indicates when the instrument is level (automatic levels use a self-leveling compensator).
- Tripod: Provides stability for accurate measurements. A solid concrete footer provides similar stability for larger structures.
- Leveling Screws (Manual Levels): Fine-tune the level’s position.
How to Use a Builder’s Level: A Practical Guide
Using a builder’s level is more straightforward than you might think. Here’s how:
- Set Up: Place the tripod on firm, level ground.
- Secure: Attach the level firmly to the tripod head.
- Level: Adjust leveling screws (manual levels) or check the automatic compensator.
- Focus: Adjust the telescope until the target is clear.
- Measure: Read the measurement on the graduated staff where the crosshairs intersect.
Leveling Up Your Maintenance: Care and Calibration
Proper maintenance keeps your builder’s level accurate.
- Cleaning: Regularly wipe down the lens and body.
- Storage: Store in its case in a dry, safe place.
- Calibration: While frequency varies based on usage and environment, annual professional calibration is a good rule of thumb. More frequent use likely suggests more frequent calibration.
Advanced Leveling: Taking it Further
- Calculating Grade: Determine the slope or incline of a surface.
- Integrating with Technology: Some digital levels connect with construction software and BIM systems for seamless data transfer.
Builder’s Level FAQs
- Can I use a builder’s level indoors? Yes, laser levels are ideal for indoor projects.
- How do I choose the right builder’s level? Consider your projects and accuracy needs. A simpler level may suffice for basic DIY, while professionals might require a digital or transit level.
Builder’s Level vs. Transit Level: Understanding the Difference
A builder’s level focuses on horizontal measurements, ensuring level planes. A transit level measures both horizontal and vertical angles, useful for tasks like surveying and setting precise slopes. The choice depends on your project needs. A builder’s level is sufficient for leveling a foundation, but a transit level is necessary for complex grading.
Decoding “Builder Grade”: What Does it Mean?
“Builder grade” refers to basic materials used in new homes to minimize costs. They meet minimum standards but may lack durability and style. A “builder’s level” is a tool, not a quality grade. Understanding this distinction prevents confusion.
By understanding the different types of builder’s levels, their uses, and proper maintenance, you’ll be equipped to tackle any project with precision. Whether you’re a DIYer or a professional, a builder’s level is an indispensable tool. Remember that construction practices are constantly evolving, so ongoing learning is key to staying at the forefront of the field. Consulting experienced professionals for complex projects or specific challenges is always recommended.
- Memorial Stones for Gardens: A Guide to Creating a Lasting Tribute - April 29, 2025
- Melon Cut Diamonds: A Comprehensive Guide - April 29, 2025
- MarketStreet Lynnfield Stores: A Complete Directory & Shopping Guide - April 29, 2025


