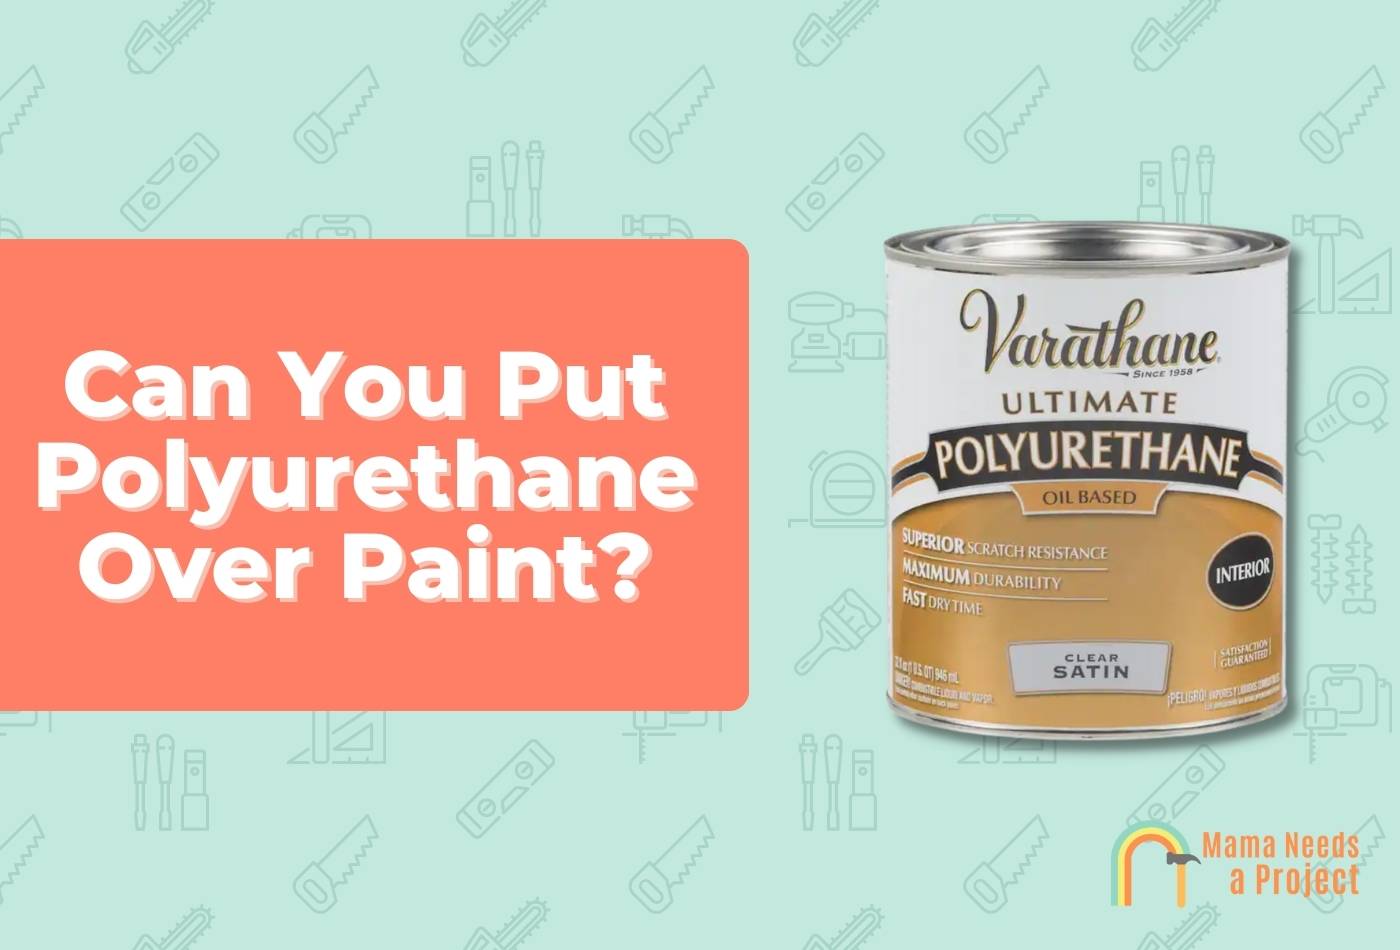
Introduction: Breathing New Life into Polyurethane Finishes
That glossy polyurethane finish might be tough, but its outdated look doesn’t have to be permanent. Yes, you can paint over polyurethane, and with the right preparation, you can achieve professional-looking results. This guide provides a step-by-step approach, explaining the why behind each how, empowering you to transform that tired surface into something beautiful. From cleaning and prepping to priming and painting, we’ll cover everything you need to know for a flawless finish.
1. Deep Cleaning: The Essential First Step
Before any painting begins, a thorough cleaning is essential. Think of it like this: you wouldn’t paint a greasy pan, expecting the paint to stick, would you? The same principle applies to polyurethane. Dust, grime, wax, or any residue will interfere with paint adhesion.
- Recommended Cleaners: Trisodium phosphate (TSP) is a powerful option available at most hardware stores. Alternatively, a strong degreaser can also be effective.
- Cleaning Process: Mix your chosen cleaner according to the package directions. Apply liberally to the polyurethane surface, scrubbing thoroughly with a sponge or scrub brush. Pay close attention to corners and crevices. Rinse completely with clean water and allow the surface to dry fully.
2. Surface Preparation: Sanding vs. Deglossing
Polyurethane’s smooth surface is its strength and its weakness. While it excels at protection, it repels paint. Creating a “tooth” for the primer to grip is crucial. You have two primary options: sanding or deglossing.
Sanding: The Tried-and-True Method
- Grit Selection: Fine-grit sandpaper (180-220 grit) is ideal. You’re not aiming to remove the polyurethane, simply dulling the gloss and creating texture.
- Sanding Technique: Lightly sand the entire surface, focusing on even coverage. Wipe away dust with a tack cloth. This sticky cloth effectively removes every last particle, ensuring a pristine surface.
Deglossing: A Chemical Alternative
- Deglosser Application: Liquid deglossers chemically etch the surface, providing a grip for the primer. Apply according to the manufacturer’s instructions, ensuring proper ventilation as some formulations can have strong fumes.
Choosing Your Method:
| Method | Pros | Cons |
|---|---|---|
| Sanding | Creates a strong mechanical bond, generally considered most reliable long-term | Can be time-consuming, creates dust |
| Deglosser | Easier than sanding, less messy | May not be as effective for all polyurethane types, requires good ventilation |
| Chemical Stripping | Completely removes polyurethane, provides a fresh start | Labor-intensive, requires harsh chemicals, longer process |
Some experts believe that deglossing is sufficient for most cases, while others maintain that sanding remains the most reliable method for long-term durability. Ongoing research in paint technology may yield new and improved methods in the future.
3. Priming: The Foundation for Success
Primer is non-negotiable. It acts as a bonding agent, creating a receptive surface for the paint. Skipping this step dramatically increases the probability of peeling and chipping.
- Primer Selection: An oil-based or bonding primer specifically formulated for glossy surfaces is highly recommended.
- Application: Apply a thin, even coat of primer using a brush, roller, or spray gun. Ensure complete coverage and allow to dry completely according to the manufacturer’s instructions.
4. Painting: The Finishing Touch
Now for the rewarding part!
- Paint Selection: Choose a high-quality latex or oil-based paint in your desired color and sheen. Latex paints offer easier cleanup and lower VOCs, while oil-based paints often provide superior durability. Consider the location and use of the piece when making your decision.
- Application Technique: Two or three thin coats are always preferable to one thick coat. Thin coats dry more evenly, minimize drips, and result in a smoother finish. Allow ample drying time between coats.
Troubleshooting: Addressing Common Issues
- Peeling Paint: This typically suggests inadequate surface preparation. Lightly sand and clean the affected area, re-prime, and repaint.
- Bubbling Paint: Bubbling often indicates moisture. Ensure the surface is completely dry before priming and painting.
Tips & Tricks for a Professional Finish
- Quality Tools: Invest in good quality brushes and rollers for a smooth and even finish.
- Thin Coats: Applying several thin coats of paint provides better coverage and minimizes drips and runs.
- Proper Ventilation: Always work in a well-ventilated area to avoid inhaling fumes.
Alternative Methods: Stripping Polyurethane
While sanding and deglossing are the most common preparation methods, chemical stripping offers a more drastic approach. This involves using a chemical stripper to completely remove the polyurethane finish. While effective, this method is more time-consuming, requires careful handling of harsh chemicals, and produces strong fumes.
Frequently Asked Questions (FAQ)
- Can you paint directly over polyurethane? While technically possible, painting directly over polyurethane without proper preparation will almost certainly lead to peeling and chipping. Proper cleaning, surface preparation (sanding or deglossing), and priming are crucial for a lasting finish.
Conclusion: Transforming Your Space with Confidence
Painting over polyurethane is entirely achievable with the right approach. By following these steps and understanding the importance of each stage, you can confidently tackle your project and achieve professional-looking results. Remember, the key lies in the preparation. A little elbow grease upfront will result in a beautifully finished piece you can be proud of.
Upgrade your space with more home improvement projects! Consider replacing your outdated recessed lighting with energy-efficient can lights led retrofit or installing a sleek and space-saving ceiling cassette mini split system.
- Best Backsplash For White Cabinets: Ideas To Transform Your Kitchen - November 24, 2025
- Modern White Kitchen Backsplash: A Guide to Stylish Kitchen Designs - November 23, 2025
- White Backsplash Ideas: Simple Ways to Refresh Your Kitchen Space - November 22, 2025


