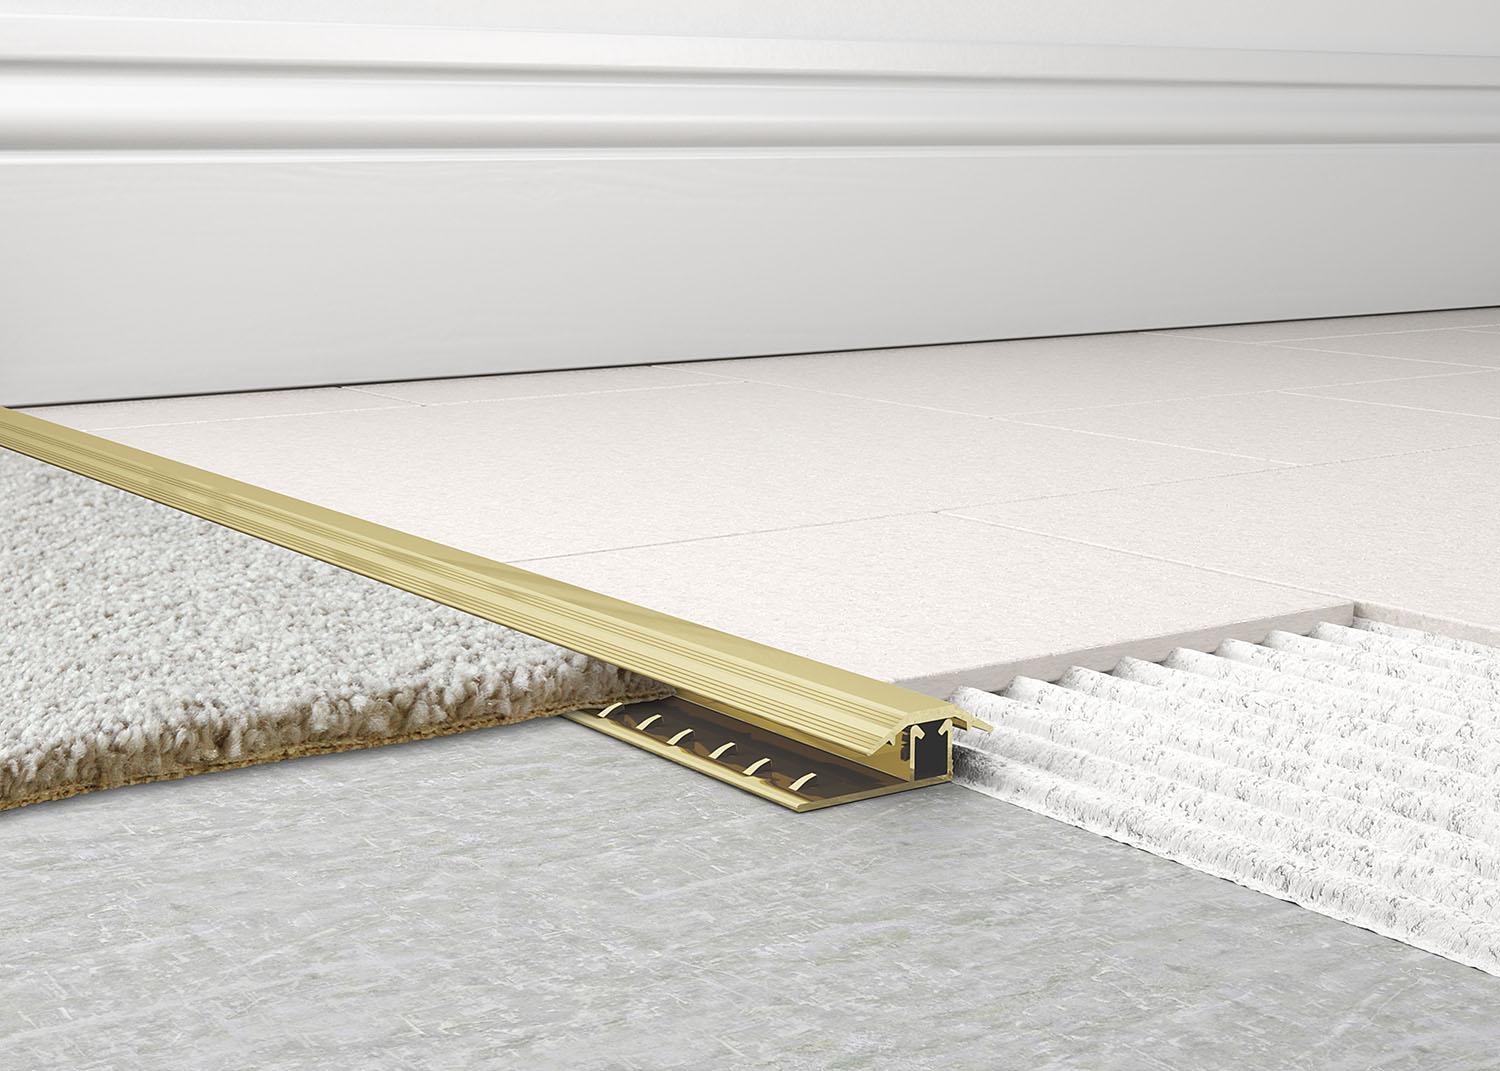
Creating a smooth transition between carpet and tile can elevate the look of any room. This comprehensive guide covers everything from choosing the right transition strip to installing it like a pro. We’ll explore various materials, profiles, and installation techniques, empowering you to tackle this DIY project with confidence. [Looking for other ways to upgrade your kitchen? A cast iron farmhouse sink can add a touch of rustic elegance.]
Transition Strip Essentials
Transition strips, also known as reducers, thresholds, or T-moldings, serve both functional and aesthetic purposes. They bridge the gap between different flooring materials, creating a smooth, safe surface and protecting the edges of your flooring. Choosing the right strip depends on several factors, including the height difference between the carpet and tile, the amount of foot traffic in the area, and your desired aesthetic. [For other DIY projects, consider using durable cap nails for a polished, professional finish.]
Transition Strip Types: Materials & Profiles
Materials
Just like flooring, transition strips come in various materials:
| Material | Pros | Cons | Best For |
|---|---|---|---|
| Metal (Aluminum, Stainless Steel) | Durable, Stylish, Modern Look, Resists Wear | Can be more expensive, Might feel cold | High-traffic areas, contemporary designs, commercial spaces |
| Wood | Natural Look, Blends well with wood floors | Requires more maintenance, Susceptible to moisture damage | Traditional or rustic styles, coordinating wood floors |
| Plastic | Budget-friendly, Easy to install | May not be as durable as other options | Budget-conscious projects, low-traffic areas, temporary fixes |
Profiles
Transition strip profiles are designed for specific situations:
- T-Molding: Used for joining floors of similar height, creating a flush transition. Ideal for doorways between rooms with the same flooring level.
- Reducer Strip: Designed for transitions between floors of different heights, creating a sloping ramp. Essential for minimizing tripping hazards.
- Stair Nosing: Provides a finished edge for steps, enhancing safety and appearance. Often features a textured surface for added grip.
Installation: A Step-by-Step Guide
- Measure and Cut: Accurately measure the transition area and cut the strip to size using the appropriate tool (hacksaw for metal, wood saw for wood, utility knife for plastic). Precise cutting is crucial.
- Surface Preparation: Thoroughly clean the area where the transition strip will be installed. A clean surface ensures proper adhesion. For uneven subfloors, use a leveling compound to create a smooth base.
- Securing the Strip: Apply a generous amount of construction adhesive to the underside of the strip. Press firmly into place and hold for a few seconds. Some strips may require additional screws or nails for added stability, especially in high-traffic areas.
- Finishing Touches: Seal any gaps around the strip with caulk for a polished look and to prevent moisture damage. Wipe away any excess adhesive.
Subfloor Considerations
Your subfloor material (plywood, concrete, etc.) can influence your installation method. For concrete, adhesive usually suffices. For wood subfloors, you might consider using screws or nails in addition to adhesive for extra security.
Aesthetics and Design
A transition strip should enhance the overall aesthetic of your room. Choose a finish that complements your flooring. You can create a striking contrast or aim for a seamless look. Decorative transition strips can also add a unique design element.
Cost and Availability
Transition strips are available at most home improvement stores. Prices vary depending on the material, profile, and finish, ranging from a few dollars for basic plastic strips to upwards of $50 for high-end metal or wood options.
Troubleshooting
- Gaps: Fill small gaps with additional adhesive or thin shims.
- Uneven Transition: This likely suggests an uneven subfloor. Check and level the subfloor before reinstalling the strip.
- Squeaking: Secure the strip more tightly with extra screws or nails, targeting the areas where squeaking occurs.
Alternatives to Transition Strips
- Butt Joint: A minimalist approach for nearly level floors, requiring precise cuts and similar materials.
- Tack Strips: Used to secure carpet against other flooring, creating a flush transition. Requires careful carpet stretching.
- Grout: Fills gaps between materials for a unified look, requiring precise gap sizing and color matching.
- Custom Fabrication: Creates a bespoke transition piece for unique situations, offering the ultimate fit but at a higher cost.
- Silicone Caulk: Seals small gaps and transitions, offering flexibility. Requires careful color selection.
Remember, the perfect transition strip enhances both the beauty and functionality of your home. By considering your specific needs and following these guidelines, you can achieve a professional-looking result that you’ll be proud of.
- Pontoon Boat Seat Covers: The Ultimate Guide to Protection & Buying - April 17, 2025
- Covers for Pipework: A Complete Guide to Materials, Installation & More - April 17, 2025
- Dog Patio Door Inserts: A Comprehensive Guide to Choosing & Installing - April 17, 2025


