Discover the ultimate guide to affordable energy independence with our comprehensive analysis of cheap inverters and batteries for home applications. Embark on a journey to maximize energy efficiency, slash monthly expenses, and embrace a sustainable lifestyle. As a homeowner seeking cost-effective solutions, this article will empower you with expert insights, empowering you to make informed decisions and achieve your energy independence goals.
Key Takeaways:
- Inverter batteries are crucial for providing backup power during outages.
- Lead-acid batteries are common and come in flooded and sealed types, while lithium-ion batteries offer advantages in lifespan and energy density.
- Choose a battery capacity (amp-hours) that aligns with the runtime requirements of your appliances.
- Ensure the battery voltage matches the inverter voltage.
- The life expectancy of a battery is influenced by its type, usage, and maintenance.
Cheap Inverter with Battery for Home: Affordable Energy Independence
Inverter batteries are a crucial part of your home backup solution during power outages. But let’s face it, they don’t have to break the bank! Here’s a simple guide to help you find a cheap inverter with battery for home that fits your needs and budget:
Step 1: Assess Your Power Requirements
Calculate the wattage of your essential appliances (fridge, lights, laptop, etc.) to determine the power capacity you need. A 500-1000 watt inverter with battery should cover basic needs.
Step 2: Choose the Right Battery Type
Pros and Cons of Battery Types:
| Battery Type | Pros | Cons |
|---|---|---|
| Lead-acid (flooded) | Affordable, widely available | Requires maintenance (adding water) |
| Lead-acid (sealed) | Maintenance-free | Shorter lifespan |
| Lithium-ion | Long lifespan, lightweight | More expensive |
Step 3: Pick the Best Inverter
When selecting an inverter, look for:
- Power Rating: Matches the battery capacity.
- Surge Protection: Protects your appliances from voltage spikes.
- Charging Options: Solar charging or direct AC input.
Step 4: Consider Solar Integration
If you have a solar system, connect it to your inverter. This will help charge the battery during daylight hours, minimizing your reliance on grid power.
Here’s a table to help you find a cheap inverter with battery for home:
| Inverter | Battery | Price | Capacity | Voltage |
|---|---|---|---|---|
| Renogy 500W Inverter | EverExceed LFP12-100 | $350 | 100 Ah | 12V |
| AIMS 1000W Inverter | Trojan T-105 | $450 | 225 Ah | 12V |
| EcoFlow Delta Pro | EcoFlow Extra Battery | $1,500 | 400 Ah | 24V |
Remember, a cheap inverter with battery for home doesn’t have to compromise on quality. By following these steps and choosing wisely, you can achieve energy independence without breaking the bank.
- Find out how to stay warm without breaking the bank with our cheap home heating oil meath service.
- spruce up your home with our cheap home improvement supplies
- Building a home doesn’t have to be expensive, check out our cheap kit homes Australia.
Calculating Power Requirements and Battery Capacity
Want to maximize your home’s energy efficiency and save money on electricity bills? The secret lies in a well-calculated inverter and battery system that meets your specific power needs. Follow these steps to get it right:
Step 1: Assess Your Power Requirements
Calculating your power requirements is crucial. Use a load calculator to determine the wattage of your essential appliances. For basic needs, aim for 500-1000 watts.
Step 2: Choose the Right Battery Type
The battery stores the energy for your inverter. Here are the main types:
- Lead-acid (flooded): Affordable but requires maintenance.
- Lead-acid (sealed): Maintenance-free but has a shorter lifespan.
- Lithium-ion: Long-lasting, lightweight, but more expensive.
Step 3: Pick the Perfect Inverter
Match the power rating of your inverter to your battery capacity. Also, consider:
- Surge protection: Protects your devices from power spikes.
- Charging options: Solar or AC input charging.
Step 4: Solar Integration
Connect your inverter to a solar system to charge the battery during daylight hours, reducing your reliance on the grid.
Key Takeaways:
- Determine your power requirements using a load calculator.
- Choose the appropriate battery type based on factors like cost, maintenance, and lifespan.
- Match your inverter’s power rating to your battery capacity.
- Consider surge protection and charging options for your inverter.
- Integrate solar energy to minimize grid dependence.
Citations:
- Electrical Engineering Toolbox: How to Calculate Inverter Power Rating and Inverter Battery Backup Time
- Livguard: Load Calculator
Step-by-Step Guide to Installing Your Inverter and Battery
To empower your home with affordable energy independence, follow this step-by-step guide to install your inverter and battery:
Key Takeaways:
- Prioritize safety and follow electrical codes.
- Choose components based on your power needs and system capacity.
- Connect components in the correct sequence, starting with batteries.
- Consider system monitoring for optimal energy management.
Step 1: Prepare the Installation Site
Select a cool, dry, and well-ventilated area near your batteries and electrical devices. Ensure adequate airflow to prevent overheating.
Step 2: Connect the Batteries
Connect the batteries in series or parallel to achieve the desired voltage and capacity. Follow the manufacturer’s instructions for proper wiring and safety precautions.
Step 3: Install the Inverter
Mount the inverter securely and connect it to the batteries using heavy-duty cables. Match the inverter’s power rating to the battery capacity to ensure efficient operation.
Step 4: Connect to Solar Panels
If using solar panels, connect them to the inverter’s solar input terminals. This allows your inverter to charge the batteries using sunlight, reducing your reliance on the grid.
Step 5: Connect Electrical Devices
Plug electrical devices into the inverter’s AC output sockets. Consider surge protection to safeguard sensitive equipment.
Step 6: Monitor Your System
Install a system monitoring device to track energy production, inverter performance, and battery charge status. This helps optimize your energy usage and detect any potential issues.
Remember, safety is paramount. Always wear protective gear and consult a qualified electrician if needed. By following these steps, you can harness the power of your inverter and battery system for reliable and cost-effective energy independence.
Relevant URL Sources:
- How to Install Solar Inverter at Home [Step by Step Guide]
- Quick Guide to How to Install Inverter and Battery at Home
Maintenance and Troubleshooting Tips for Optimal Performance
Keeping your inverter and battery system running smoothly and efficiently is crucial for maximizing performance and longevity. Here are some essential maintenance and troubleshooting tips to ensure your system’s optimal operation:
Regular Check-ups:
- Monitor battery water levels: Regularly check the water level in flooded lead-acid batteries and top up with distilled water as needed. This prevents sulfation, which reduces battery life.
- Clean terminals: Remove any corrosion from battery terminals using a wire brush or baking soda solution to ensure proper electrical conductivity.
- Inspect cables: Check all cables for damage or loose connections. Tighten loose connections and replace damaged cables as necessary.
Troubleshooting Common Issues:
- Battery not charging: Check battery voltage and ensure it’s within the specified range. Inspect the charger and replace if faulty.
- Inverter not working: Reset the inverter by turning it off and on. If the problem persists, check the inverter’s fuses and replace if blown.
- Low battery capacity: Monitor battery voltage during discharge and replace the battery if its capacity has significantly decreased.
Key Takeaways:
- Regular maintenance extends battery lifespan and prevents costly breakdowns.
- Monitor and maintain battery water levels and clean terminals.
- Inspect cables for damage to ensure proper electrical conductivity.
- Check battery voltage and charger function to diagnose charging issues.
- Reset inverter and check fuses for inverter malfunction.
- Monitor battery capacity to identify potential battery replacement needs.
Relevant URL Sources:
- Simple Maintenance Tips for Inverter Battery
- 8 Maintenance Tips for Inverter Battery to Ensure Good Performance
FAQ

Q1: What is the cheapest inverter with battery for home?
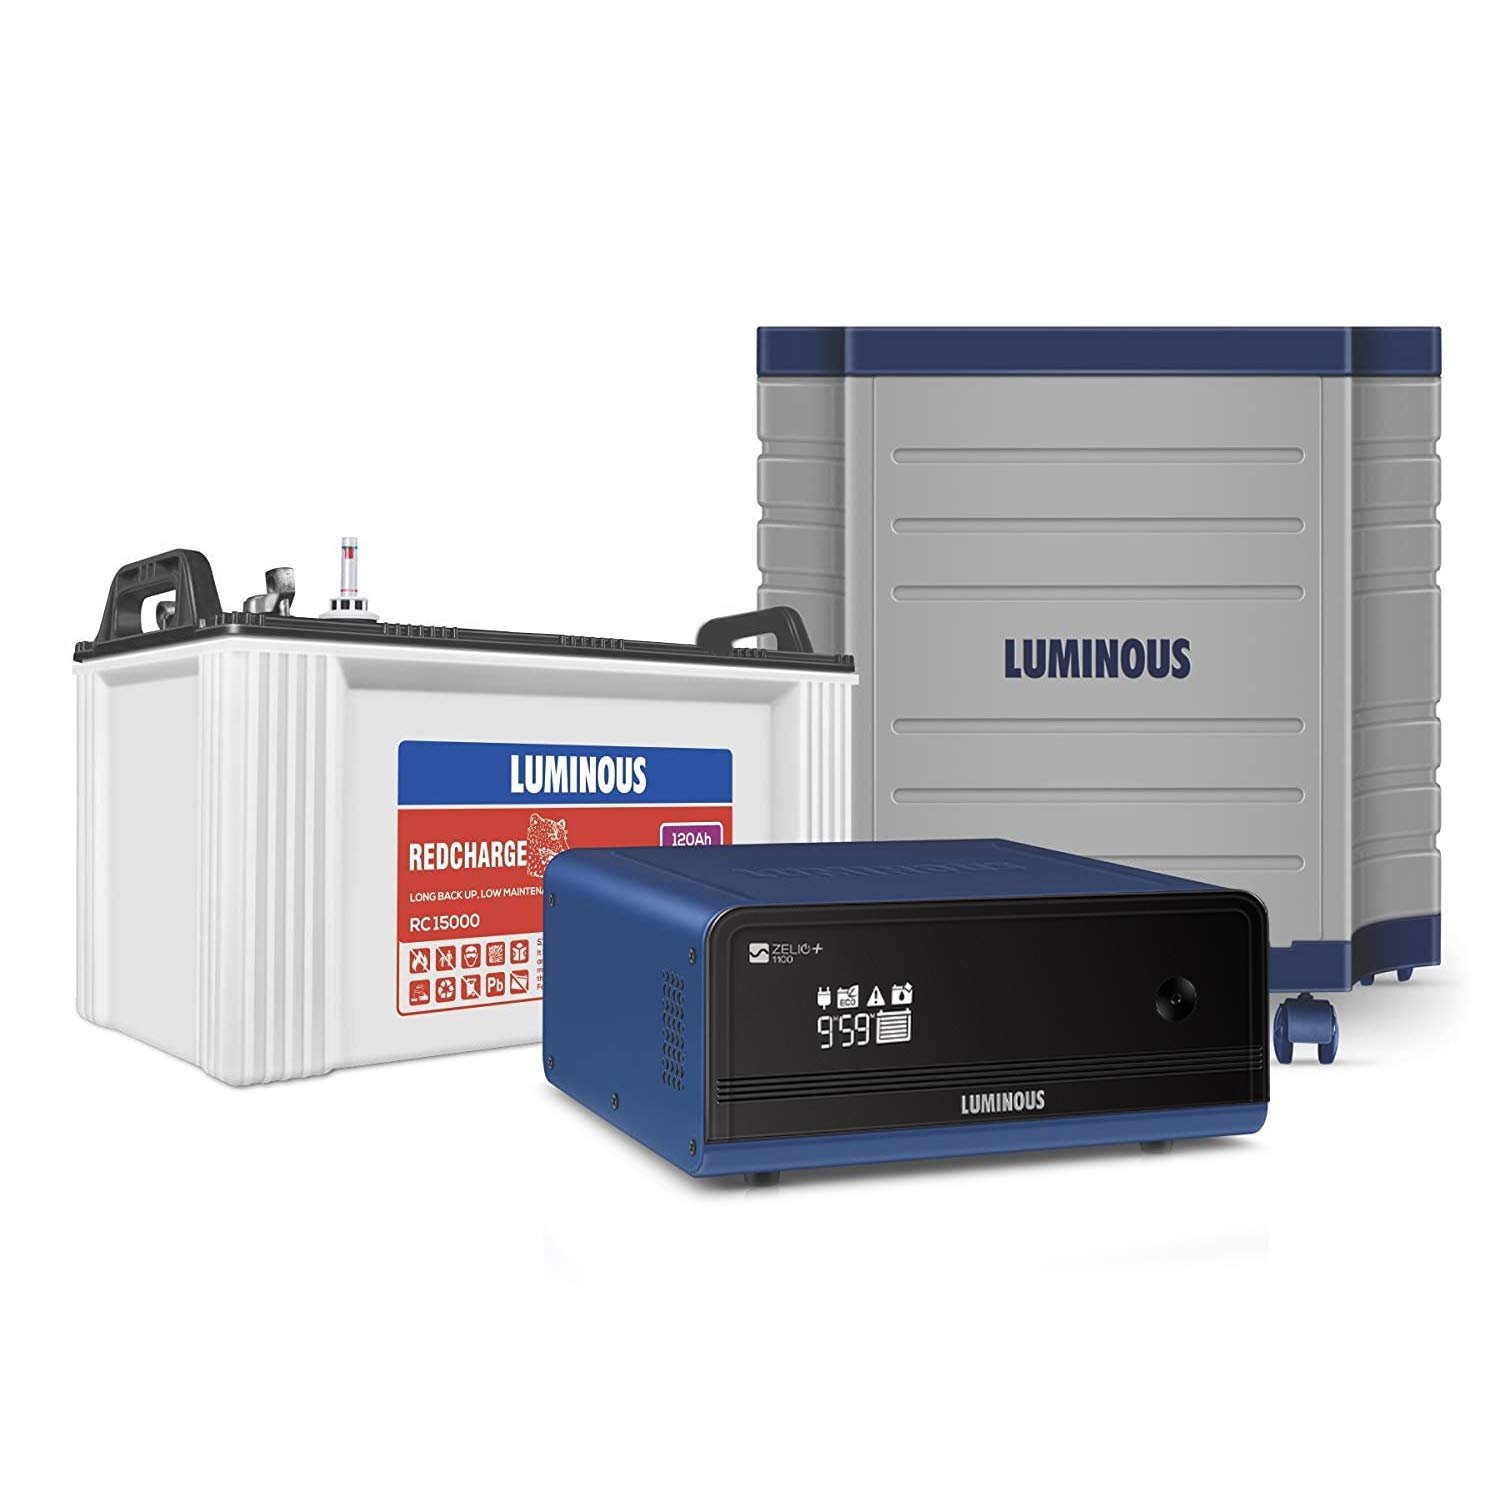
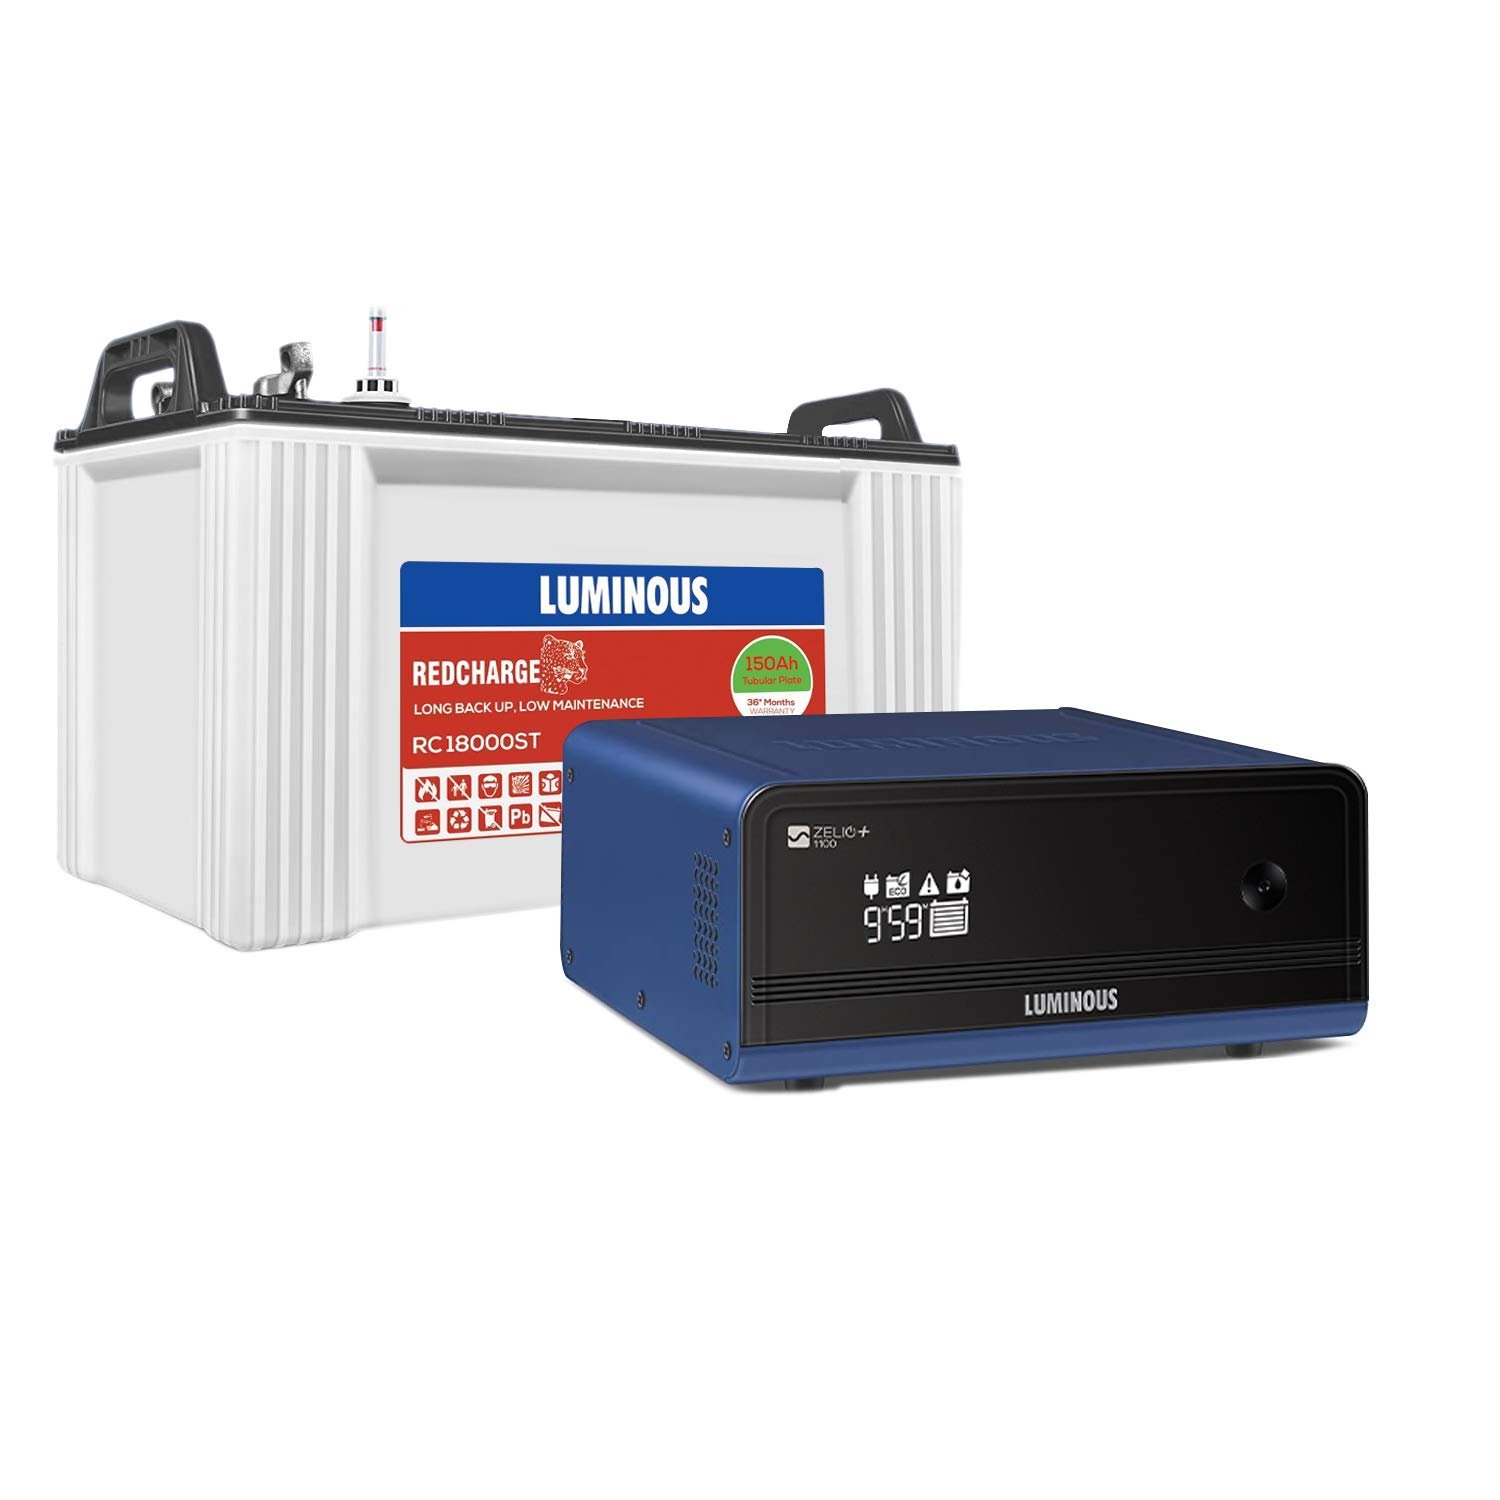
A1: The cheapest inverter with battery for home will depend on the specific requirements and budget of the user. However, some of the most affordable options include the Luminous Zelio+ 1100 Sine Wave Inverter with 150Ah Tubular Battery and the Exide SineWave+ 1200 Inverter with 150Ah Tubular Battery.
Q2: What is the best cheap inverter with battery for home?
A2: The best cheap inverter with battery for home will depend on the specific needs and preferences of the user. However, some of the top-rated options include the Sukam Falcon Sine Wave Inverter with 150Ah Tubular Battery, the Microtek M-Sun Sine Wave Inverter with 150Ah Tubular Battery, and the V-Guard Prime 1200 Sine Wave Inverter with 150Ah Tubular Battery.
Q3: How long will a cheap inverter with battery power my home?
A3: The amount of time a cheap inverter with battery will power a home will depend on the capacity of the battery and the power consumption of the appliances and devices being used. For example, a 150Ah battery with a 12V inverter can provide approximately 1800Wh of power, which could power a small refrigerator for about 24 hours or a ceiling fan for about 12 hours.
Q4: How do I choose the right cheap inverter with battery for my home?
A4: When choosing a cheap inverter with battery for home, it is important to consider the following factors: the power consumption of the appliances and devices that will be used, the capacity of the battery, the voltage of the inverter, and the lifespan of the battery. It is also important to consider the safety features of the inverter and the warranty offered by the manufacturer.
Q5: Where can I buy a cheap inverter with battery for home?
A5: Cheap inverters with batteries for home can be purchased from a variety of retailers, including online retailers such as Amazon and Flipkart, and local hardware stores. It is important to compare prices and features from different retailers before making a purchase.
– Get Reliable Power at an Affordable Price: Cheap Inverter with Battery for Home
Introducing [- Get Reliable Power at an Affordable Price: Cheap Inverter with Battery for Home], a comprehensive guide to selecting and using cost-effective inverter systems for reliable backup power and reduced energy consumption.
Key Takeaways:
- Inverter types: Pure sine wave for sensitive electronics, modified sine wave for less sensitive appliances.
- Battery requirements: Capacity (Ah) determines runtime, type (lead-acid, lithium-ion) affects lifespan and performance.
- Power output: Wattage indicates device capacity, surge power handles appliances with high startup currents.
- Features: Battery monitoring, overload protection, and remote monitoring.
- Applications: Home backup, off-grid systems, mobile applications.
Cheap Inverter with Battery for Home
Are you looking for a cost-effective way to power your home during emergencies or reduce your energy consumption? A cheap inverter with battery could be just what you need.
What is an inverter?
An inverter is a device that converts DC (direct current) electricity from a battery into AC (alternating current) electricity, which is used by most household appliances. This makes it possible to use stored battery power to run your devices and appliances.
What are the benefits of a cheap inverter with battery?
- Backup power: A cheap inverter with battery for home can provide backup power for essential appliances during power outages, ensuring safety and comfort.
- Reduced energy consumption: By connecting a cheap inverter with battery for home to a renewable energy source like solar panels, you can reduce your reliance on the grid and save on energy bills.
- Portability: Cheap inverters with batteries for home are often compact and portable, making them ideal for camping, tailgating, and other off-grid activities.
How to choose the right cheap inverter with battery for home
When choosing a cheap inverter with battery for home, consider the following factors:
- Wattage: Determine the wattage of the appliances you will need to power. Choose an inverter with a wattage rating that exceeds the total wattage of the appliances you will be using.
- Battery capacity: The battery capacity will determine how long the inverter can power your appliances. Choose a battery with a capacity that meets your power needs.
- Inverter type: Pure sine wave inverters provide clean power suitable for sensitive electronics. Modified sine wave inverters are less expensive and suitable for less sensitive appliances.
Where to buy a cheap inverter with battery for home
You can purchase a cheap inverter with battery for home from online retailers like Amazon or home improvement stores like Lowe’s and Home Depot.
Conclusion
A cheap inverter with battery for home is an affordable way to ensure backup power, reduce energy consumption, and enjoy portable power. By choosing the right inverter and battery, you can meet your power needs without breaking the bank.
Looking for affordable ways to warm up your home? Head over to our page for cheap home heating oil in Meath for the best deals.
If you’re planning a home renovation, don’t miss our page on cheap home improvement supplies to save money on your project.
Planning to build your dream home but on a budget? Explore our page on cheap kit homes in Australia for affordable options.
Installing the Inverter and Battery: Wiring, Safety Considerations, and Troubleshooting
When installing an inverter and battery system in your home, safety is paramount. Here’s your step-by-step guide to Installing the Inverter and Battery: Wiring, Safety Considerations, and Troubleshooting:
Wiring
- Use heavy-duty copper cables: Choose cables rated for the inverter’s current output.
- Ensure proper insulation: Protect wires from moisture, heat, and abrasion.
- Avoid sharp bends: Sharp bends can damage cables and create resistance.
- Double-check connections: Tighten all connections to prevent sparking and arcing.
Safety Considerations
- Wear protective gear: Wear safety glasses, gloves, and non-conductive shoes.
- Ground the system: Connect the inverter and battery to a proper grounding rod.
- Avoid overloading: Never exceed the inverter’s rated capacity.
- Install in a well-ventilated area: Heat dissipation is crucial for safety.
Troubleshooting
- Check connections: Inspect all connections for loose or damaged wires.
- Test with a multimeter: Ensure the inverter and battery are functioning properly.
- Overload protection: If the inverter shuts down, check for excessive load.
- Battery voltage: Low battery voltage may cause the inverter to malfunction.
Key Takeaways:
- Use heavy-duty cables for wiring.
- Ensure proper insulation and grounding.
- Wear protective gear during installation.
- Avoid overloading the inverter.
- Install in a well-ventilated area.
- Inspect connections regularly for safety.
- Test the system periodically with a multimeter.
Relevant URL Sources:
- Off-Grid Inverter System Installation Guide
- Battery Inverter Wiring for Off-Grid Systems
Optimizing Energy Consumption: Utilizing Peak Shaving and Load Management
Key Takeaways:
- Peak shaving reduces energy use during peak hours to avoid higher utility charges.
- Battery energy storage systems (BESS) store excess energy for release during peak hours.
- Peak shaving benefits grid operators by reducing the need for additional power generation.
Peak shaving is a strategy that helps households manage their energy consumption and reduce costs. By shifting energy use away from peak demand periods, homeowners can avoid higher utility charges and contribute to a more stable and efficient energy grid.
One common method for peak shaving is the use of battery energy storage systems (BESS). BESS store excess energy produced during off-peak hours, such as from solar panels or wind turbines. This stored energy can then be released during peak demand periods, reducing reliance on the grid and lowering energy bills.
Peak shaving not only benefits individual households but also provides advantages to grid operators. By reducing the demand for electricity during peak hours, peak shaving can help prevent power outages, reduce strain on the grid, and even lead to lower overall energy costs.
Relevant URL Sources:
- Peak Shaving: Optimize Power Consumption with Battery Energy Storage
- Energy Storage System for Peak Shaving – ResearchGate
Cost-Effective Solutions: Strategies for Acquiring and Maintaining a Cheap Inverter System
Are you looking to power your home effectively without breaking the bank? A cheap inverter with battery might be the answer you seek! Here are some Cost-Effective Solutions: Strategies for Acquiring and Maintaining a Cheap Inverter System to help you achieve just that:
Key Takeaways:
- Resource Optimization: Utilize available resources efficiently to minimize expenses.
- Supplier Negotiation: Engage in negotiations with suppliers to secure favorable deals.
- Cost-Benefit Analysis: Evaluate projects’ economic value to determine their viability.
Step 1: Seek Out Cost-Effective Options
- Explore online marketplaces and compare prices from various retailers.
- Consider purchasing used inverters or batteries in good condition to save money.
- Look for discounts, sales, or promotional offers.
Step 2: Optimize Your System’s Efficiency
- Choose an inverter with a wattage rating that aligns with your power needs.
- Select a battery capacity that provides sufficient runtime for your requirements.
- Utilize energy-saving features, such as automatic shut-off or timer functions, to reduce consumption.
Step 3: Maintain Your System for Longevity
- Regularly inspect your inverter and battery for any signs of damage or wear.
- Clean and tighten connections to prevent power loss or malfunctions.
- Consider investing in surge protectors to safeguard the system from voltage spikes.
Pros and Cons of Purchasing a Cheap Inverter:
Pros:
– Lower upfront cost compared to expensive models
– Suitable for basic power needs and backup applications
– Portable and convenient for off-grid scenarios
Cons:
– May not provide the same durability or performance as higher-end inverters
– Limited power capacity may not support all appliances
– Shorter lifespan compared to more expensive models
Remember, cost-effectiveness is about making smart choices without sacrificing quality or reliability. By implementing these strategies, you can acquire and maintain a cheap inverter system that meets your needs and keeps your home powered without straining your budget!
Relevant URL Sources:
- Cost-Effective Inverter Solutions
- Acquiring and Maintaining a Cheap Inverter System
FAQ
Q1: What are the key considerations when choosing a cheap inverter with battery for home?
Q2: How can I ensure that my cheap inverter and battery system meets my power needs?
Q3: What are the important safety tips to keep in mind when installing and using a cheap inverter with battery?
Q4: How can I extend the lifespan of my cheap inverter and battery system?
Q5: Where can I find affordable options for cheap inverters with batteries for home use?

- Modern Backsplash Ideas: A Guide to Todays Kitchen Trends - December 18, 2025
- Ceramic Kitchen Wall Tiles: Style and Protection for Your Walls - December 17, 2025
- Kitchen tiling wall: Elevate your kitchen with stylish wall tiles - December 16, 2025