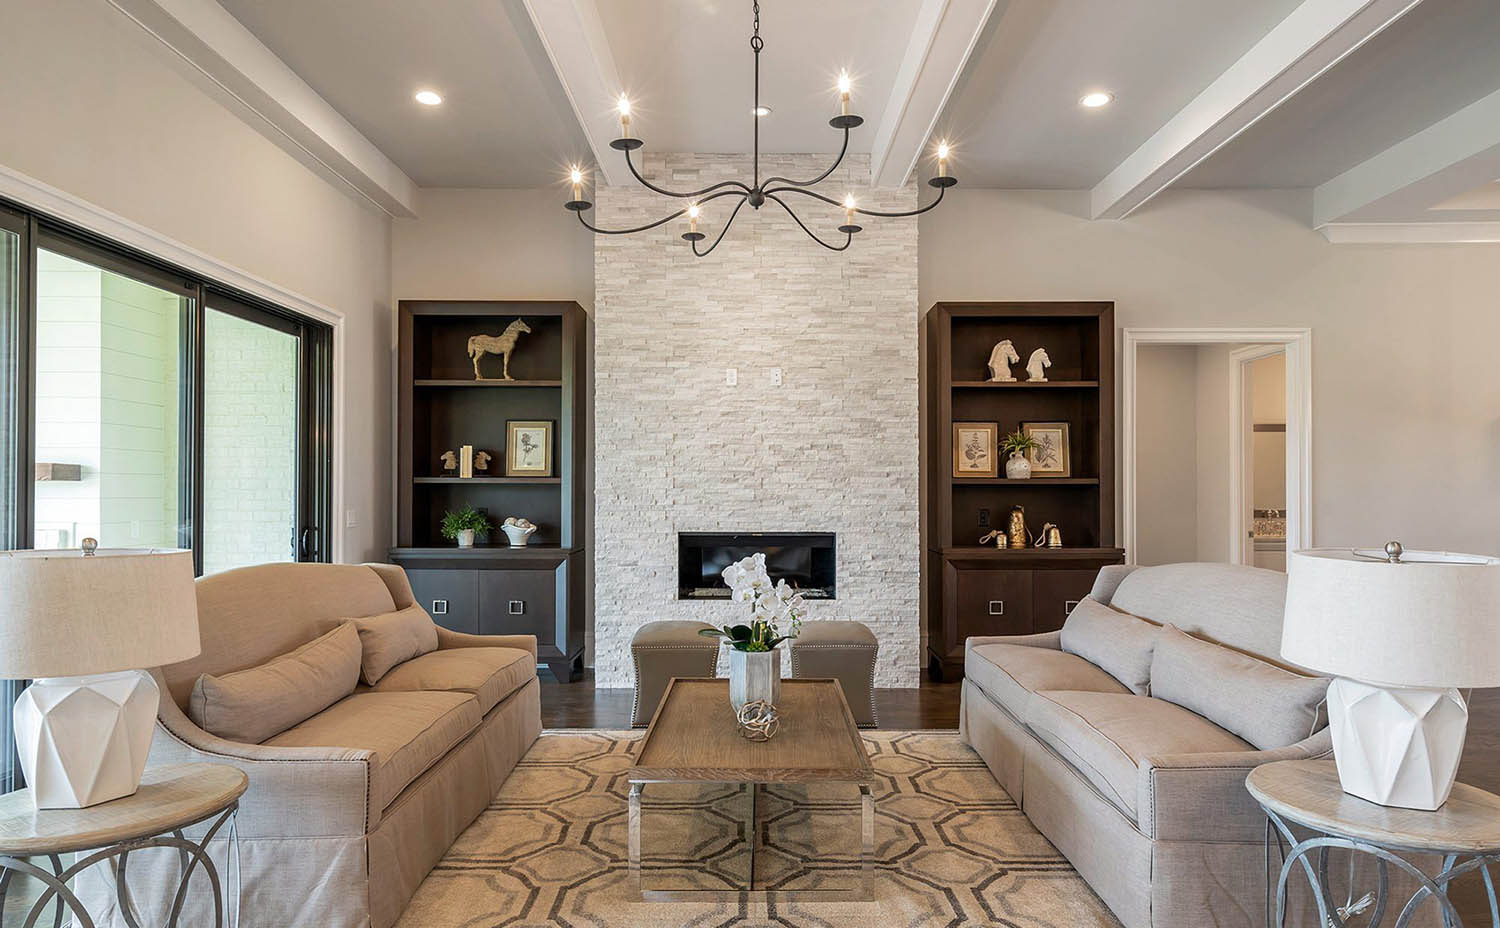
Coved ceilings, with their graceful curves and intriguing designs, can add a touch of elegance and architectural interest to any room. In this guide, we will take you on a journey into the world of coved ceilings, exploring their different styles, practical benefits, and expert installation techniques. Whether you’re a homeowner looking to elevate your space or a design enthusiast seeking inspiration, this guide will empower you with all the essential knowledge to create a stunning coved ceiling in your own home.
Why Choose Coved Ceilings?
Coved ceilings evoke a sense of timeless elegance and sophistication. But their appeal goes beyond mere aesthetics. Let’s explore the compelling reasons why these ceilings are making a comeback in modern homes:
Enhanced Visual Appeal:
- Seamless Transitions: Cove ceilings eliminate the sharp 90-degree angle where walls meet ceilings, creating a smooth, visually pleasing flow.
- The Illusion of Spaciousness: The gentle upward curve of a coved ceiling can trick the eye into perceiving a room as larger and more open, especially beneficial in spaces with lower ceiling heights.
Improved Acoustics:
- The concave shape of coved ceilings acts as a natural sound diffuser, minimizing echoes and reverberations. This creates a more balanced and pleasant soundscape, particularly desirable in larger rooms or spaces prone to excessive echoing.
Concealed Imperfections and Enhanced Lighting Design:
- Master of Disguise: Coved ceilings can cleverly hide imperfections where walls and ceilings meet, such as uneven plasterwork, cracks, or wiring.
- A Canvas for Lighting: The curved surface provides a unique opportunity to get creative with indirect lighting. Recessed lighting tucked within the cove can cast a warm, diffused glow, while LED strips can accentuate the graceful lines of the curve, creating a variety of dramatic or subtle lighting effects.
Decoding Coved Ceiling Styles
Before embarking on your coved ceiling journey, it’s essential to understand the different styles available, each with its own unique charm:
- No Reveal: For the minimalist at heart. The wall blends seamlessly into the ceiling without any interruptions, creating a clean and modern aesthetic.
- Top Reveal: This style features a ledge on the ceiling side of the cove. It’s an excellent choice for concealing lighting fixtures and creating a cozy, indirect glow.
- Bottom Reveal: Imagine a shelf-like effect where the wall meets the ceiling. This type of coved ceiling is perfect for displaying artwork, decorative moldings, or adding a touch of architectural interest.
- Top and Bottom Reveal: Why choose one when you can have both? This style incorporates ledges on both the ceiling and wall sides of the cove, offering maximum versatility for lighting and decorative elements.
Installing Your Coved Ceiling: Methods and Materials
While installing a coved ceiling might seem like a job best left to the professionals, there are options for both DIY enthusiasts and those who prefer to leave it to the experts.
Installation Methods:
- Plaster: The traditional method, plastering offers a smooth, custom finish that can be tailored to your exact specifications. This method typically requires the expertise of a skilled professional and involves applying multiple layers of plaster to create the desired curve. While plastering can be more time-consuming and expensive, it results in a timeless, high-end look.
- Drywall: A more budget-friendly and DIY-approachable option, drywall installation involves attaching drywall sheets to create the curved shape of the cove. It’s a relatively straightforward process but may require some practice to achieve smooth, seamless curves.
- Pre-fabricated Cove Molding: This is your shortcut to coved ceilings. Pre-made moldings made from materials like polyurethane foam or MDF (medium-density fiberboard) are readily available at most home improvement stores. These lightweight moldings are easy to install using adhesive and nails, making them an excellent choice for DIYers.
Choosing the Right Materials:
- Plaster: Provides a classic, seamless look and allows for intricate designs. However, it’s more expensive and requires professional installation.
- Drywall: A budget-friendly option that is suitable for DIY projects. While it’s more affordable, achieving perfectly smooth curves with drywall might require more effort.
- Polyurethane Foam: Lightweight, easy to cut, and moisture-resistant. Polyurethane foam moldings are perfect for DIYers and offer a cost-effective solution.
- Wood: For a touch of warmth and natural beauty, consider wood coving. Wood moldings come in various species and finishes to complement different design styles, but they might require more maintenance than other materials.
Designing Your Dream Coved Ceiling
Before you pick up a hammer or call in the professionals, let’s explore some essential design considerations:
- Ceiling Height: Coved ceilings tend to look most proportional and visually appealing in rooms with ceilings that are at least 8 feet high.
- Proportion and Scale: The size of the cove itself should be proportionate to the room’s dimensions. A cove that’s too large for a small room can overwhelm the space, while a cove that’s too small in a large room might appear insignificant.
- Lighting Design:
- Recessed Lighting: Strategically placed recessed lighting tucked away in the cove can create a dramatic effect, highlighting the architectural details of the ceiling.
- LED Strips: For a softer, more ambient glow, consider installing LED strips along the curve of the cove.
- Style Harmony: Coved ceilings are remarkably versatile and can complement a wide range of interior styles, from traditional and classic to modern and minimalist. Choose a style that harmonizes with the overall aesthetic of your home’s architecture and design.
Decoding the Cost of Coved Ceilings
The cost of installing a coved ceiling can vary significantly based on several factors:
- Size and Complexity: Larger, more intricate designs will require more materials and labor, resulting in a higher overall cost.
- Material Choice: As discussed earlier, materials like plaster tend to be more expensive than drywall or pre-fabricated molding.
- Labor Costs: If you’re not opting for the DIY route, labor costs will depend on the complexity of the project, the experience level of the contractor, and regional labor rates.
Saving on Costs:
- Consider Drywall: Choosing drywall over plaster can significantly reduce material costs.
- Shop Around for Contractors: Get quotes from multiple contractors to compare pricing and services.
- Embrace Your DIY Spirit: If you’re comfortable with basic carpentry skills, consider installing pre-fabricated coving yourself to save on labor costs.
Exploring Creative Coved Ceiling Ideas
Ready to take your coved ceiling from ordinary to extraordinary? Let’s explore some creative ideas:
- Eco-Friendly Elegance: Consider incorporating eco-friendly materials like reclaimed wood or bamboo for a touch of natural beauty and sustainable design.
- Smart Home Integration: Take your lighting design to the next level by integrating smart home technology. Connect your lighting system to a smart home hub, allowing you to control the ambiance of your coved ceiling with a simple voice command or a tap on your smartphone.
- Bold Statements with Color and Lighting: Don’t be afraid to experiment with color! A contrasting paint color within the cove can create a striking visual effect. Alternatively, consider hanging a stunning pendant light as a focal point within the cove, adding a touch of drama and sophistication.
What is the Purpose of Coved Ceilings?
Cove ceilings serve both aesthetic and functional purposes, making them a popular choice for homeowners looking to enhance their living spaces:
- Visual Expansion: The smooth transition between walls and ceilings created by coving can make rooms appear larger and more open, especially in spaces with lower ceiling heights.
- Improved Acoustics: The curved shape of coved ceilings helps to diffuse sound waves, minimizing echoes and creating a more pleasant acoustic environment.
- Enhanced Aesthetics: Cove ceilings add a touch of elegance, sophistication, and architectural interest to any room, elevating the overall design aesthetic.
- Concealed Imperfections: Coving can effectively hide imperfections where walls and ceilings meet, such as cracks, uneven plasterwork, or wiring.
- Versatile Lighting Design: The unique shape of coved ceilings provides opportunities for creative lighting solutions, including recessed lighting, LED strips, and accent lighting.
Are Coved Ceilings Expensive?
The cost of installing coved ceilings can vary considerably depending on several factors:
- Size and Complexity of the Cove: Larger rooms and more intricate cove designs will require more materials and labor, increasing the overall cost.
- Material Choice: The materials used to create the coving, such as plaster, drywall, or pre-fabricated moldings, can significantly impact the price.
- Installation Method: DIY installation using pre-fabricated moldings will be the most affordable option, while hiring a professional contractor for custom plasterwork will be the most expensive.
- Geographic Location: Labor costs can vary depending on your region and the availability of qualified contractors.
To get a more accurate estimate for your specific project, it’s best to consult with several contractors in your area and get detailed quotes.
What is It Called Where the Wall Meets the Ceiling?
The area where the wall and ceiling intersect is often referred to as the wall-ceiling joint or corner. While it might seem like a minor detail, this junction plays a crucial role in the overall aesthetic of a room.
There are several ways to treat this intersection, each with its own visual impact:
- Coved Ceiling: Creates a seamless, curved transition between the wall and ceiling, softening the look of the corner.
- Crown Molding: A decorative trim element installed at the wall-ceiling joint, adding visual interest and concealing imperfections.
- Reveal: A recessed area created where the wall meets the ceiling, providing a clean, modern look.
The choice of treatment depends on your desired aesthetic, budget, and the style of your home.
- Glass Tile: Brighten Your Home With Stylish Glass Backsplashes - December 3, 2025
- Glass Backsplash: Ideas For a Stylish Kitchen Update - December 2, 2025
- Glass On Tile: A Stylish Kitchen Backsplash Option - December 1, 2025


