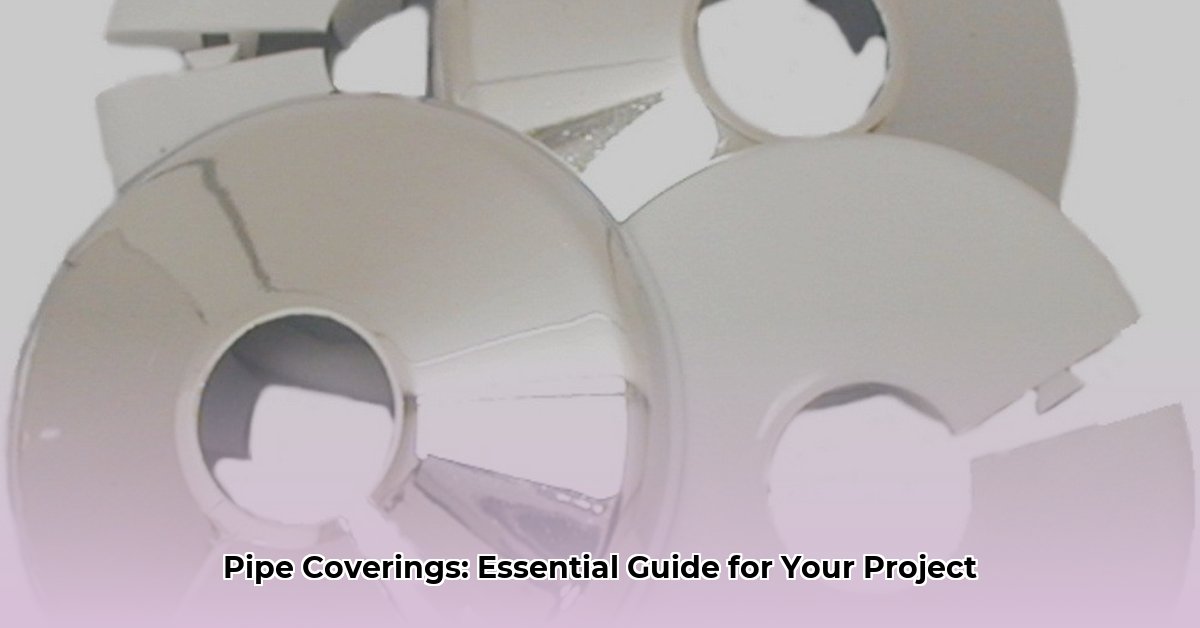
Why Cover Your Pipes?
Exposed pipes aren’t just an eyesore; they’re also inefficient and potentially hazardous. Covering them offers a range of benefits, from boosting energy efficiency and preventing frozen pipes to protecting against burns and dampening noise. Think of pipe covers as a protective shield, safeguarding your plumbing and your wallet.
Choosing the Right Armor: A Deep Dive into Pipe Cover Materials
Selecting the right pipe cover is crucial for optimal performance. Consider the pipe’s location, the temperature it carries, and your budget. Here’s a comprehensive comparison:
| Material | Pros | Cons | Best Uses | Cost | R-Value (per inch) |
|---|---|---|---|---|---|
| Closed-Cell Foam | Easy to install, budget-friendly, good general insulation | Lower R-value, not ideal for extreme temperatures | Indoor hot/cold water pipes, general purpose insulation | Low | 0.5-0.7 |
| Nitrile Rubber | Flexible, resists condensation, handles temperature fluctuations | Can degrade under UV exposure | Refrigerant lines, chilled water systems | Moderate | 0.3-0.4 |
| EPDM Rubber | UV resistant, handles high temperatures, durable | More expensive | Outdoor pipes, solar heating systems | High | 0.3-0.4 |
| Fiberglass | Excellent insulation (high R-value), fire-resistant | Can irritate skin (wear gloves!), may absorb water | Attics, basements, crawl spaces, hot water pipes | Moderate | 2.2-2.7 |
| Mineral Wool | High-temperature applications, fire-resistant, sound dampening | Can be bulky, may absorb water, requires careful handling | Industrial piping, HVAC ductwork, noise reduction | High | 2.8-3.7 |
| Calcium Silicate | Extremely high-temperature resistance, very durable | Requires specialized installation, expensive | Power plants, industrial boilers | Very High | 0.4-0.6 |
| Polyethylene Foam | Highly flexible, moisture-resistant, easy to install | Not as effective as other options for extreme temperatures | Indoor plumbing, ductwork in conditioned spaces | Moderate | 0.6-0.9 |
| AeroGel | Highest R-value, hydrophobic, lightweight | Very expensive | Aerospace applications, high-performance insulation needs | Very High | 3-5 |
Note: R-value measures thermal resistance. Higher R-value means better insulation. This table offers estimated ranges; actual values vary depending on product density and thickness. Ongoing research continually explores new and improved insulation materials. Consult a professional for specific recommendations.
Installing Pipe Covers: A Step-by-Step DIY Guide
Proper installation is essential for effective insulation. Follow these steps:
-
Prep Work: Clean the pipes thoroughly, removing any debris, grease, or old insulation. Allow hot water pipes to cool completely before starting.
-
Measure and Cut: Carefully measure the diameter and length of each pipe section. Transfer these measurements to your insulation, adding a little extra for overlap at the seams (especially important for flexible insulation). Use a sharp utility knife for foam, specialized cutters for fiberglass/mineral wool, or pre-slit options for easier installation.
-
Applying the Cover: For pre-slit foam, wrap snugly around the pipe, securing with tape/adhesive every foot or so. For wrapped materials, ensure seams are butted together and slightly overlapping. Use pre-formed elbow covers for bends or carefully cut and miter straight insulation for a tight fit.
-
Securing the Insulation: Use appropriate adhesive, tape, or pipe clamps (depending on the material and location) to secure the insulation and prevent slippage.
-
Sealing and Finishing: Seal all joints and seams with tape or caulk to prevent air leaks and maximize insulation effectiveness. For cold water pipes, a vapor barrier can prevent condensation. For outdoor or exposed pipes, a weatherproof sealant or jacketing adds extra protection.
-
Inspection and Maintenance: After installation, inspect for gaps or loose ends. Periodically check for wear, tear, or moisture damage. Address any issues promptly.
Specific Considerations for Different Pipe Types
- Hot Water Pipes: Prioritize insulation with a high R-value (e.g., fiberglass, mineral wool) to minimize heat loss and maximize energy savings.
- Cold Water Pipes: Focus on preventing condensation. Closed-cell foam or a vapor barrier over other insulation types are effective choices.
- Outdoor Pipes: Choose weather-resistant materials like EPDM rubber or add a weatherproof jacketing over other insulation types. Consider freeze protection in colder climates. Heat cables or self-regulating heat tape can prevent freezing.
- Noisy Pipes: Opt for materials with sound-dampening properties, such as mineral wool or specialized acoustic lagging.
Addressing Potential Issues and Safety Concerns
- Gaps in Insulation: Seal them with tape or caulk.
- Asbestos: If you suspect asbestos insulation in an older home, do not attempt removal yourself. Contact a qualified professional.
- Building Codes: Always check local building codes for specific insulation requirements.
- Safety First: Wear appropriate safety gear (gloves, eye protection) when handling insulation, especially fiberglass or mineral wool.
Beyond DIY: When to Call a Pro
While many pipe covering projects are DIY-friendly, some situations warrant professional help:
- Complex pipe configurations: Navigating tight spaces or intricate bends may require specialized expertise.
- Suspected asbestos: Professional removal and disposal are crucial for safety.
- Large-scale projects: For extensive insulation needs, a professional can ensure efficiency and proper installation.
By following this comprehensive guide, you can confidently choose and install the right pipe covers for your home, reaping the benefits of increased energy efficiency, reduced plumbing problems, and a more comfortable living environment.
- Dora the Explorer Wipe-Off Fun: Safe & Mess-Free Activities for Little Explorers - April 18, 2025
- Does Lemongrass Repel Mosquitoes? Fact vs. Fiction + How to Use It - April 18, 2025
- Do Woodchucks Climb Trees?Fact vs. Fiction - April 18, 2025


