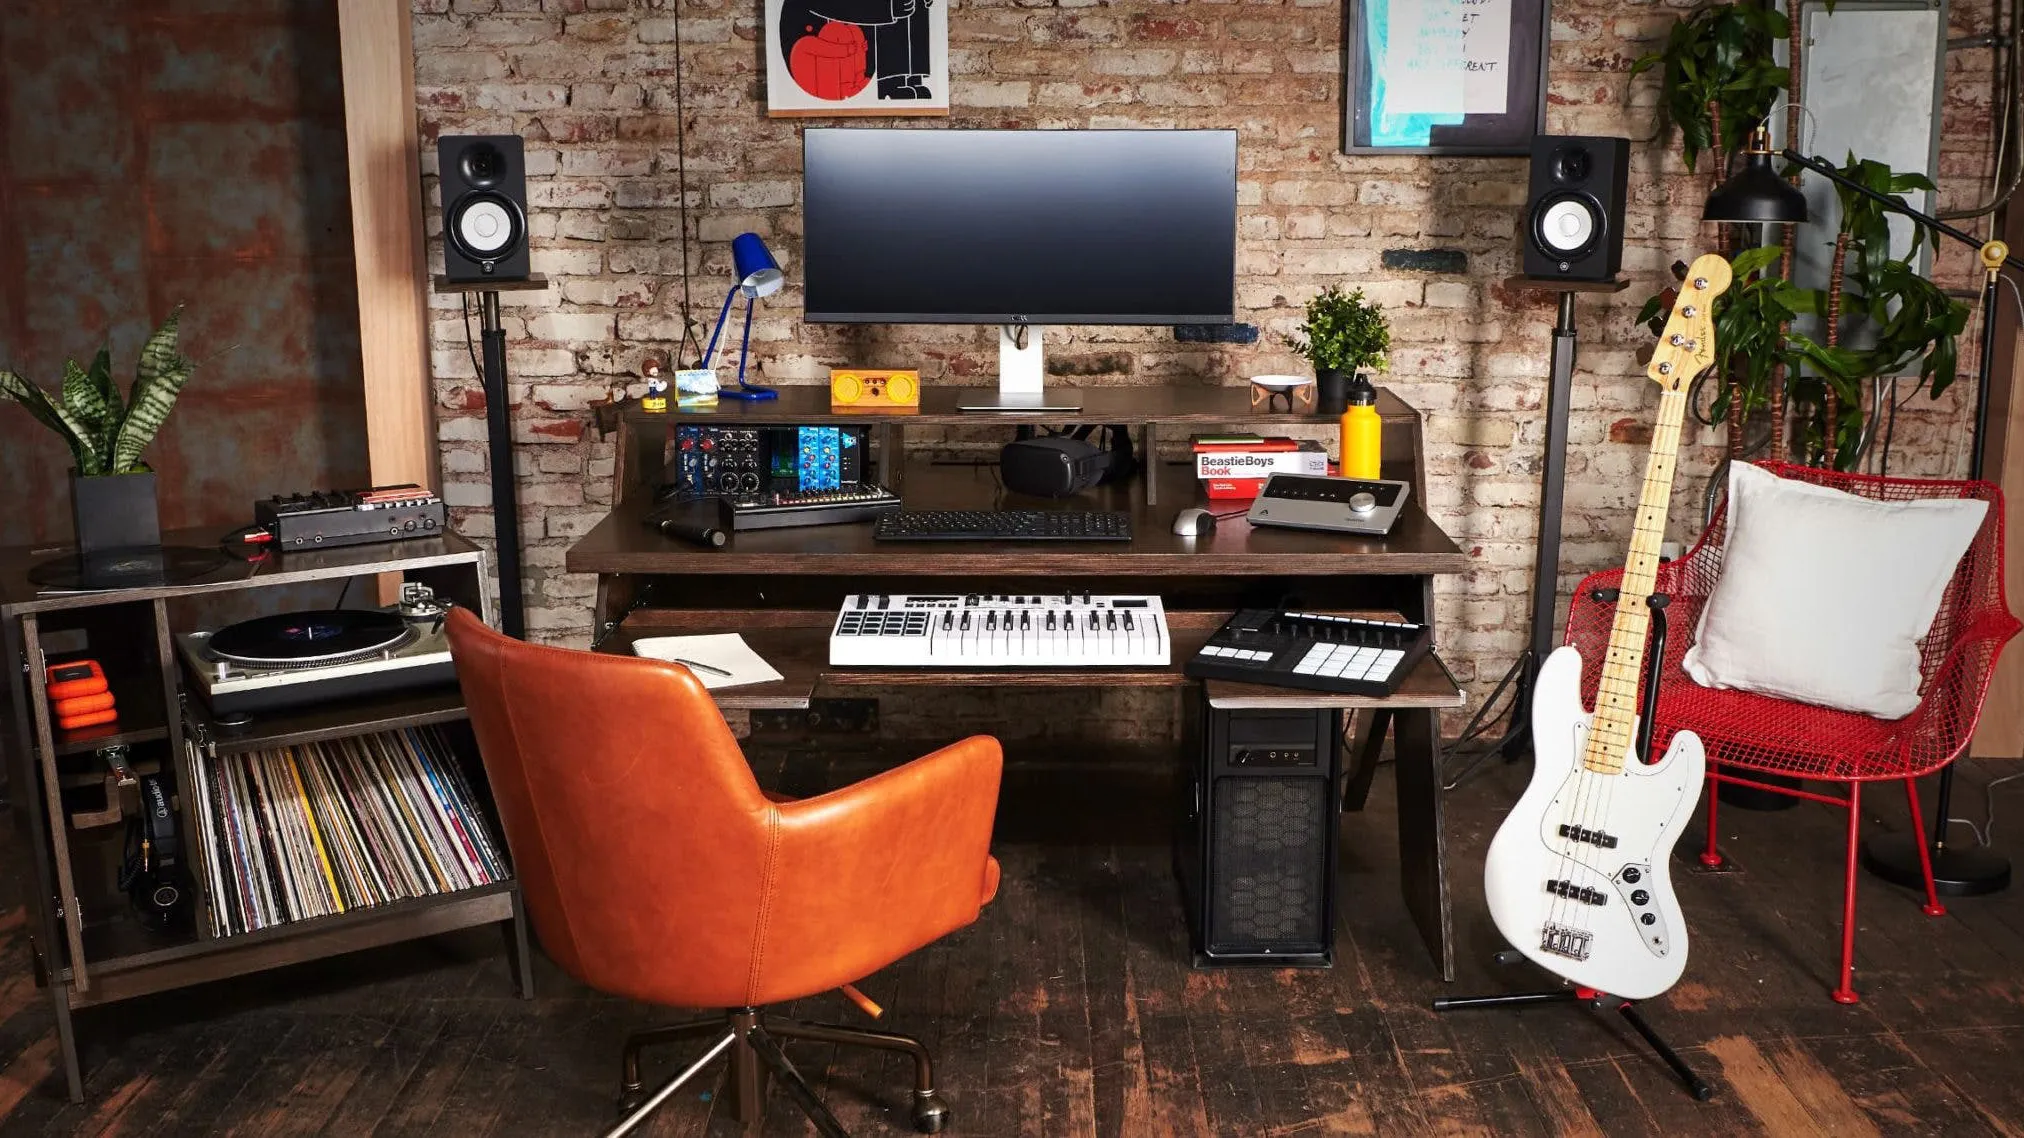
Step into the fascinating world of sound studio design, where acoustics and style blend to create magical spaces for music creation. This comprehensive guide explores how designers shape studios that not only sound amazing but also enhance workflow and spark creativity. Join us as we delve into the strategic arrangement of acoustic panels, the utilization of cutting-edge technology, and the creation of inspiring environments for musicians to craft their best work.
Sound Studio Interior Design: Shaping Sound and Inspiration
Building your dream sound studio starts with a fundamental understanding: the space itself is an instrument. Interior design acts as the tuning, shaping the sound and feel of your creative haven.
Taming the Sound Waves: The Science of Acoustic Control
At the heart of sound studio design lies the principle of control – taming sound waves that can wreak havoc on recordings. This is where sound treatment takes center stage, employing a strategic blend of techniques and materials:
- Absorption: Think of sound-absorbing materials as sonic sponges, soaking up excess sound energy to prevent echoes and reverb. This ensures clean and clear recordings, capturing every nuance of your music.
- Diffusion: Diffusers scatter sound waves in various directions, mimicking the natural sound diffusion of larger spaces. The result? A more balanced and pleasing acoustic environment.
- Acoustic Panels: These come in a variety of shapes, sizes, and materials, each designed to address specific sound frequencies. Like puzzle pieces, they fit together to create an acoustically balanced space.
Creating a Flow That Works: Ergonomics and Workflow
A well-designed studio is a joy to work in, promoting comfort and efficiency for long hours of creativity. Consider these essential elements:
- Ergonomics is King: Prioritize your physical well-being with comfortable seating, adjustable desks, and easy access to your gear. An ergonomic setup minimizes strain and maximizes focus, allowing you to fully immerse in your craft.
- Workflow Wonders: Design your studio layout to support your creative process. A clear path from the live room to the control room, strategically placed equipment, and intuitive cable management can significantly enhance your workflow.
Making it Look as Good as it Sounds: Aesthetics and Vibe
A visually appealing studio inspires creativity. Infuse your space with personality and style:
- Color Me Creative: Colors evoke moods. Cool tones promote focus, while warmer tones spark creativity. Experiment and discover the palette that best reflects your artistic vision.
- Light Up Your Life: Natural light is invigorating, but controlled lighting is essential for late-night sessions. Adjustable lighting allows you to set the mood and create the perfect ambiance.
- Natural Vibes: Incorporate natural elements like wood or plants. They not only enhance the visual appeal but also contribute to sound diffusion, creating a more organic and welcoming atmosphere.
Remember, your sound studio is a reflection of you. By focusing on sound treatment, ergonomics, and aesthetics, you create a space that sounds as good as it looks and feels as good as it sounds. If you’re looking to revamp your backyard shed into a studio space, explore these fantastic shed interior design ideas for inspiration.
What are the Fundamentals of Acoustic Design for Sound Studios?
Building a sonically exceptional studio requires a solid understanding of acoustic fundamentals. Just as a cake needs the right ingredients, a sound studio relies on specific acoustic elements:
- Acoustics Fundamentals Guide Studio Design: This involves understanding the scientific principles of sound production, transmission, and effects. By grasping these principles, you can create a studio that faithfully captures your creative vision.
- Architectural Integration of Acoustics: Seamlessly integrating acoustic principles with architectural design is paramount. This involves using acoustic treatments, like absorption panels and diffusers, as integral parts of the studio’s structure.
- Impact of Material Properties on Sound: Different materials possess unique sound absorption, reflection, and transmission characteristics. Consider these properties when selecting materials to control sound reverberation and reflections effectively.
- Studio Acoustics and Audio System Synergy: Your studio’s acoustics and audio system should work in perfect harmony. Factors like speaker placement, room dimensions, and reverberation time play a crucial role in ensuring clear and accurate audio reproduction.
How Do I Choose the Right Acoustic Treatment for My Sound Studio?
Navigating the world of acoustic treatment can feel daunting, but understanding a few key concepts simplifies the process. Think of sound waves like bouncy balls: in a studio with hard, flat surfaces, sound waves ricochet chaotically, creating echoes and muddying your recordings. Acoustic treatment acts like cushions and barriers, taming those reflections for a cleaner sound.
Identifying Acoustic Challenges
Before investing in acoustic panels, “listen” to your studio. Walk around, clap your hands, and observe how sound behaves. Identify areas where sound seems particularly loud or lingers longer. These are your prime locations for acoustic treatment.
Acoustic Treatment Arsenal
Familiarize yourself with the tools at your disposal:
- Absorbers: The Sound Sponges: These are your first line of defense against unwanted reflections and reverberation.
- Fiberglass and Rockwool Panels: The workhorses of acoustic treatment. They’re affordable, effective, and readily available.
- Acoustic Foam Panels: Lightweight and versatile, these are great for tackling mid-range frequencies.
- Bass Traps: Designed to tame booming low frequencies, bass traps are strategically placed in corners where bass frequencies tend to build up.
- Diffusers: Scattering the Sound: Diffusers break up sound waves, preventing standing waves that cause uneven frequency response.
- Wooden Diffusers: Their irregular surfaces effectively scatter sound waves, adding a touch of natural elegance to your studio.
- Acoustic Diffuser Panels: Available in various shapes and sizes, these often combine absorptive and diffusive properties for enhanced acoustic control.
- Reflectors: Redirecting the Flow: Reflectors redirect sound waves away from problem areas or towards your listening position.
- Wall-Mounted Panels: Flat or angled panels strategically placed on walls can effectively manage sound reflections.
Strategic Placement and Balance
- Booming Bass? Deploy bass traps in the corners of your room.
- Flutter Echoes? Place absorber panels on opposite walls to combat those quick, repetitive echoes.
- Controlling Reflections? Strategically position absorber panels on walls to minimize first reflections that interfere with your listening experience.
- Sweetening Your Sweet Spot? Place a diffuser behind your listening position to create a more immersive soundstage.
Remember, balance is key. Start small, addressing the most problematic areas first, and gradually add more treatment as needed. Let your ears guide you.
Ergonomics and Aesthetics – Designing a Functional and Inspiring Sound Studio
A well-designed sound studio is more than just acoustically sound – it’s a comfortable and inspiring space that fosters creativity.
Ergonomics: Where Comfort Meets Functionality
- Invest in Ergonomic Furniture: Prioritize your long-term health and comfort with supportive chairs and adjustable desks. Proper ergonomic design reduces strain and fatigue, allowing you to focus on your music.
- Optimize Your Workflow: Arrange your equipment for efficiency and ease of use. Keep frequently used items within reach to minimize movement and maximize productivity.
Aesthetics: Setting the Mood for Creativity
- Sound Treatment as Design: Acoustic panels and diffusers don’t have to be purely functional. Explore creative options like fabric wraps or wood finishes to enhance the visual appeal of your studio.
- Embrace Nature: Introduce plants into your studio. They not only look great but also contribute to sound absorption, creating a more natural and inviting atmosphere.
Acoustics: Fine-Tuning Your Sonic Playground
- Room Analysis: Before you begin decorating, understand your room’s dimensions and shape. This allows you to identify potential acoustic issues early on and plan your treatment accordingly.
- Soundproofing: Minimize external noise and distractions. Explore various soundproofing techniques to ensure your recordings remain clean and free from unwanted interference.
- Controlling Reflections: Strategically place acoustic panels to minimize sound reflections and improve overall clarity.
By fine-tuning your studio’s acoustics, ergonomics, and aesthetics, you create a space that is both functional and inspiring – a true sonic sanctuary where creativity can flourish. For a touch of alpine ambiance, consider incorporating ski lodge interior design elements into your studio.
Let your sound studio reflect your unique artistic vision. Incorporate vibrant colors and soulful patterns inspired by traditional Mexican interior design to infuse your space with personality and energy. Remember, your studio is an extension of your creativity – make it your own.
- Contemporary Kitchen Backsplash Ideas for a Stylish Home - December 20, 2025
- Modern Kitchen Backsplash Ideas To Inspire Your Refresh - December 19, 2025
- Modern Backsplash Ideas: A Guide to Todays Kitchen Trends - December 18, 2025


