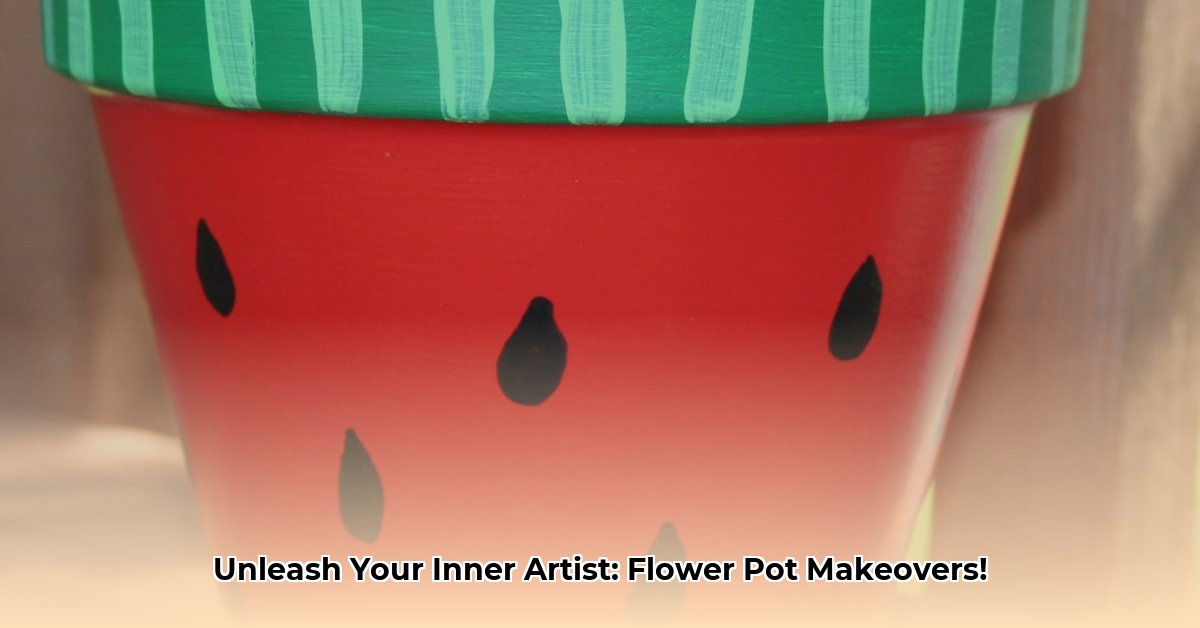
Want to give your garden a gorgeous makeover without breaking the bank? Transform ordinary flower pots into eye-catching masterpieces with a little paint and creativity! This comprehensive guide offers 50+ unique painting ideas, from simple stripes to intricate designs, suitable for all skill levels. Let’s add a touch of personality to your outdoor space!
Inspiring Flower Pot Transformations
Adding a personal touch to your flower pots can brighten any garden. Whether you’re a seasoned gardener or just starting, these ideas will spark your creativity, from basic techniques to more intricate designs. It’s all about having fun and making your garden uniquely yours!
Ombre Elegance
Add a touch of chic sophistication to your terracotta pots with a beautiful ombre effect. It’s easier than you think!
Materials:
- Clean terracotta pot
- Acrylic paints (at least two shades of the same color)
- Paintbrushes (various sizes)
- Sealer (optional, recommended for outdoor pots)
Instructions:
- Prep: Ensure your pot is clean and dry.
- Base Coat: Paint the bottom third with the darkest shade.
- Mid-Tone: Mix the lighter shade with the dark shade for a mid-tone. Paint the middle third, slightly overlapping the darker shade.
- Highlight: Use the lightest shade for the top third, overlapping the mid-tone. A clean, dry brush can soften lines between colors.
- Seal (Optional): Once dry, apply a sealer for protection.
Marbled Magic
Create a timeless, elegant marbled look for your flower pots.
Materials:
- Flower pot (any material)
- Light-colored base coat paint
- Various nail polish colors
- Water container (wider than the pot)
- Toothpick
Instructions:
- Base Coat: Apply and dry the base coat.
- Drip and Swirl: Drip nail polish onto the water’s surface and swirl with a toothpick.
- Dip: Immerse the pot into the water to transfer the marbled pattern.
- Dry: Let the pot dry completely. The nail polish creates a waterproof finish.
Splatter Paint Fun
Add a burst of color and energy with splatter painting! A fun project for all ages.
Materials:
- Flower pot
- Paint (any type)
- Paintbrushes or old toothbrushes
Instructions:
- Protect: Cover your work surface.
- Splatter: Dip the brush into the paint and flick your wrist over the pot.
- Layer: Experiment with multiple colors.
- Dry: Let the pot dry completely.
Stenciled Simplicity
Achieve precise designs and patterns with stencils.
Materials:
- Flower pot
- Stencils (pre-made or DIY)
- Paint
- Stencil brush or sponge brush
Instructions:
- Secure: Secure the stencil with painter’s tape.
- Dab: Dab paint onto the open stencil areas.
- Reveal: Carefully remove the stencil.
- Repeat: Experiment with multiple stencils and colors.
Color Block Boldness
Create a modern, graphic look with color blocking.
Materials:
- Flower pot
- Painter’s tape
- Paint (various colors)
- Paintbrushes
Instructions:
- Section: Section off areas with painter’s tape.
- Paint: Paint each section a different color.
- Reveal: Remove the tape once dry.
Getting Started: Pots and Paints
Choosing the right pots and paints is key to a successful project.
Choosing Your Pot
Consider your plant’s needs when selecting a pot. Terracotta pots are classic and porous, requiring sealing. Plastic pots are lightweight and easy to paint. Ceramic pots offer a smooth surface. Upcycled containers add a quirky touch. Ensure proper drainage and size for your plant.
Choosing Your Paint
Acrylic paints are beginner-friendly and versatile. Spray paint offers quick coverage. Enamel paints provide a durable, weather-resistant finish. Ongoing research suggests that paint longevity in outdoor settings varies, so explore the latest findings.
50+ Design Ideas: Inspiration Overload!
The possibilities are endless! Explore themes like Boho Chic, Donut Delight, Ombre Obsession, Sunflower Power, Abstract Adventures, Geometric Glam, Animal Antics, Inspirational Quotes, Seasonal Celebrations, and Nature’s Palette. The internet offers endless inspiration.
Painting Techniques
Preparing Your Pot
Clean your pot thoroughly and let it dry completely. For terracotta pots, sealing the inside is recommended, especially for outdoor use.
Base Coat (Optional)
A neutral base coat can enhance your final colors. Apply two thin coats, allowing each to dry completely.
Design Application
Use stencils, freehand painting, or painter’s tape for your chosen design. Experiment with different brushes and tools for unique textures.
Sealing
Seal your design with an outdoor sealant to protect it from the elements and prevent fading.
Paint Type Quick Reference
| Paint Type | Best For | Durability | Notes |
|---|---|---|---|
| Acrylic | All Surfaces | Medium | Versatile, water-based |
| Chalk Paint | Distressed Look | Medium | Matte finish, may require sealing |
| Spray Paint | Even Coverage | Medium | Quick coverage, requires ventilation |
| Porcelain Paint | Ceramic Pots | High | For ceramics, requires baking |
| Concrete Stain | Concrete Pots | High | Long-lasting finish |
Troubleshooting
- Chipping: Sand lightly and touch up with paint and sealant.
- Fading: Apply a fresh coat of sealant or touch up the paint.
- Plant Damage: Use non-toxic paints and seal the inside of terracotta pots.
Advanced Techniques
Pour Painting
Create mesmerizing marble effects with acrylic paints and a pouring medium. Silicone oil can enhance cell formation. Experiment with different pouring techniques.
Freehand Designs
Sketch your design lightly and use acrylic paint brushes to bring it to life. Varying brushstrokes add depth and style.
This guide provides a starting point. Don’t hesitate to experiment, mix techniques, and most importantly, have fun! Share your creations and inspire others.
- NYT Connections Answer: Hedgehog, Pineapple, Cactus The Spiky Things Explained - April 20, 2025
- How to Clean a Wool Carpet: A Comprehensive Guide - April 20, 2025
- How to Clean a Pleather Couch: A Complete Guide - April 20, 2025


