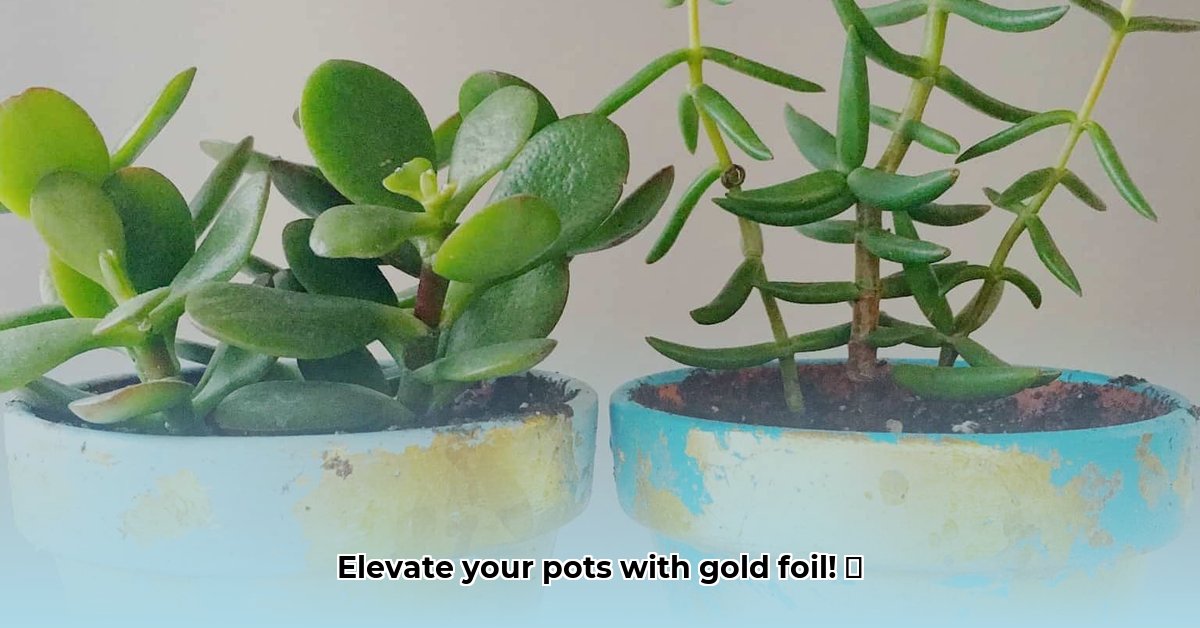
Gilding Your Garden: Adding Golden Glamour to Flower Pots
Transforming plain flower pots into personalized works of art is easier than you might think. With a touch of gold foil and a dash of creativity, you can elevate your plant displays from simple to stunning. This step-by-step guide will walk you through the process of creating DIY gold foil lettering on flower pots, making your garden or indoor plant collection even more enchanting.
1. Gathering Your Golden Supplies
Before we begin, let’s assemble our crafting toolkit. Having everything at hand makes the process so much smoother! Here’s what you’ll probably need:
- Flower Pots: Terracotta, ceramic, or even plastic—any kind will do! Each material offers a unique charm.
- Gold Foil: Genuine or imitation—both create a beautiful shimmer.
- Adhesive: Mod Podge, PVA glue, or a specialized foil adhesive all work well.
- Optional Extras: Paint for a base coat, painter’s tape for crisp lines, and a sealant to protect your finished project.
- Tools of the Trade: Scissors or a craft knife, a printer and paper for templates, a small, stiff brush, and a credit card or bone folder for smoothing.
2. Prepping Your Pots: A Clean Canvas
Just like an artist prepares their canvas, we need to prep our pots. Clean them thoroughly with soap and water and let them dry completely. If using plastic, lightly sanding can help the paint adhere better. A base coat of paint adds a touch of elegance—choose a color that complements your gold foil. Apply thin, even coats, allowing ample drying time between each.
3. Designing and Cutting: Crafting Your Message
This is where your creativity blossoms! Design your lettering on your computer, playing with different fonts and sizes. Print your design and carefully cut out the letters from the gold foil, leaving a small border around each for easier handling. A craft knife offers greater control for intricate designs.
4. Applying the Adhesive: The Bonding Agent
Apply a thin, even layer of adhesive to the area where your lettering will go. This will ensure the gold foil adheres smoothly. If applying adhesive to the back of the foil letters, do so carefully and evenly.
5. Placing the Foil: A Touch of Gold
Gently place your gold foil letters onto the adhesive. Smooth them down with a credit card or bone folder to remove any air bubbles and ensure good contact. As you smooth, you’ll begin to see the beautiful shimmer of the gold come through.
6. Revealing the Gold: The Grand Unveiling
Once the adhesive is slightly tacky, carefully peel back the excess foil, starting at one corner. As the foil comes away, your shimmering gold lettering will be revealed!
7. Sealing the Deal: Lasting Beauty (Optional)
A sealant protects your finished artwork. A clear acrylic sealant is a good option. Apply a thin, even coat and allow it to dry completely. Ongoing research suggests certain sealants may offer enhanced protection for outdoor use.
8. Troubleshooting Tips: Embracing Imperfection
- Wrinkles: Gently smooth them out with your credit card. A few wrinkles can add character!
- Tears: Patch them with a small piece of leftover foil and a dab of adhesive.
- Crisp Lines: Use painter’s tape to mask off the area around your lettering before applying the foil.
9. Beyond the Basics: Unleash Your Creativity
Experiment with different foil colors—silver, copper, rose gold—or add glitter and embellishments. Customize your pots for holidays or special occasions with festive messages. Let your imagination bloom!
Alternative Method: Rustic Gold Foil Finish
This technique provides a beautifully imperfect, vintage-inspired look.
1. Prep and Paint:
Clean and dry your pots. Apply a base coat of acrylic paint if desired.
2. Adhesive and Foil:
Lightly mist your dried pots with spray adhesive. Gently lay the gold foil sheets onto the adhesive, pressing down lightly. Overlaps and wrinkles add to the rustic aesthetic!
3. Burnish and Reveal:
Gently rub the foil with a soft brush or cotton ball to adhere and reveal the shimmer.
4. Seal (Optional):
A light coat of sealer protects your design.
Alternative Method: Precision Gold Foil with a Cutting Machine
For intricate designs and crisp lines, a cutting machine like a Cricut or Silhouette is ideal.
1. Design and Cut:
Design your lettering using the machine’s software and cut it from gold foil.
2. Weed and Transfer:
Remove excess foil and use transfer tape to apply the design to your painted pot.
3. Burnish and Seal:
Smooth the design with a bone folder and seal for protection.
This project is surprisingly simple and offers endless possibilities for personalization. So gather your supplies, unleash your creativity, and get ready to transform those plain terracotta pots into dazzling works of art!
- Ceramic Kitchen Wall Tiles: Style and Protection for Your Walls - December 17, 2025
- Kitchen tiling wall: Elevate your kitchen with stylish wall tiles - December 16, 2025
- Gray Kitchen Backsplash Tile: Ideas for a Stylish Upgrade - December 14, 2025


