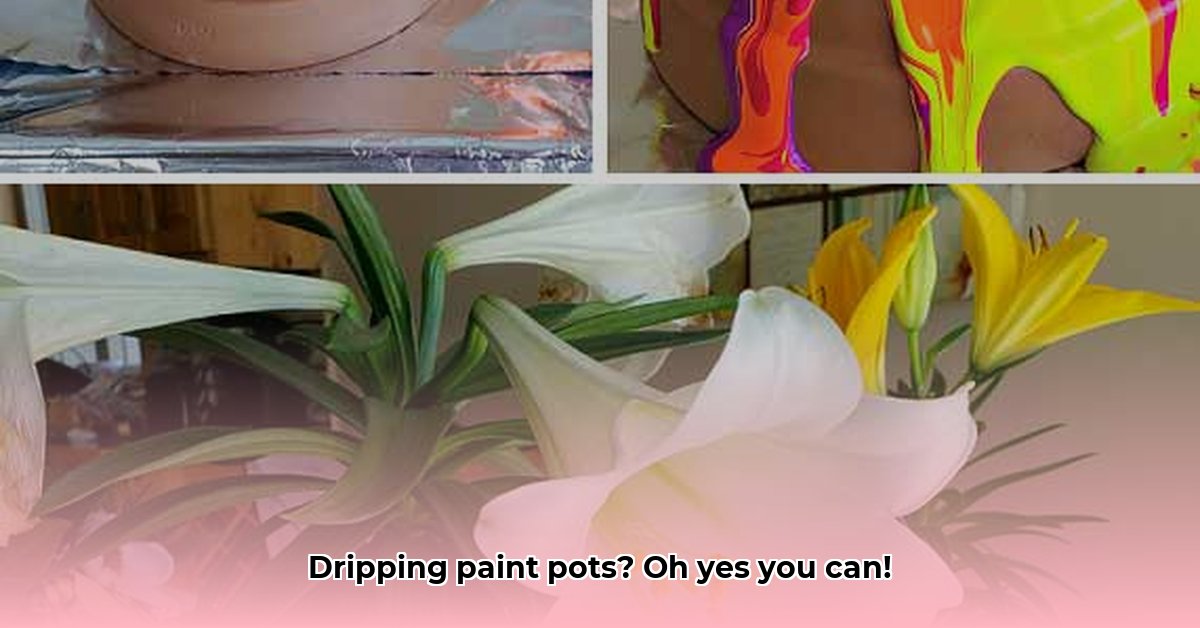
Transform Your Terracotta: The Art of the Drip
Ready to turn plain terracotta pots into vibrant works of art? This easy DIY project will add a splash of color and personality to your garden or indoor space. Whether you’re a crafting novice or a seasoned DIYer, this comprehensive guide will equip you with the techniques and troubleshooting tips to achieve stunning results.
Gathering Your Supplies: The Artist’s Toolkit
Before we begin, let’s assemble our materials. This isn’t a rigid recipe, but a flexible guideline. Feel free to adapt based on your creative vision.
- Terracotta Pots: These porous pots are the perfect canvas. Choose any size or shape you like. Broken pottery pieces can also be used for a mosaic-style effect.
- Paint: For indoor pots, standard acrylic craft paints in a variety of colors are ideal. For outdoor pots, opt for weather-resistant patio paint to prevent fading and peeling.
- Sealant (Highly Recommended): A clear sealant, matte or glossy, protects your paint job and the terracotta itself from the elements.
- White Paint (Optional): A base coat of white can make your colors pop and create a more even surface.
- Squeeze Bottles (Optional): These offer greater control over paint flow, but some prefer pouring directly from the paint bottle.
- Painter’s Tape: Cover the drainage hole to prevent clogging.
- Paintbrush (Optional): Useful for applying a base coat or adding details.
- Elevated Platform: An inverted can, jar, or stack of books elevates the pot for optimal dripping.
- Drop Cloth: Protect your work surface with newspaper, plastic, or an old sheet.
Creating Your Masterpiece: A Step-by-Step Guide
1. Preparing Your Pot: The Foundation of Success
Clean your terracotta pot thoroughly with soap and water, ensuring it’s completely dry before painting. Cover the drainage hole with painter’s tape. If using a white base coat, apply it now and let it dry completely. This step is crucial for preventing peeling and ensuring vibrant colors. Some experts believe that sealing or priming the pot offers additional protection against peeling, especially for terracotta. Ongoing research explores the optimal methods for preparing terracotta for painting.
2. Setting the Stage: Ready for the Drip
Place your drop cloth down and position your elevated platform. Flip your pot upside down and place it securely on the platform.
3. The Art of the Drip: Unleash Your Creativity
Squeeze or pour paint onto the rim of the pot, letting it flow down the sides. Start with small amounts of paint and add more gradually. Experiment with different pouring techniques to discover what effects you can create. There is no single correct method; some artists prefer controlled lines while others embrace the unpredictable nature of free-flowing paint. Ongoing research suggests that various techniques may yield different results based on the desired effect.
4. Patience is Key: The Drying Process
Once satisfied with your design, allow the paint to dry completely. This typically takes 24-48 hours. Avoid touching the wet paint.
5. Sealing the Deal: Protecting Your Artwork
Apply a clear sealant to protect your creation, especially for outdoor pots. This will prevent fading and chipping. Multiple coats may enhance durability.
Mastering the Drip: Techniques and Troubleshooting
Achieving the Perfect Drip: Tips and Tricks
- Thick Paint: Thin acrylics with a few drops of water for smoother flow. Other paint types may require a specific thinning medium – refer to the manufacturer’s instructions.
- Ombré Effect: Start with the lightest color at the top, gradually transitioning to darker shades.
- Creative Dripping: Experiment with zigzags, swirls, or polka dots for unique designs.
- Alternative Materials: Consider melted crayons for a waxy, textured finish.
- Beyond Flower Pots: Apply this technique to birdhouses, stepping stones, or other garden décor.
Troubleshooting Drips: Common Challenges and Solutions
| Problem | Likely Cause(s) | Possible Solution(s) |
|---|---|---|
| Uncontrolled Drips | Too much paint at once. | Use less paint, build gradually. Adjust the angle of the pot to control flow. |
| Paint Refusing to Drip | Paint too thick, surface too smooth. | Thin paint, lightly sand the surface to create texture. |
| Paint Pooling | Insufficient elevation, surface imperfections. | Increase elevation, smooth the surface or create a slight slope for drainage. |
| Drying Too Fast/Slow | Environmental factors, paint type. | Adjust temperature/humidity, choose appropriate paint type, use drying modifiers. |
| Unwanted Color Mixing | Drips too close, insufficient drying time. | Increase space between drips, allow each layer to dry completely. |
Showcasing Your Creations: Inspiration and Ideas
Search online for “dripping paint flower pots” or “paint drip pot DIY” to discover a wealth of inspiration. Explore different color palettes, dripping styles, and embellishments.
Choosing the Right Paint and Pot: A Compatibility Guide
| Paint Type | Drip Characteristics | Pot Material | Notes |
|---|---|---|---|
| Acrylics | Versatile, easy to control, quick drying | Terracotta, Ceramic, Plastic | Good for beginners. |
| Latex | Smooth, flowing drips | Terracotta, Wood | May require sealing for outdoor use. |
| Enamel | Glossy, durable, weather-resistant | Metal, Ceramic | Excellent for outdoor pots. |
This guide provides a foundation for your dripping paint adventures. Don’t be afraid to experiment with different techniques and materials. Unleash your creativity and enjoy the process of transforming ordinary flower pots into unique, personalized works of art.
- How to Measure Your Belt Size (for Women): 3 Easy & Accurate Methods - April 27, 2025
- How to Remove Permanent Hair Dye From Hair: Safe & Effective Methods - April 27, 2025
- How to Remove Ink from Leather: Effective DIY Methods and Expert Tips - April 27, 2025


