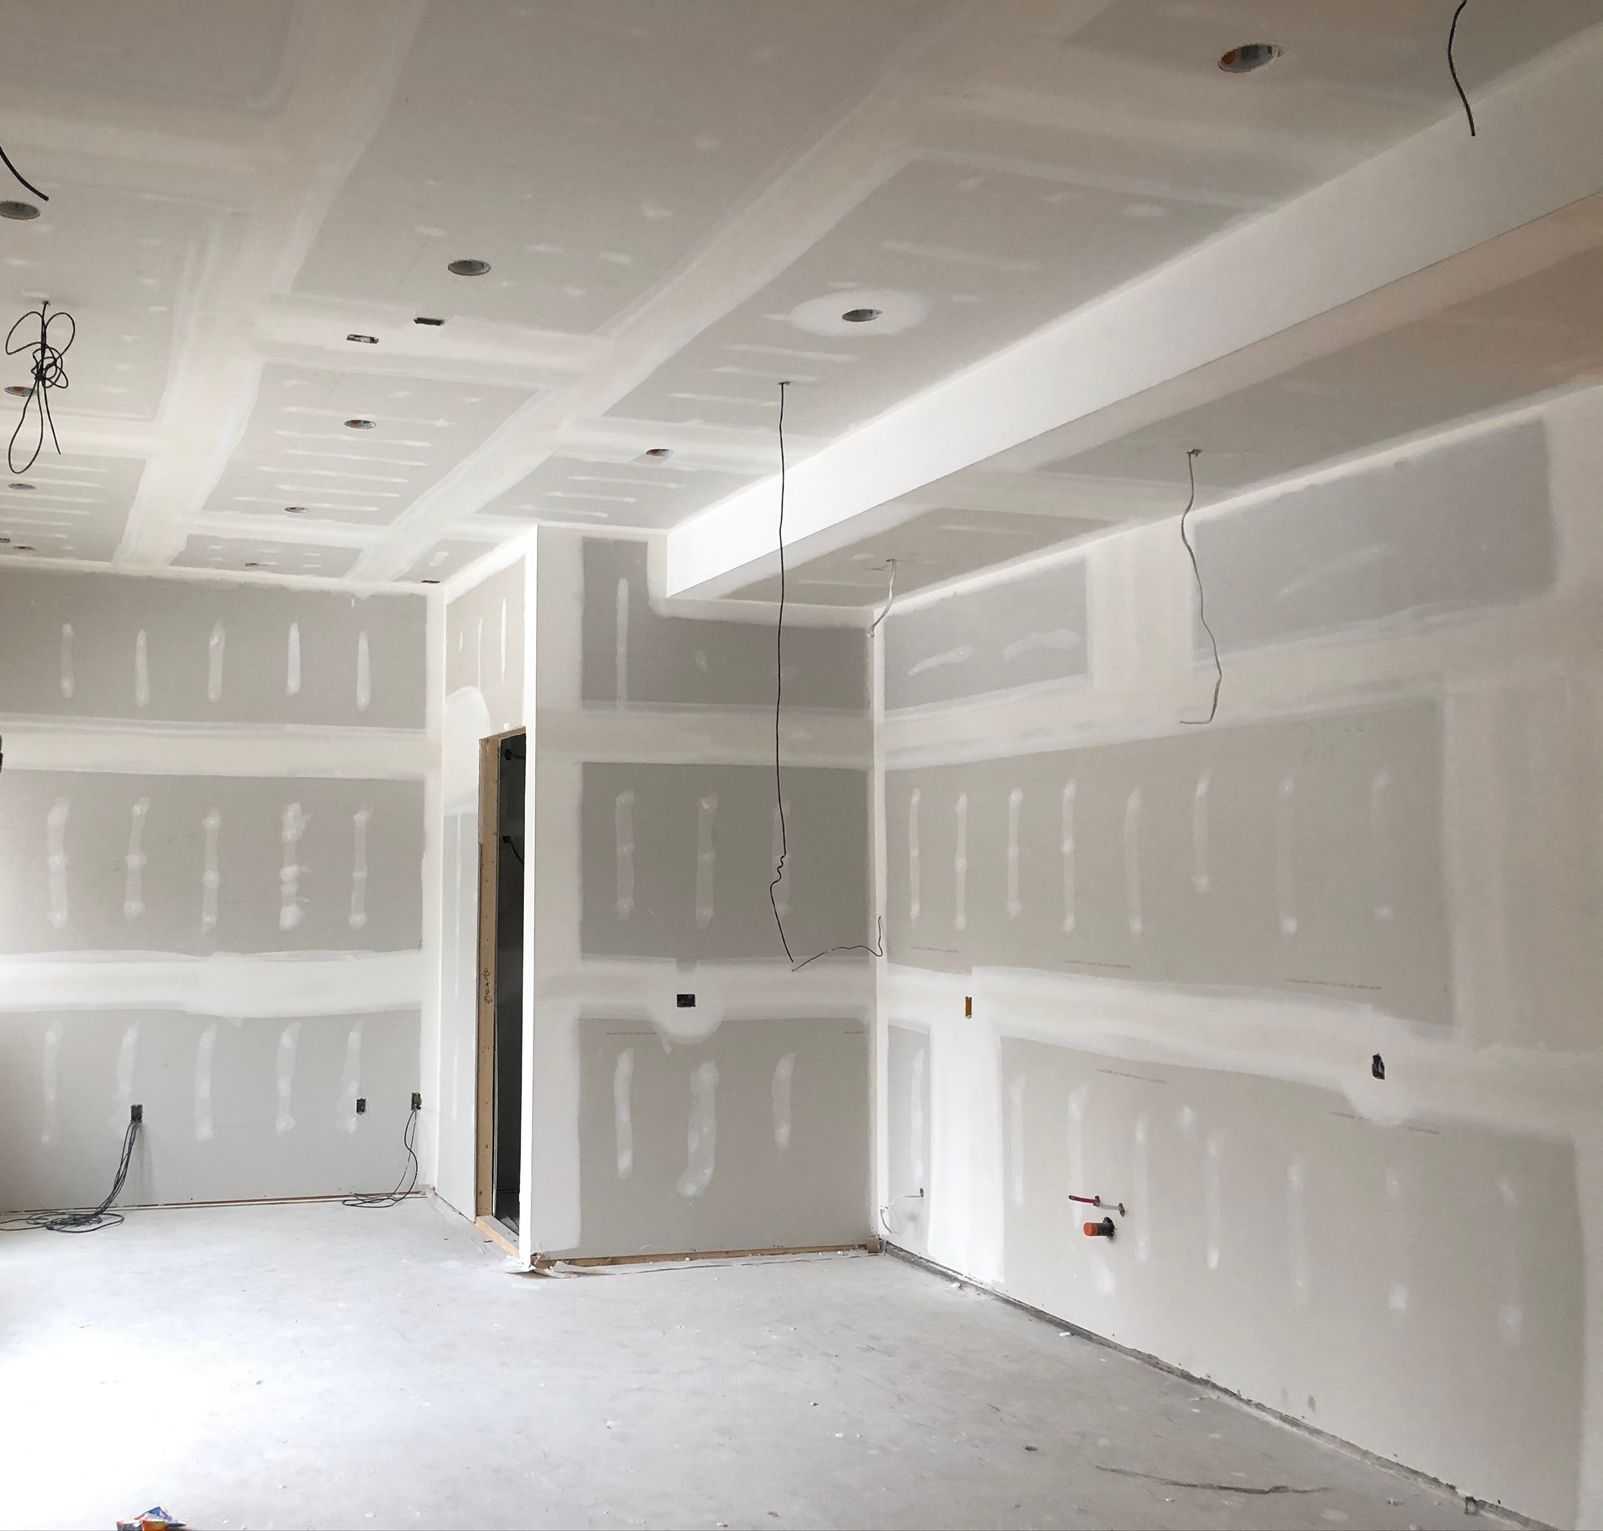
Picking the right drywall finish is crucial for achieving the desired look in your home. This comprehensive guide breaks down the six levels of drywall finish (0-5), from the bare bones to a flawless finish, empowering you to make informed decisions for your next project.
Understanding Drywall Finish Levels
Before diving into the specifics, let’s clarify what drywall finish levels are. These levels represent varying degrees of smoothness achieved through the application and sanding of joint compound (or “mud”). While commonly referred to as “levels,” the Gypsum Association doesn’t officially standardize them. They’re more like widely accepted industry practices. Choosing the right level impacts the final appearance and cost of your project.
Quick Guide to Drywall Finish Levels
| Level | Description | Application | Cost |
|---|---|---|---|
| Level 0 | No finish at all | Behind fixtures, areas completely covered | Lowest |
| Level 1 | Tape embedded in joint compound | Under tile, heavy textures | Low |
| Level 2 | Thin coat over tape and screws | Garages, utility areas, under heavy texture | Moderate |
| Level 3 | One coat on screws, two on joints, lightly sanded | Textured finishes, less visible areas | Moderate |
| Level 4 | Three coats, sanded smooth | Painted walls, wallpaper, standard finish | Higher |
| Level 5 | Skim coat over Level 4, perfectly smooth | High-gloss paint, ceilings, areas requiring a flawless finish | Highest |
Detailed Breakdown of Each Level
Level 0: The Bare Minimum
Level 0 is simply the unadorned drywall sheet attached to the framing. No taping, mudding, or finishing whatsoever. Think of it as the raw canvas. It’s the most economical option, typically used behind permanent fixtures like built-in cabinets or within wall cavities housing plumbing.
Level 1: A Foundation for Covering
Level 1 involves embedding tape in joint compound over the drywall seams and covering screw holes with mud. This foundational level is most suitable for areas destined to be tiled or covered with heavy texture, where imperfections won’t impact the final appearance.
Level 2: Functional Finishes
Level 2 builds upon Level 1 with a thin coat of joint compound over the taped joints and screw holes. It’s a practical choice for areas where aesthetics aren’t paramount, such as garages, utility spaces, or surfaces intended for heavy texturing.
Level 3: Preparing for Texture
Level 3 is specifically designed as a base for textured walls. It involves two coats of joint compound on the joints and one on the screw holes, followed by light sanding. This creates an appropriate surface for receiving texture, which will further conceal any remaining imperfections.
Level 4: The Industry Standard
Level 4 is the most prevalent finish for interior walls, acting as the standard for painted or wallpapered surfaces. This level involves three coats of joint compound over the seams and screw holes, culminating in a smooth, uniform surface after sanding. It’s the go-to choice for living rooms, bedrooms, and hallways, striking a balance between quality and cost-effectiveness.
Level 5: The Pinnacle of Smoothness
Level 5 takes smoothness to the extreme. A skim coat – a thin layer of joint compound – is applied over the entire Level 4 surface, resulting in a virtually flawless finish. It’s ideal for high-gloss or semi-gloss paints, which tend to highlight imperfections, and for ceilings, where overhead lighting can emphasize flaws. Level 5 is the premium option for those seeking absolute perfection.
Level 4 vs. Level 5: Making the Right Choice
The decision between Level 4 and 5 often hinges on several factors:
- Lighting: In brightly lit areas, Level 5’s superior smoothness minimizes visible imperfections. Conversely, in dimly lit rooms, Level 4 might suffice.
- Paint Sheen: Matte paints conceal imperfections, making Level 4 a viable option. However, high-gloss or satin finishes amplify imperfections, making Level 5 more desirable.
- Budget: Level 5 typically costs 20-50% more than Level 4. If budget is a concern, Level 4 offers excellent value.
Consult a drywall contractor for personalized advice tailored to your project and budget.
Materials and Tools
The required materials and tools vary depending on the finish level. Generally, you’ll need:
- Joint Compound (Mud): Choose the appropriate type based on drying time and project needs. Some research suggests specific mud types perform better for certain levels.
- Drywall Tape: Reinforces joints and prevents cracking.
- Sandpaper: Various grits for different stages of finishing.
- Taping Knife: For applying and smoothing joint compound.
- Mud Pan: For holding and mixing joint compound.
- Sanding Pole/Block: For even sanding.
- Safety Glasses and Dust Mask: Essential for protection during sanding.
Common Problems and Solutions
- Cracking: Ensure proper taping and use high-quality joint compound.
- Nail Pops: Drive nails slightly below the surface and cover with multiple layers of compound.
- Visible Seams: Apply adequate joint compound and feather the edges for seamless blending.
Choosing a Contractor
If hiring a contractor, look for experience, licensing, and insurance. Request references and compare quotes. A knowledgeable contractor can guide you in selecting the appropriate finish level.
Conclusion
Choosing the correct drywall finish level is paramount for achieving the desired look and staying within budget. Consider the function of the space, lighting, paint choice, and overall aesthetic when deciding. This guide empowers you to confidently tackle your next drywall project, whether you’re aiming for a functional finish or a flawless masterpiece. Don’t hesitate to consult a professional for expert guidance. Enhance fire safety in your building projects by understanding the crucial role of a fire block.
- Flowers That Start With E: A Complete Guide - April 22, 2025
- 70+ Charming Flowers That Begin With C: A Visual Guide with Growing Tips - April 22, 2025
- How to Identify a Ground Wasp Nest: A Visual Guide - April 22, 2025


