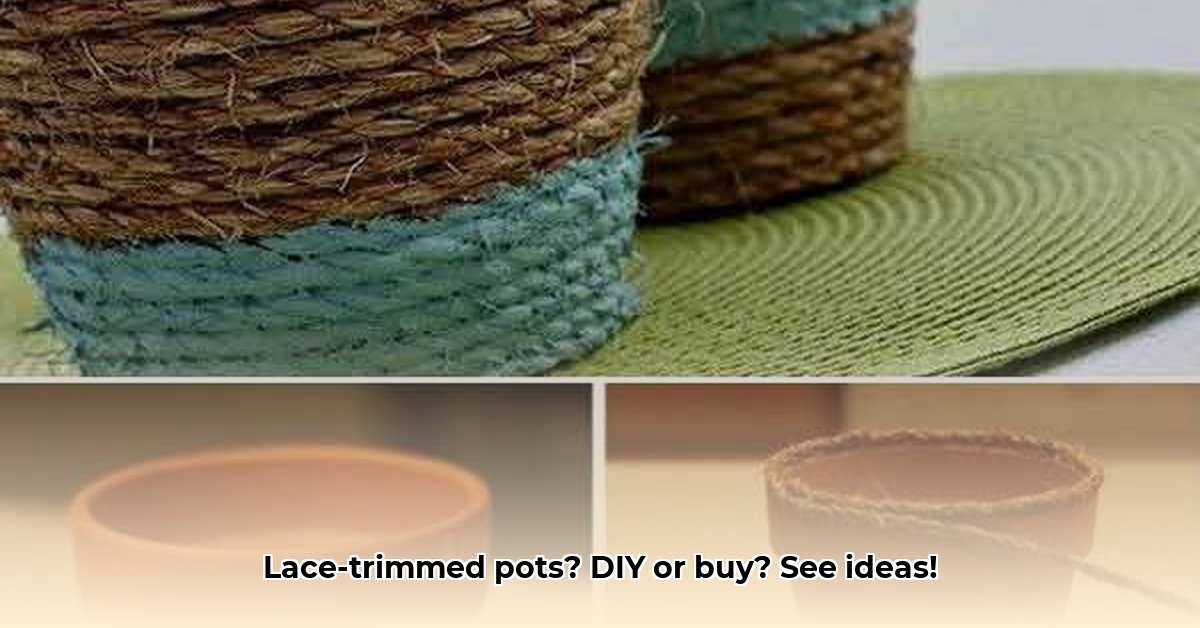
Adding a touch of delicate charm to your garden or indoor space is easier than you think! Lace-trimmed flower pots bring a sweet, vintage vibe, and you can easily create your own or find pre-made beauties. Let’s dive into the world of lacy flower pots!
DIY Delights: Crafting Your Own Lace-Embellished Pots
Creating your own lace-trimmed flower pots is surprisingly simple. We’ll explore three techniques: decoupage, gluing, and painting.
Decoupage: A Vintage Touch
Decoupage gives a layered, vintage look. Imagine delicate lace peeking through a soft wash of color!
Materials:
- Terra cotta pot
- Lace
- Mod Podge (matte or gloss)
- Paintbrush
- Scissors
- Water and soap
Instructions:
- Prep: Clean your terra cotta pot with soap and water, and let it dry completely.
- Lace: Choose your lace and cut it into manageable pieces. Overlapping pieces create a lovely layered effect.
- Decoupage: Apply a thin layer of Mod Podge to a small section of the pot. Place the lace on the Mod Podge, smoothing out any wrinkles. Brush another layer of Mod Podge over the lace.
- Dry: Let the Mod Podge dry completely. Apply another thin coat for durability. Several thin coats are better than one thick coat to prevent drips.
- Admire: Once dry, your decoupaged pot is ready!
Gluing Lace: Quick & Easy Elegance
Gluing offers instant gratification and is perfect for a clean, defined lace edge.
Materials:
- Terra cotta pot
- Lace trim
- Fabric glue or hot glue
- Tweezers (optional)
Instructions:
- Clean: Start with a clean, dry pot.
- Glue: Apply a thin line of glue along the rim or wherever you desire. Work quickly with hot glue.
- Place: Carefully position the lace onto the glue. Tweezers can help with precise placement.
- Dry: Allow the glue to dry completely. Embellish with beads or charms (optional).
Painting Lace: Unleash Your Inner Artist
Painting allows for ultimate creative control!
Materials:
- Terra cotta pot
- Acrylic paints
- Paintbrushes
- Lace stencil (optional)
Instructions:
- Prime (Optional): A base coat can help your design pop.
- Stencil or Freehand: Secure your stencil and apply paint, or freehand your design.
- Layer: Layer different paint colors for a dimensional effect. Let each layer dry before adding the next.
Ready-Made Options
No time for DIY? Here are some places to find pre-made lace-trimmed pots:
- Etsy: Search for “lace flower pots,” “vintage planters,” or “lace trimmed planters.” Link to Etsy Search
- Local Craft Fairs and Boutiques: These venues often offer unique, handcrafted items.
- Online Retailers: Sites like Amazon and Wayfair may have options, though the selection can be limited.
Styling & Care
Styling Ideas:
- Bohemian: Pair lace-trimmed pots with flowing plants like ferns or ivy.
- Vintage: Plant pastel flowers or herbs and display them on antique shelves.
- Modern Farmhouse: Group lace-trimmed pots with succulents or cacti.
Care Tips:
- Cleaning: Wipe with a damp cloth. Avoid harsh chemicals.
- Weatherproofing: If outdoors, a waterproof sealant can protect the lace.
- Fraying: A dab of fabric glue can fix fraying lace.
Choosing the Right Lace & Glue
The type of lace and glue you select can significantly impact the final look and durability of your project.
Lace Selection:
- Material: Consider cotton, linen, or synthetic lace. Natural fibers offer a more rustic or vintage feel, while synthetics provide durability and weather resistance. Some research suggests that natural fibers may biodegrade faster in outdoor settings.
- Width & Pattern: Experiment with different widths and patterns. Delicate, narrow lace creates a subtle effect, while wider, bolder lace makes a statement. The pattern can evoke different styles, from Victorian elegance to modern minimalism.
- Color: White or ivory lace is classic, but don’t be afraid to explore colors! Dyed lace can add a pop of personality or coordinate with your existing décor.
Glue Considerations:
- Fabric Glue: Good for precise application and bonding fabric to porous surfaces like terra cotta. However, it may not be as waterproof as other options.
- Hot Glue: Offers quick adhesion but can be tricky to work with for intricate designs. It’s best for simple applications. Its bond strength can also vary depending on the materials and environmental conditions.
- Outdoor Adhesive: If your pots will be exposed to the elements, choose a waterproof and weather-resistant adhesive designed for outdoor use. Some formulations may be more resistant to temperature fluctuations and UV degradation than others.
- Decoupage Glue (Mod Podge): Seals and protects the lace while providing a nice finish. It comes in various formulations, including some designed for outdoor use.
By understanding the properties of different lace and glue types, you can make informed choices that ensure the success and longevity of your lace-trimmed flower pot projects.
Let your creativity bloom! Whether you craft your own or find a pre-made gem, lace-trimmed flower pots add a touch of elegance to any space. Happy decorating!
- How to Get Rid of Mushrooms in Your Lawn: A Complete Guide - April 24, 2025
- How to Get Rid of Ground Hornets: A Safe and Effective Guide to Eliminating Nests - April 24, 2025
- How to Get Rid of German Roaches Fast: DIY Methods for Quick Control - April 24, 2025


