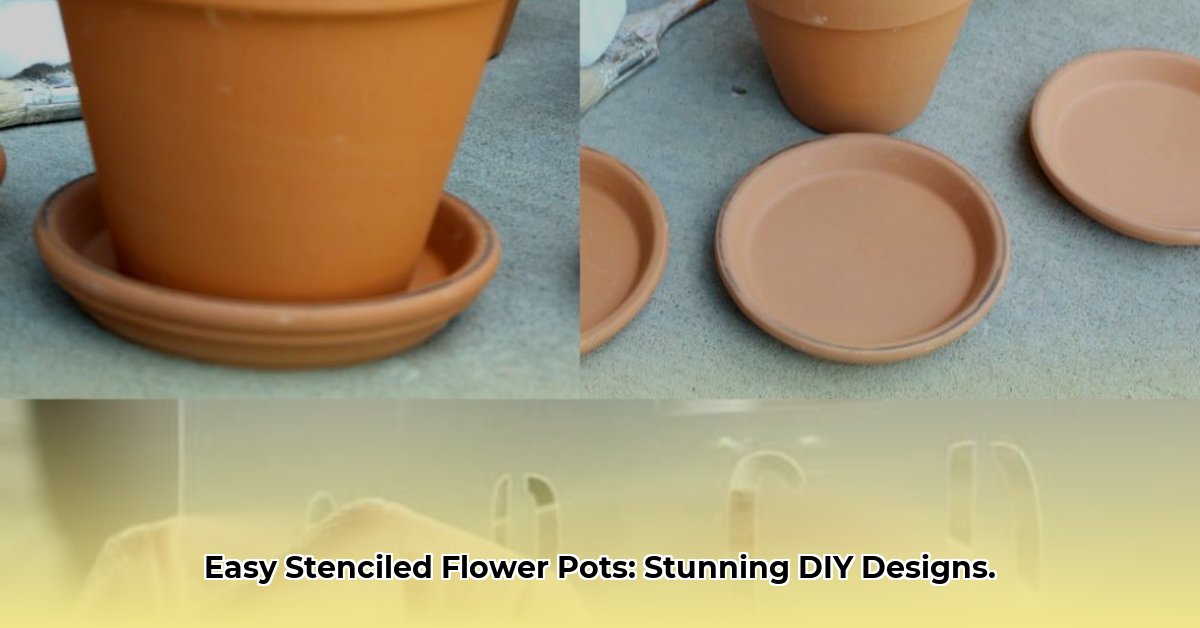
Introduction: Add a Touch of Whimsy to Your Garden
Stenciling flower pots is a simple yet rewarding way to inject personality into your garden. This guide provides a step-by-step approach, transforming plain terracotta (or any other material!) into personalized works of art. Whether you’re a seasoned DIY enthusiast or just starting out, you’ll find valuable tips and tricks to achieve stunning results. So, gather your supplies, and let’s create some botanical masterpieces!
Materials: Your Stenciling Toolkit
Before we begin, let’s gather everything we need. Having your supplies organized will make the process much smoother.
- Flower Pots: Terracotta, plastic, ceramic, wood, or metal – the choice is yours!
- Paint: Acrylic craft paint is a versatile option, but consider surface-specific paints (e.g., spray paint for plastic, exterior latex for wood).
- Stencils: Pre-made stencils offer a wide range of designs, or create your own using stencil film or a cutting machine.
- Stencil Brush or Dense Foam Roller: A stencil brush offers precision for intricate designs, while a foam roller covers larger areas quickly.
- Painter’s Tape or Stencil Adhesive: Secure your stencil to prevent paint bleed.
- Sealer (Optional, but Recommended): Protect your design, especially for outdoor pots.
- Optional Extras: Sandpaper (for prepping terracotta), primer (for plastic), paper plates (for paint), drop cloth, gloves, small detail brushes (for touch-ups), specialty paints (metallics, glitter), cleaning rags, and tweezers.
Preparing Your Pots: A Clean Canvas
Clean your pots with soap and water and let them dry completely. For terracotta, light sanding may improve paint adhesion. A primer coat on plastic can prevent peeling.
Stenciling Steps: From Drab to Fab
- Secure the Stencil: Use painter’s tape or stencil adhesive to firmly attach your stencil, ensuring a snug fit to prevent bleeds.
- Apply the Paint: Dip your brush or roller into the paint, dab off excess, and apply with a pouncing or swirling motion. Avoid brushing back and forth, which can push paint under the stencil. Multiple thin coats are often preferred over one thick coat, especially in humid conditions.
- Lift the Stencil: Carefully peel away the stencil while the paint is slightly wet – not too early to avoid smudging, not too late to prevent cracking.
- Layering (Optional): For multi-color or multi-stencil designs, allow each layer to dry completely before applying the next.
- Seal (Optional): Once dry, apply a sealant to protect your design from the elements.
Troubleshooting: Overcoming Common Challenges
- Bleed-through: Try using less paint, dabbing more carefully, ensuring a tight stencil seal, or using a thicker paint.
- Smudges: Use a quick-drying paint. Ensure the stencil is secure and avoid touching it while wet. Some experts suggest waiting until the paint is completely dry before removal to prevent smudging, but this can sometimes make it harder to remove the stencil cleanly.
Design Inspiration: Unleash Your Creativity
Geometric patterns offer a modern aesthetic, while floral motifs evoke a vintage charm. Layer stencils for an embossed effect. Consider the placement – a continuous pattern or a single focal point? Draw inspiration from nature, your garden, or online resources like Pinterest and Instagram.
Advanced Techniques: Elevate Your Stenciling
Explore layered stenciling with different colors, create custom stencils from acetate sheets, experiment with metallic or glitter paints, or try an ombre effect by blending different shades. Using actual leaves or flowers as stencils can create unique organic patterns.
Paint and Surface Compatibility: Ensuring Longevity
Pair the right paint with your pot material. Terracotta generally accepts acrylics well, while plastic may require specific spray paints or plastic-formulated paints. Wood can be stained or painted with exterior latex. Continued research may lead to new paint formulations and surface treatments, expanding options.
Sustainability: Eco-Friendly Stenciling
For an eco-conscious approach, use recycled pots and eco-friendly paints. Replace paper towels with old t-shirts or rags.
This guide is meant to be a starting point; the possibilities are endless! Don’t be afraid to experiment, adapt, and find what works best for you. Happy stenciling!
- How to Get Motor Oil Out of Clothes: Proven Methods & Step-by-Step Guide - April 25, 2025
- How to Get Mothball Smell Out of Clothes: A Complete Guide - April 25, 2025
- How to Get Highlighter Out of Clothes: Easy & Effective Stain Removal Guide - April 25, 2025


