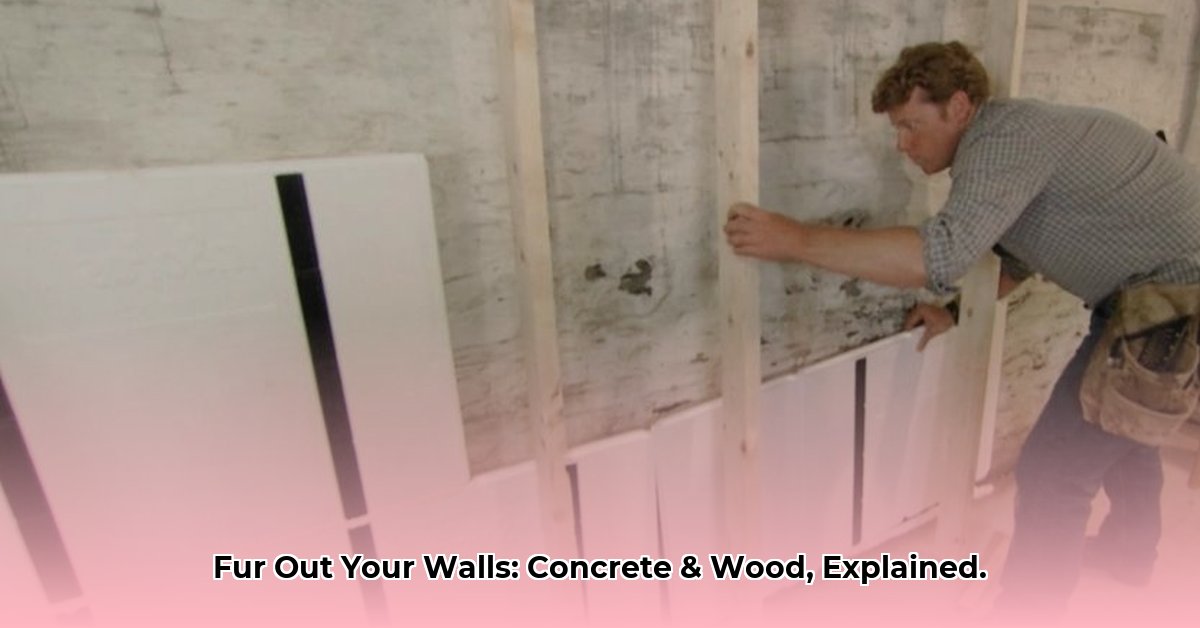
Got a wall that’s less than perfect? Furring it out might be the solution. This comprehensive guide walks you through the entire process, whether you’re working with concrete or wood studs. Learn why furring is beneficial, what materials you’ll need, and how to get the job done right.
Why Furr Out a Wall?
Furring strips create a new, level surface over your existing wall. This solves several problems: uneven walls, the need to hide wiring or plumbing, and improving insulation and soundproofing. It’s a versatile technique that preps your wall for any finish, from drywall to paneling.
Gathering Your Materials
Before you begin, assemble your tools and materials. Having everything on hand streamlines the process.
Essential Tools & Materials:
- Furring Strips: 1×2, 1×3, or 1×4 lumber (pressure-treated for damp areas), or metal furring channels.
- Fasteners: Wood screws or concrete screws/anchors (depending on wall type).
- Drill: With appropriate bits for wood or masonry.
- Level: Essential for plumb and level strips.
- Measuring Tape: For accurate measurements.
- Pencil/Marker: For marking.
- Safety Glasses & Gloves: Protect your eyes and hands.
Additional Materials for Concrete Walls:
- Concrete Anchors: Provide secure fastening points.
- Hammer Drill (recommended): Makes drilling into concrete easier.
Additional Material for Wood Stud Walls:
- Stud Finder: Quickly locates studs for secure fastening.
Prepping Your Wall
Preparing your wall is crucial for a smooth furring process.
- Clean the Wall: Remove dust, debris, and loose paint. For concrete, patch any cracks or imperfections with concrete patching compound.
- Inspect & Repair (Wood Studs): Replace any damaged or bowed studs.
- Moisture Control: For concrete walls in damp areas, apply a vapor barrier before installing furring strips.
Installing Furring Strips
The installation process differs slightly depending on your wall type.
Concrete Walls:
- Mark Furring Strip Locations: Measure and mark vertical lines every 16 inches on center (or as needed).
- Pre-Drill Pilot Holes: Use a masonry bit slightly smaller than your concrete screw diameter.
- Secure Furring Strips: Attach the furring strips to the wall with concrete screws through the pre-drilled holes.
- Shim for Level: Use shims to compensate for any unevenness in the concrete wall, ensuring a perfectly flat surface.
Wood Stud Walls:
- Locate Studs: Use a stud finder to mark stud locations.
- Attach Furring Strips: Align furring strips with the studs and secure them with wood screws. Pre-drilling pilot holes is recommended, especially with hardwood.
- Shim (If Necessary): Use shims to level any uneven areas.
Insulation and Finishing
After installing the furring strips:
- Insulation (Optional): Fit insulation batts snugly between the furring strips for improved thermal and acoustic performance.
- Wall Covering: Attach your chosen wall finish (drywall, paneling, etc.) to the furring strips.
Troubleshooting & Tips
- Uneven Furring Strips: Double-check measurements and use a level frequently. Shims are your friends!
- Loose Strips: Ensure you’re using the correct fasteners for your wall type. Longer screws or heavier-duty anchors might be needed.
- Obstacles (Pipes, Wiring): Notch furring strips or create a frame around obstacles using smaller blocking pieces.
Project Costs & Considerations
The cost of furring out a wall varies based on materials and project size. Furring strips, fasteners, and anchors typically range from $50-$100 for a small to medium-sized project. Consider hiring a professional if you’re uncomfortable working with power tools or dealing with potential electrical/plumbing issues. Always check local building codes for permit requirements.
Benefits of Furring
Furring offers a range of advantages:
- Improved Insulation: The space created by furring strips allows for insulation, increasing energy efficiency. Research suggests that certain insulation types perform better within this cavity.
- Enhanced Soundproofing: The insulation and air gap help absorb noise. Ongoing studies are exploring optimal furring/insulation combinations for sound dampening.
- Level Surface: Furring strips create a smooth, even surface, ideal for hanging objects and installing cabinets.
- Concealed Utilities: Hides wiring and plumbing.
- Strong Base for Finishes: Provides a secure and stable base for various wall coverings.
Choosing the Right Furring Strip Material:
| Material | Pros | Cons |
|---|---|---|
| Wood | Readily available, affordable, easy to work with | May warp or rot in damp environments |
| Metal (Hat Channel, Resilient Channel) | Durable, fire-resistant, excellent for soundproofing | Can be slightly more expensive than wood |
By following these steps and considering these tips, you’ll be well on your way to a perfectly furred-out wall, ready for any finish you choose.

- How to Remove Water Stains from Fabric: A Complete Guide - April 26, 2025
- How to Get Motor Oil Out of Clothes: Proven Methods & Expert Tips - April 26, 2025
- How to Get Deodorant Out of Black Shirts: Easy Stain Removal Guide - April 26, 2025