Take a captivating journey into the realm of 3D home design as we unveil the transformative power of 3D images in [Visualizing Your Dream Home: A Journey Through 3D Images of the Front Ground Floor]. Prepare to witness a visual masterpiece unfold as we craft a breathtaking representation of your dream home’s front ground floor, meticulously capturing every intricate detail and inviting you to experience the magic of design brought to life.
Key Takeaways:
- Importance of Front Elevations:
-
Front elevations are crucial for visualizing a house’s design and ensuring its coherence with expectations.
-
Modern Single-Floor Designs:
-
Using 3D images of modern single-floor house fronts enables accurate visualization and alignment with desired outcomes.
-
Traditional Single-Floor Designs:
- Traditional single-floor house front designs often feature elements like pitched roofs, decorative moldings, ornate windows, and a traditional color palette.
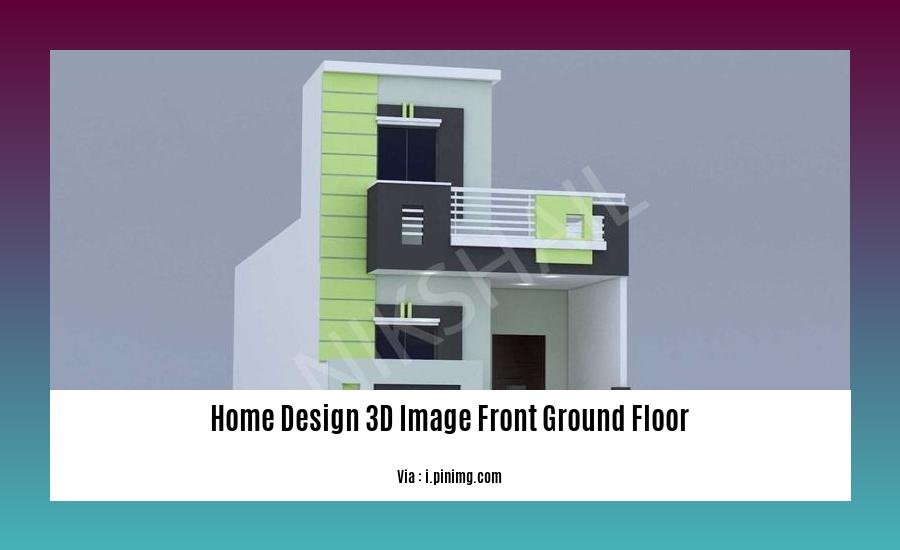
Home Design 3D Image Front Ground Floor
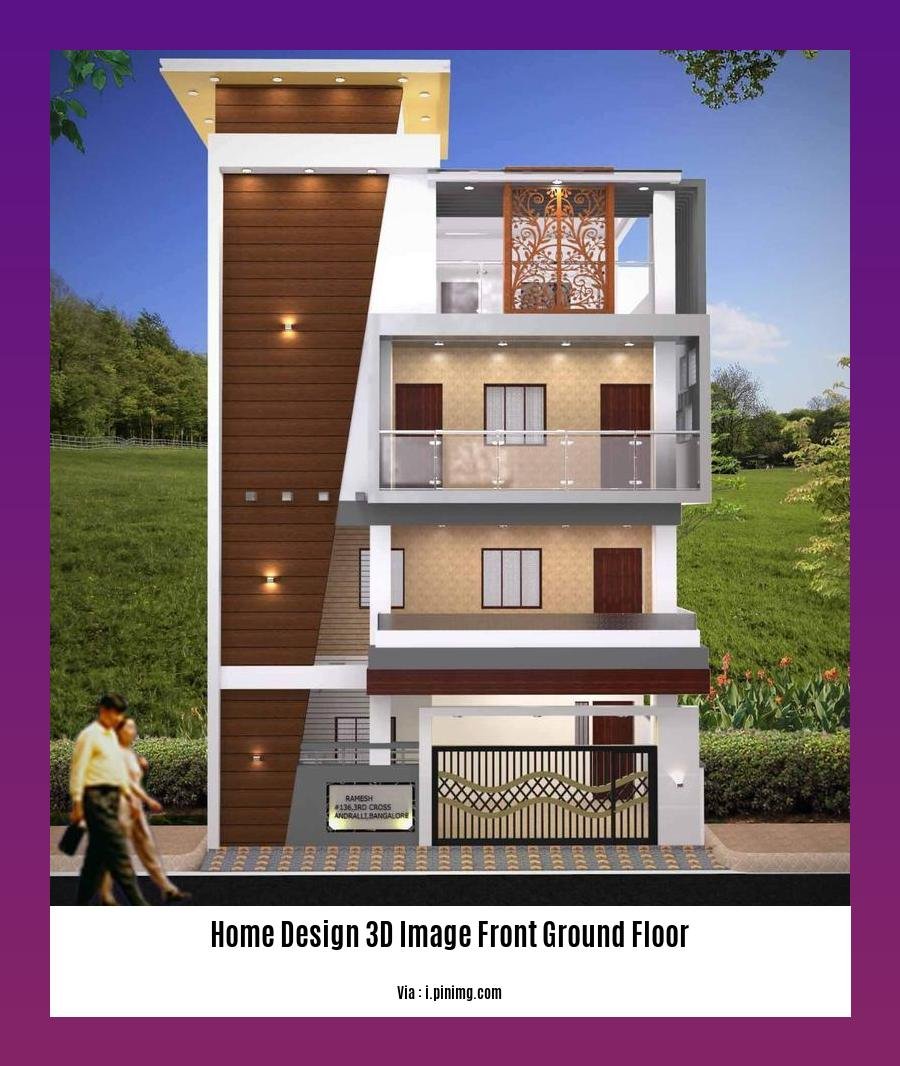
Visualizing your dream home is a significant step in the journey of designing and building your perfect living space. 3D images offer an exceptional way to bring your vision to life, allowing you to explore different design options and make informed decisions before committing to construction or renovation.
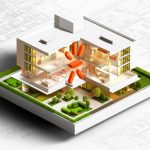
Why 3D Images for the Front Ground Floor Matter
The front ground floor of your home plays a crucial role in setting the tone for the entire property. It’s the first impression visitors have of your home and directly impacts its curb appeal. Creating a visually appealing and functional front ground floor design is essential for enhancing the overall aesthetics and functionality of your living space.
Benefits of Using 3D Images for Front Ground Floor Design
-
Visual Accuracy: 3D images provide a realistic and detailed representation of your front ground floor design, enabling you to visualize the actual outcome before construction begins.
-
Experimentation and Iteration: With 3D images, you can effortlessly experiment with different design options, materials, colors, and textures to find the perfect combination for your home.
-
Cost Savings: By identifying potential issues and making necessary adjustments in the design phase, you can avoid costly mistakes during construction.
-
Enhanced Communication: 3D images serve as a powerful communication tool, helping you effectively convey your design ideas to contractors, architects, and other stakeholders.
How to Create Stunning 3D Images for Your Front Ground Floor
-
Define Your Design Goals: Clearly outline your objectives for the front ground floor design, considering factors such as curb appeal, functionality, and personal preferences.
-
Choose the Right Software: Select 3D rendering software that suits your skill level and project requirements. Popular options include SketchUp, AutoCAD, and 3ds Max.
-
Gather Reference Images: Collect images of front ground floor designs that inspire you and align with your vision. These references will serve as a starting point for your own design.
-
Model Your Front Ground Floor: Use the software to create a 3D model of your front ground floor, incorporating accurate measurements and dimensions.
-
Add Details and Textures: Enhance the realism of your 3D model by adding details such as windows, doors, landscaping, and textures for materials like brick, wood, or concrete.
-
Lighting and Rendering: Adjust the lighting conditions to create realistic shadows and highlights. Then, render the final image using high-quality settings to achieve photorealistic results.
-
Review and Iterate: Critically review the rendered image and make necessary adjustments to improve the design or address any concerns. Repeat this process until you’re satisfied with the outcome.
By following these steps and utilizing the power of 3D images, you can create a stunning and functional front ground floor design that perfectly aligns with your vision and elevates the overall appearance of your home.
If you’re looking for an affordable option for a large home, you won’t want to miss our guide on 1200 sq feet house cost. Thinking about constructing a 1200 sq ft house in Tamilnadu? Find out how much it costs in our comprehensive guide: 1200 sq ft house construction cost in tamilnadu. For those who love modern architecture, our article on 3d house design in nepal showcases some of the most stunning designs. And for those dreaming of a spacious and traditional home, check out our 4 bedroom kerala house plans with cost for inspiration.
Modeling furniture and objects
Are you looking to create stunning 3D images of your dream home? If so, you’ll need to learn how to model furniture and objects. 3D models are digital representations of real-world objects, and they’re essential for creating realistic 3D images.
There are many different ways to model furniture and objects, but the most common method is to use 3D modeling software. 3D modeling software allows you to create 3D models from scratch or import them from other sources. Once you’ve created a 3D model, you can use it to create 3D images.
Here are the steps on how to model furniture and objects using 3D modeling software:
-
Choose the right 3D modeling software. There are many different 3D modeling software programs available, so it’s important to choose one that’s right for your needs. Some of the most popular 3D modeling software programs include Blender, SketchUp, and Maya.
-
Create a new project. Once you’ve chosen a 3D modeling software program, you’ll need to create a new project. This will create a new file that you can use to store your 3D models.
-
Import a reference image. If you’re modeling an existing piece of furniture or object, you can import a reference image into your 3D modeling software. This will help you to create a more accurate 3D model.
-
Create a basic shape. Start by creating a basic shape that represents the overall form of the object you’re modeling. For example, if you’re modeling a chair, you might start by creating a cube.
-
Add details. Once you have a basic shape, you can start to add details to your 3D model. This might include things like legs, arms, and upholstery.
-
Apply materials. Once you’ve added details to your 3D model, you can apply materials to it. Materials define the look and feel of your 3D model. For example, you might apply a wood material to the legs of a chair or a fabric material to the upholstery.
-
Render your 3D model. Once you’ve applied materials to your 3D model, you can render it. Rendering is the process of creating a 2D image from a 3D model.
Key Takeaways:
- 3D models are digital representations of real-world objects.
- 3D modeling software can be used to create 3D models from scratch or import them from other sources.
- 3D models can be used to create 3D images.
- Reference images can be used to create more accurate 3D models.
- Materials define the look and feel of 3D models.
- Rendering is the process of creating a 2D image from a 3D model.
Sources:
3D Models Sketchfab
3D Home Design Software | Kozikazi
Applying textures and materials
Never underestimate the transformative power of textures and materials when crafting your dream home’s front ground floor. They’re the secret weapon that breathes life into your 3D models, adding depth, personality, and a touch of realism to your design.
-
Mastering the Art of Materiality:
-
Embrace the diverse world of materials, from the warmth of wood to the sleekness of metal. Explore their unique properties, understanding how they interact with light and create different moods.
-
Textures: The Unsung Heroes of Realism:
-
Textures are the unsung heroes, adding a layer of detail that makes your models come alive. Roughen up a concrete wall, smooth out a marble countertop, or add a touch of grain to your wooden floors.
-
Experimentation is Key:
-
Don’t be afraid to experiment with different combinations of textures and materials. Clash patterns, mix and match finishes, and see what unexpected harmony you can create.
-
Scale and Proportion:
-
Pay close attention to the scale and proportion of your textures. Ensure they’re neither too large nor too small, creating a cohesive and balanced design.
-
Lighting: The Magic Ingredient:
-
Lighting plays a crucial role in showcasing your textures and materials. Use it strategically to highlight certain features, create shadows, and add a touch of drama.
-
Reference Images: Your Inspiration Source:
-
Gather reference images of real-world materials and textures. They’ll serve as your inspiration and help you achieve a realistic look.
-
Software Savvy:
-
Familiarize yourself with the texture mapping features of your 3D software. Learn how to apply textures, adjust their scale and rotation, and create seamless transitions.
-
High-Resolution Textures: The Key to Clarity:
-
Invest in high-resolution textures. They may take up more space, but the improved clarity and detail are worth it.
-
Don’t Overdo It:
-
While textures and materials add depth, too much can create a cluttered look. Maintain a balance between detail and simplicity.
-
Test Render:
-
Regularly test render your models to see how the textures and materials look in different lighting conditions. This helps you identify any areas that need tweaking.
Key Takeaways:
- Textures and materials bring depth, personality, and realism to your 3D models.
- Experiment with different combinations to create unique and harmonious designs.
- Pay attention to scale, proportion, and lighting to enhance the impact of your textures and materials.
- Use high-resolution textures for improved clarity and detail.
- Maintain a balance between detail and simplicity to avoid a cluttered look.
How to Apply Textures in 3D Design Software
The Importance of Textures in 3D Design
Matching Lighting and Shadows
When designing the front ground floor of your home, matching lighting and shadows is paramount for creating realistic and visually appealing 3D images. Here’s how you can achieve this:
-
Study Sunlight and Shadows:
Understand how sunlight falls on your home’s exterior at different times of the day. Observe how shadows change and interact with various elements, like trees, fences, and neighboring buildings. -
Set Realistic Light Sources:
In your 3D software, position virtual lights to mimic the sun’s direction and intensity. Experiment with different angles and light sources to match the natural lighting conditions. -
Use Ambient Occlusion:
Enable ambient occlusion in your rendering settings to add subtle shadowing and depth to your models. This technique simulates indirect light bouncing off surfaces, creating a more realistic effect. -
Adjust Shadow Settings:
Fine-tune shadow settings like softness, intensity, and bias to achieve the desired appearance. Play with these parameters until the shadows look realistic and natural. -
Experiment with HDRI Maps:
High-Dynamic Range Image (HDRI) maps can provide realistic lighting and reflections. Choose an HDRI that matches the desired time of day and weather conditions.
Key Takeaways:
- Before you begin creating your 3D images, make sure you understand how sunlight and shadows interact with your home’s exterior.
- Position virtual light sources in your 3D software to mimic the sun’s direction and intensity.
- Enable ambient occlusion to add subtle shadowing and depth to your models.
- Fine-tune shadow settings to achieve a natural and realistic look.
- Experiment with different HDRI maps to achieve realistic lighting and reflections.
Citations:
- Lighting and Shadows in 3D Rendering
- Tips for Realistic Lighting and Shadows in 3D Visualizations
FAQ
Q1: What benefits do 3D images offer in visualizing the front ground floor design of a house?
Q2: How can modern single-floor house front designs be visualized using 3D images?
Q3: What are some key elements to consider when designing a traditional single-floor house front elevation?
Q4: What software programs are commonly used for creating 3D images of home designs?
Q5: What techniques can be employed to apply textures to 3D models to enhance their realism?