Embark on a historical adventure with our comprehensive guide to crafting a Homemade Roman Soldier Costume DIY! Immerse yourself in the art of historical re-enactment and learn the intricacies of creating authentic Roman attire. From the gleaming armor to the sturdy sandals, this guide will empower you with the skills and inspiration to bring your Roman soldier costume to life.
Key Takeaways:
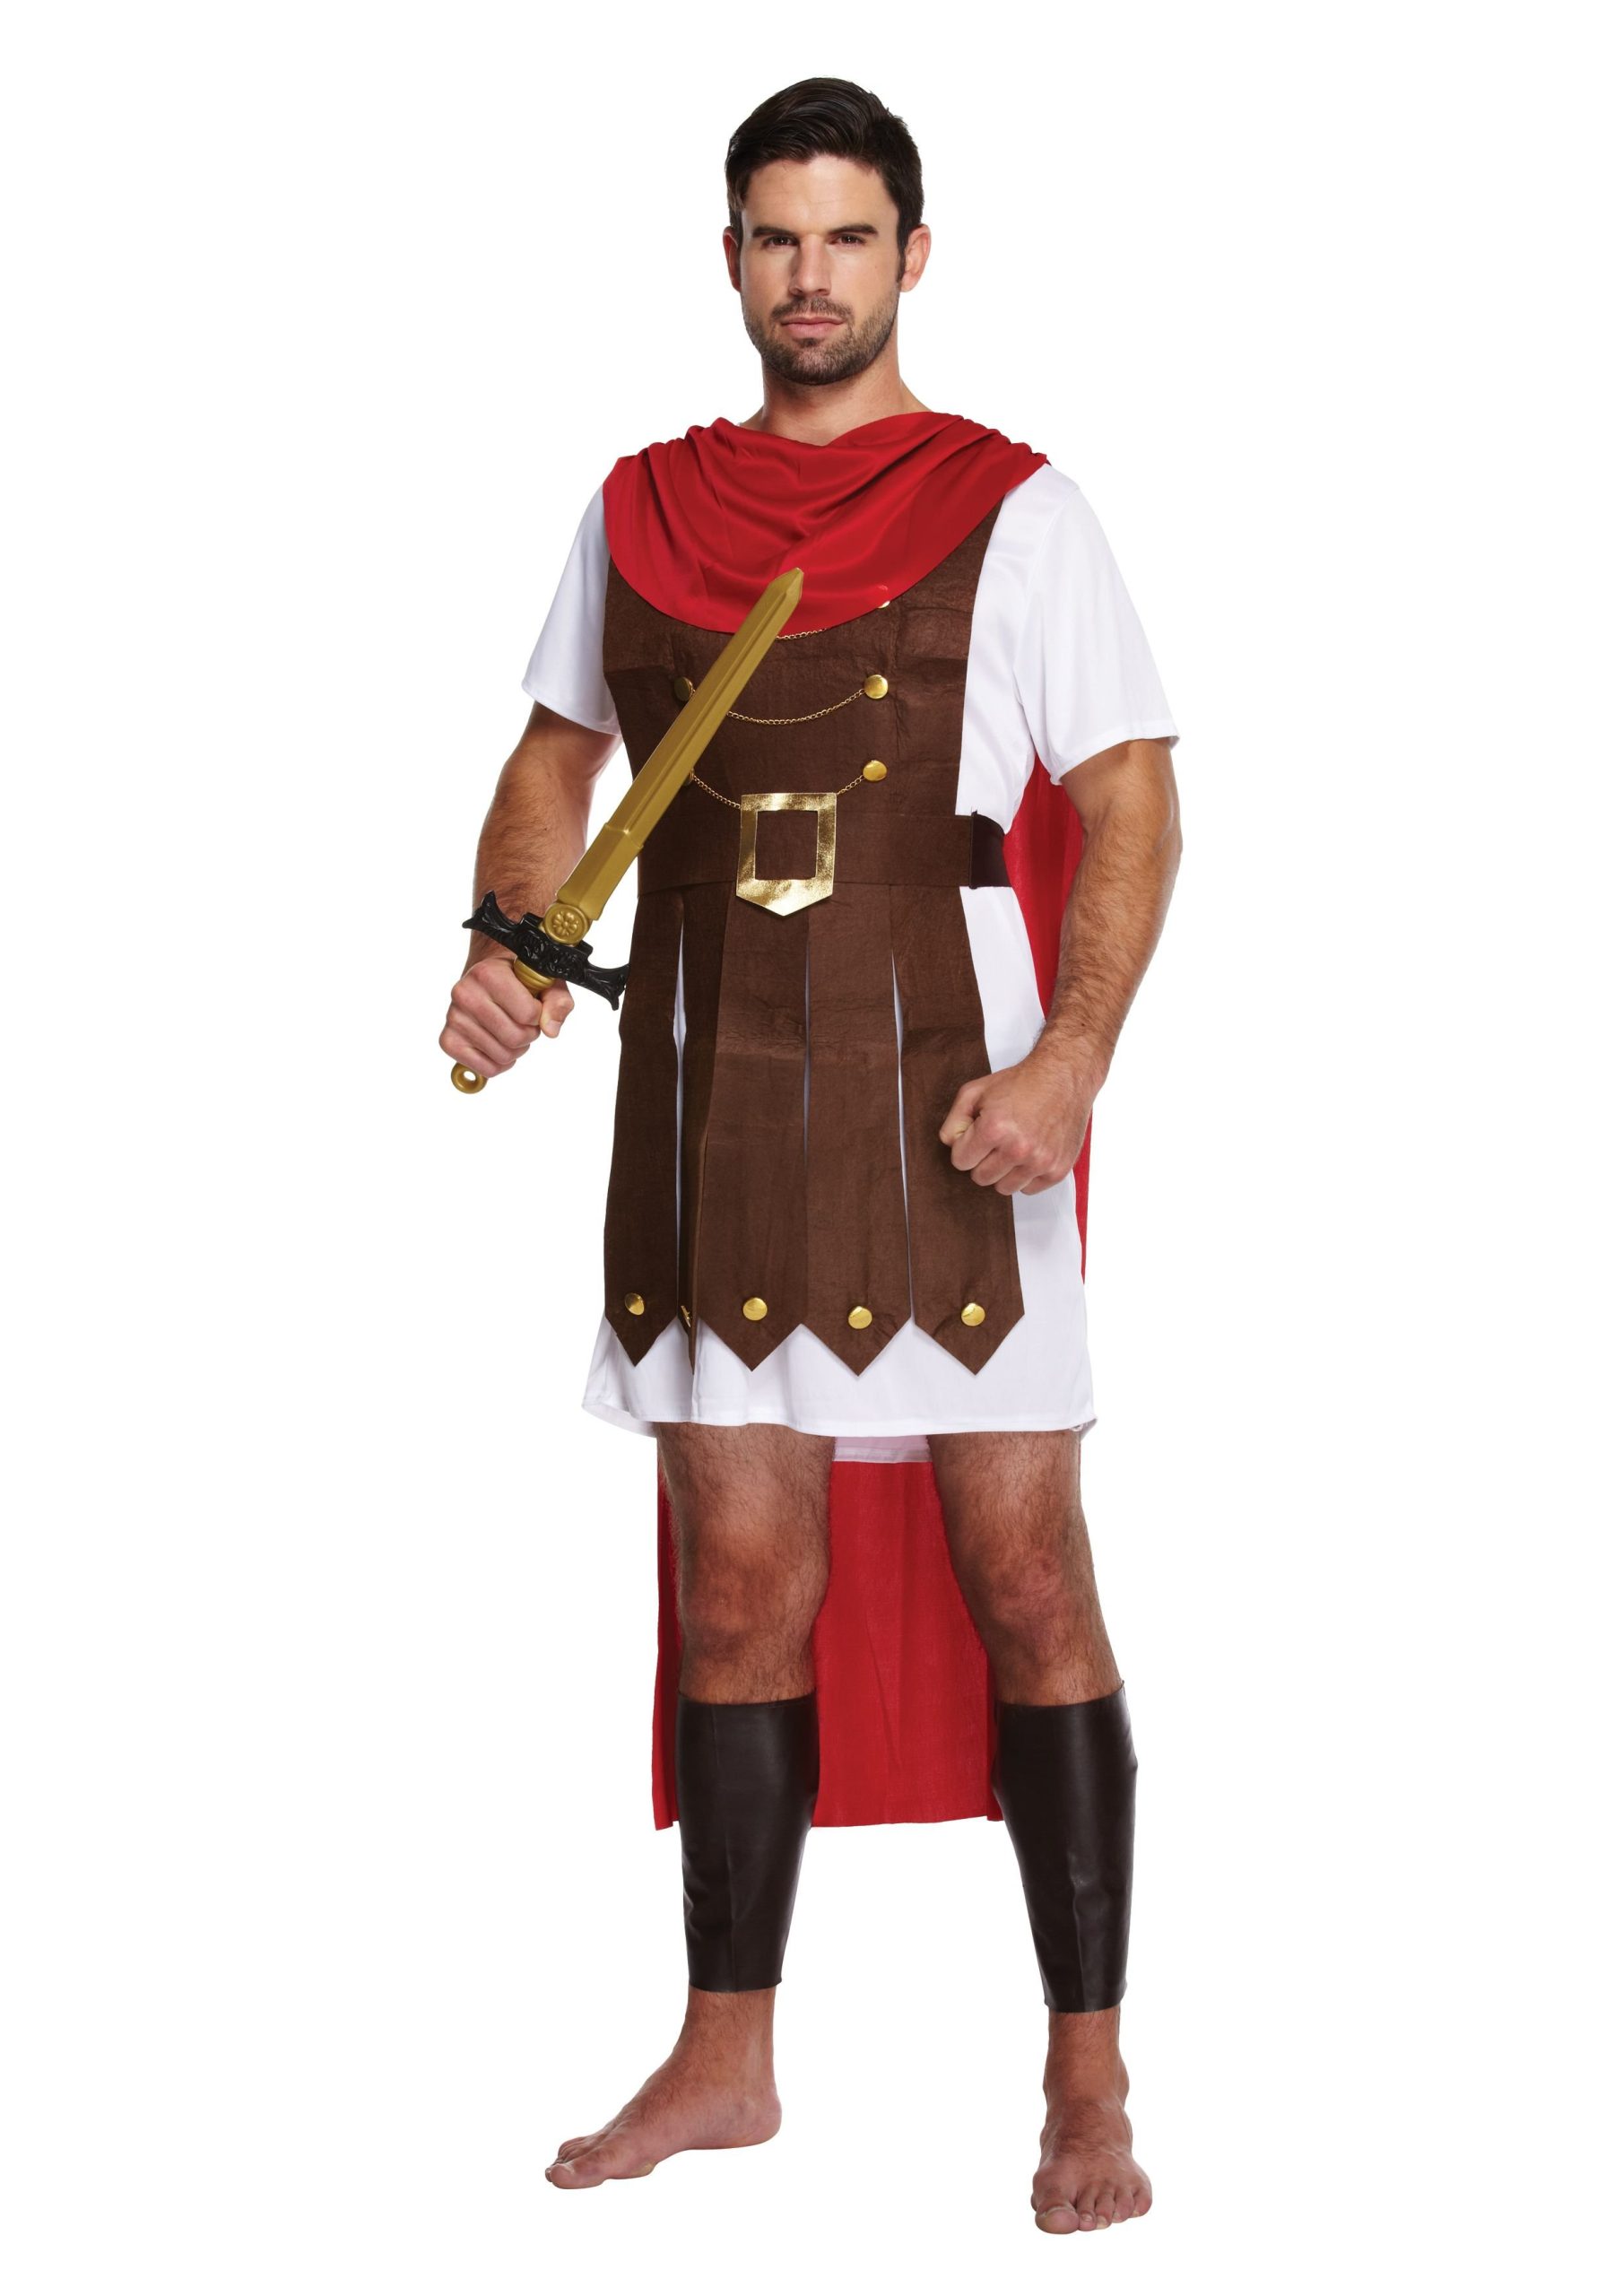
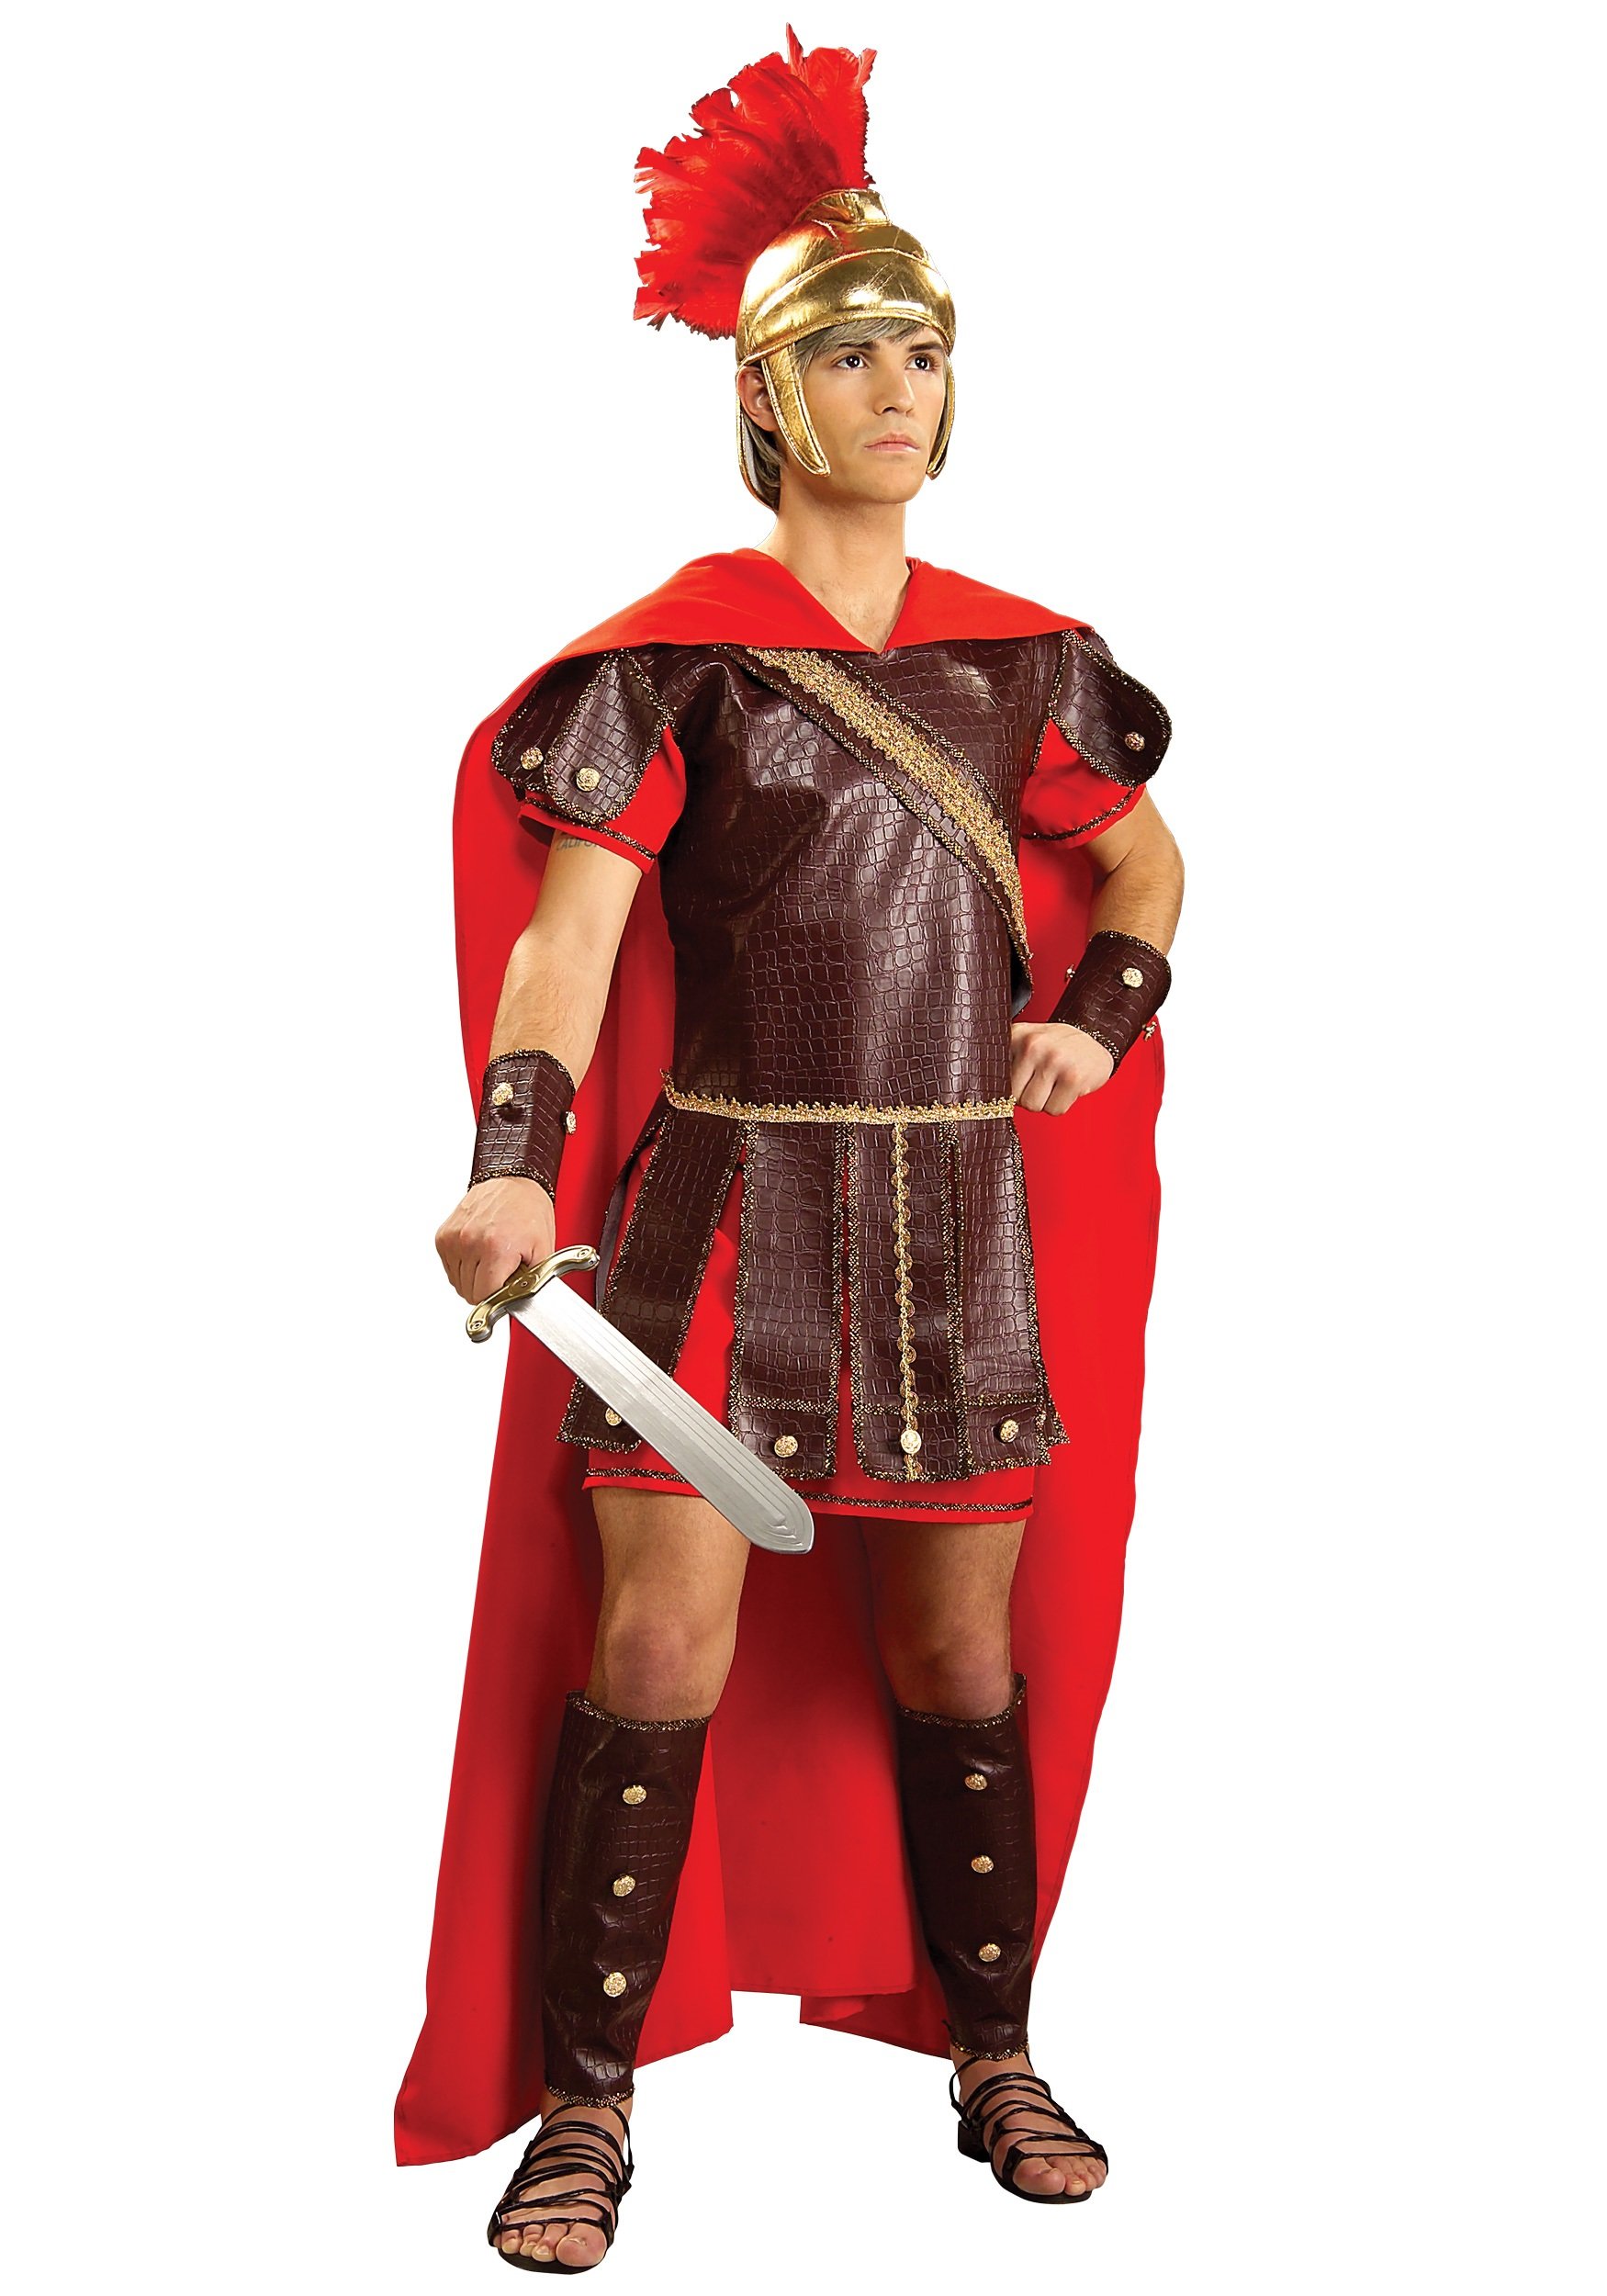
- Materials: Tunic, cloak, belt, helmet, breastplates, sword holder, shield, armors
- Belt and Accessories: Essential for authenticity
- Finishing Touches: Black eyeliner for war paint effect; confident body language
- Inspiration: DIY Roman Soldier Costume ( ), Roman-esque Soldier Uniform – From Cardboard! (
Homemade Roman Soldier Costume DIY
In this guide, you’ll learn how to craft an authentic homemade Roman soldier costume diy from scratch. Whether you’re a seasoned crafter or a novice, these step-by-step instructions will empower you to create a costume that transports you back to the days of the Roman Empire.
Materials List:
- Tunic and Cloak: Linen or cotton fabric for the tunic and wool or felt for the cloak.
- Belt and Accessories: Leather, metal, or wood for the belt and helmet, breastplates, sword holder, shield, and armors.
Step-by-Step Instructions:
1. Creating the Tunic:
- Cut two rectangles of fabric for the front and back of the tunic.
- Sew the sides and shoulders, leaving openings for the arms and head.
- Hem the neckline, sleeves, and bottom edge.
2. Crafting the Cloak:
- Cut a semicircular piece of fabric for the cloak, ensuring it’s wide enough to cover your shoulders.
- Sew together the edges to create a curved shape.
- Attach a clasp or pin to fasten the cloak.
3. Making the Belt and Accessories:
- Use a sturdy material like leather or metal to create the belt.
- Add any necessary details, such as buckles or studs.
- Craft a helmet using cardboard or foam, and paint it bronze or silver.
- Create a breastplate from leather or metal, and decorate it with engravings or studs.
- Make a sword holder from leather or wood, and attach it to the belt.
- Construct a shield using plywood or cardboard, and cover it with leather or fabric.
4. Finishing Touches:
- Apply black eyeliner around your eyes to mimic Roman war paint.
- Adopt a confident and authoritative body language to embody the role of a Roman soldier.
Tips and Inspiration:
- Research different Roman soldier ranks and legions for inspiration.
- Use high-quality materials for a more authentic look.
- Experiment with different techniques and designs to personalize your costume.
- Attend Roman-themed events to showcase your creation and immerse yourself in the culture.
With these detailed instructions, you can proudly don your homemade Roman soldier costume diy and embark on an adventure through history.
-
Looking for some delicious and easy-to-make homemade recipes for your feline friend? Check out our comprehensive collection of homemade cat food recipes here: homemade recipes for cats.
-
Searching for a handmade, gentle, and toxin-free soap company? Explore our directory of reputable homemade soap companies here: homemade soap companies.
-
If your furry canine friend has annoying allergies, treat them to some delectable and hypoallergenic homemade snacks. Find easy-to-follow recipes here: homemade treats for dogs with allergies.
Constructing a Leather Cingulum Belt
Key Takeaways:
- Use sturdy leather for durability.
- Measure accurately to ensure a proper fit.
- Reinforce buckle and attachment points for strength.
- Add decorative touches to enhance the historical authenticity.
- Create a belt that reflects the rank and lineage of the Roman soldier.
Step-by-Step Guide:
Materials:
- Leather hide
- Buckle and strap hardware
- Reinforcing rivets or studs
- Decorative studs or embellishments (optional)
Instructions:
- Measure and Cut: Determine the length and width of the belt based on your waist measurement. Cut a strip of leather accordingly.
- Round the Edges: Use a sharp knife or leather burnisher to round the edges of the belt for a finished look and reduce fraying.
- Punch Holes: Punch holes along the entire length of the belt, approximately 1 inch apart. These holes will accommodate the buckle and strap.
- Attach Buckle and Strap: Insert the buckle pin through the belt holes and secure with a washer and nut. Attach the strap to the other end of the belt using a similar method.
- Reinforce Attachment Points: Reinforce the buckle and strap attachment points with rivets or studs to prevent them from tearing under tension.
- Decorate (Optional): Embellish the belt with decorative studs, embossing, or other details to add historical authenticity or personal touches.
Expert Tips:
- For a more authentic look, use thick, vegetable-tanned leather.
- Reinforce the belt with a lining of canvas or linen for added strength.
- Experiment with different buckle designs to reflect the rank and lineage of the Roman soldier being portrayed.
Relevant URL Sources:
- DIY Roman Soldier Costume Tutorial
- Making a Roman Belt
Forging a Gladius Sword Prop
Key Takeaways:
- Choose the right materials: Iron or steel for the blade, wood or leather for the handle.
- Shape the blade: Heat the metal and hammer it into the desired shape.
- Sharpen the blade: Use a whetstone or other abrasive surface to create a sharp edge.
- Attach the handle: Secure the handle to the blade with rivets or glue.
Materials:
- Iron or steel (for the blade)
- Wood or leather (for the handle)
- Rivets or glue
- Forge or anvil
- Hammer
- Whetstone or other abrasive surface
- Safety gear (gloves, goggles, apron)
Steps:
- Prepare the materials: Gather the necessary materials and safety gear.
- Heat the metal: Heat the iron or steel in a forge or on an anvil until it becomes incandescent.
- Shape the blade: Hammer the hot metal into the desired shape of the gladius blade. Use a template or guide to ensure accuracy.
- Sharpen the blade: Use a whetstone or other abrasive surface to create a sharp edge on the blade.
- Cool the blade: Allow the blade to cool slowly to prevent warping.
- Attach the handle: Secure the handle to the blade using rivets or glue.
Tips:
- For a more authentic look, use traditional forging techniques and materials.
- Use a sharp blade to cut the handle material to avoid tearing.
- If using rivets, make sure to countersink them so they are flush with the surface of the blade.
Relevant URL Sources:
- Forging a Roman Gladius Sword
- How to Forge a Roman Gladius
Assembling and Customizing the Costume
Key Takeaways:
- Select authentic materials like linen, wool, leather, and metal.
- Follow precise instructions for crafting the tunic, cloak, belt, and accessories.
- Enhance realism with war paint, body language, and inspiration from Roman history.
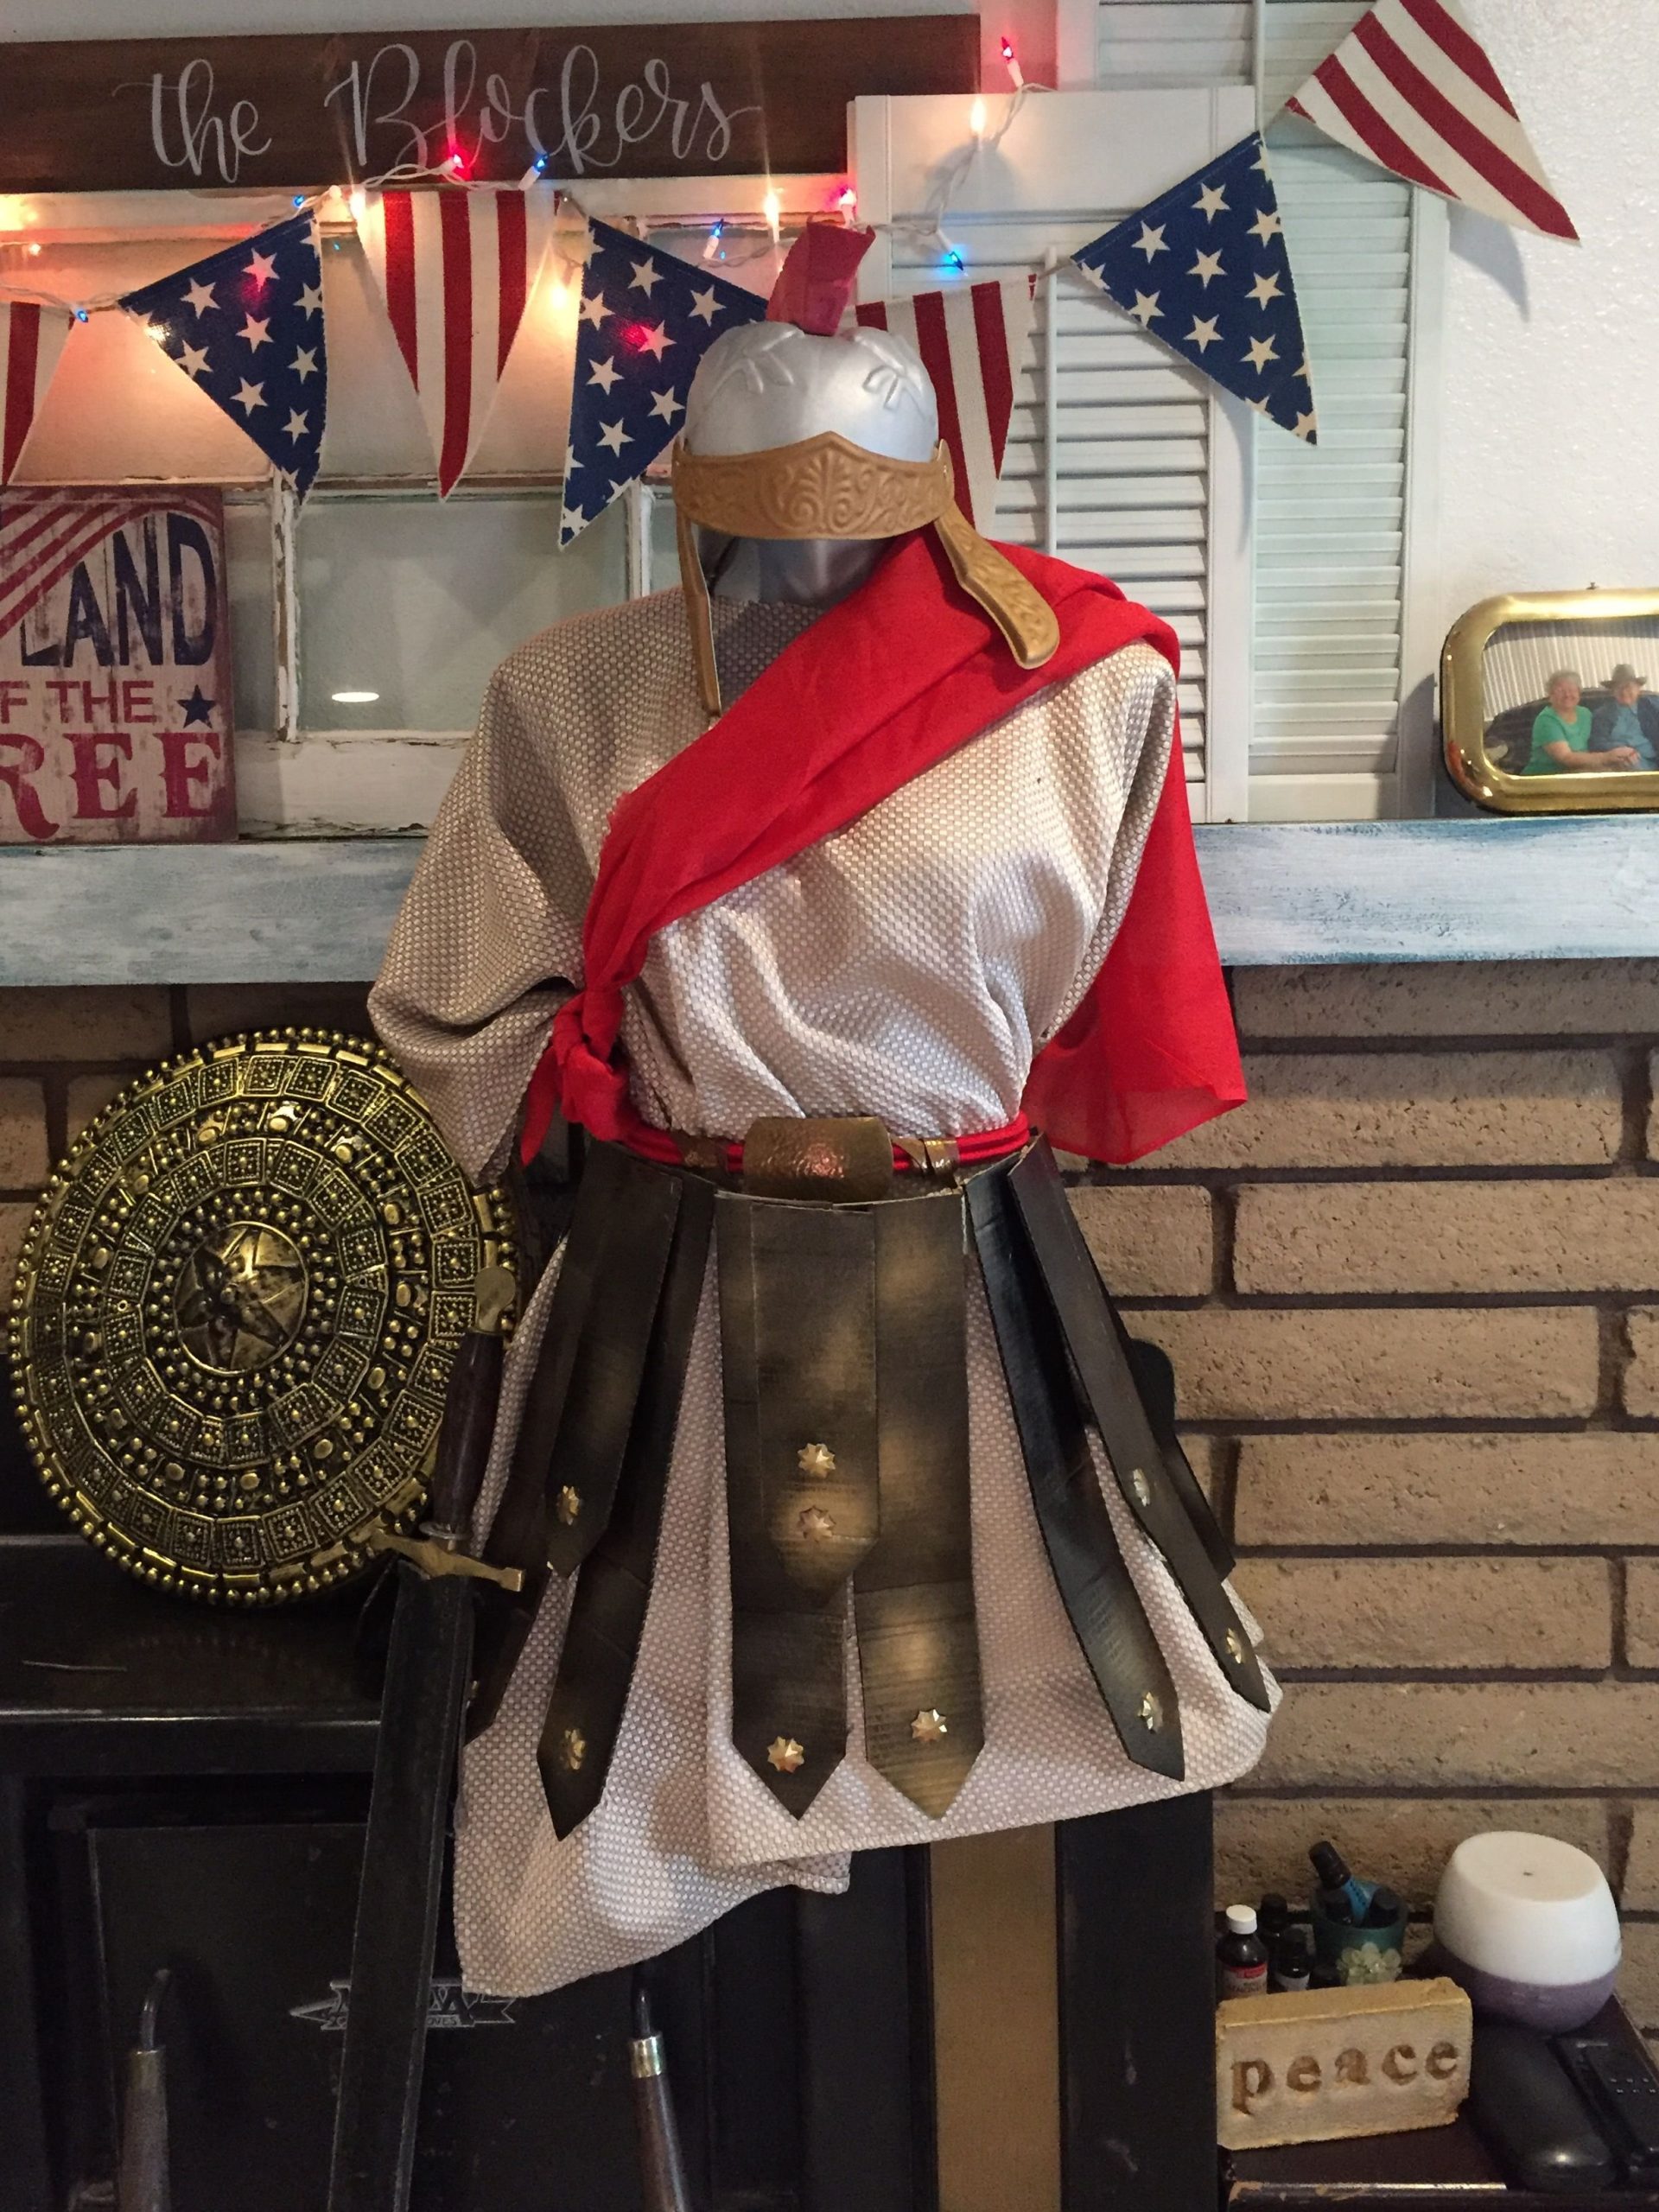
Materials and Tools:
- Linen or cotton fabric
- Wool or felt fabric
- Leather or metal
- Cardboard
- Spray paint
- Casting iron (optional)
Assembling the Costume:
-
Headband: Mold and strap the cardboard to your head for a customized fit.
-
Helmet: Sketch and cut cardboard into a helmet shape, then secure it with glue.
-
Chest Plate: Cut cardboard to shape and add straps for support. Consider adding an eagle symbol for authenticity.
-
Skirt: Create slats from cardboard and attach them to the bottom of the chest plate for a realistic skirt effect.
-
Texture and Finishing: Enhance the costume with spray paint and other techniques to create a weathered, battle-worn appearance.
Customizing Your Costume:
- Use high-quality materials to elevate the authenticity of your costume.
- Experiment with techniques and designs to personalize your look.
- Attend Roman-themed events for inspiration and to showcase your creation.
Relevant URL Sources:
- DIY Roman Soldier Costume
- How to Make a Roman Soldier Costume
FAQ
Q1: What are some essential materials I need for a homemade Roman soldier costume?
A1: Essential materials include a tunic, cloak, belt, helmet, breastplates, sword holder, shield, and armors.
Q2: How can I add authenticity to my Roman soldier costume?
A2: Incorporate intricate details into the armor’s plating and ensure the sandals are constructed with sturdy materials.
Q3: What is the best way to create a realistic helmet for my costume?
A3: You can create a helmet from cardboard or purchase a helmet mold and use fiberglass or resin to craft it.
Q4: How can I add texture and detail to my armor?
A4: Use spray paint or other techniques to create the desired texture, such as denting or scratching the surface.
Q5: What accessories can I use to complete my Roman soldier look?
A5: Accessories such as a gladius (Roman sword), shield, arm cuffs, and a laurel wreath can enhance the costume’s authenticity.

- Pot Light Designs Find the Right Look for Your Ceilings - July 21, 2026
- Recessed Lighting Ideas for Every Room in Your Home - July 21, 2026
- Vanity Mirror Lamp Elevates Your Daily Makeup Routine - July 20, 2026