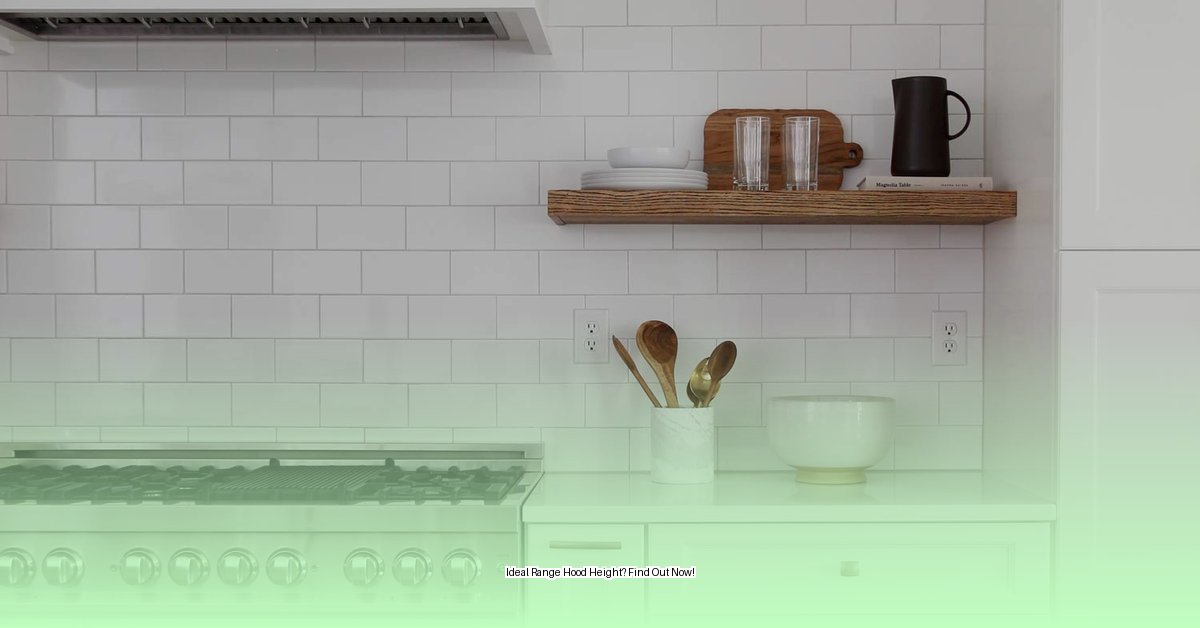
Getting your range hood height just right is like finding the perfect cooking temperature—crucial for success. It’s the key to a kitchen that’s not only pleasant to be in but also safe and efficient. This guide covers everything from ideal heights for gas and electric stoves to installation and troubleshooting, empowering you to create the kitchen of your dreams.
Quick Guide to Range Hood Heights
Here’s your quick-start guide for range hood height:
| Cooktop Type | Ideal Height Range | Minimum Height | Maximum Height |
|---|---|---|---|
| Electric | 20-24 inches (51-61 cm) | 20 inches (51 cm) | 24 inches (61 cm) |
| Gas | 24-30 inches (61-76 cm) | 24 inches (61 cm) | 30 inches (76 cm) |
| Outdoor | 36-42 inches (91-107 cm) | 36 inches (91 cm) | 42 inches (107 cm) |
Why the Right Height Matters
Proper range hood height is the cornerstone of a well-ventilated kitchen. It ensures efficient removal of smoke, grease, and cooking odors, keeping your kitchen air fresh and your surfaces clean. More importantly, the correct height plays a vital role in fire safety by minimizing the risk of flames reaching the hood. Installing the hood too low invites a fire hazard, while placing it too high renders it ineffective, like trying to catch butterflies with a fishing net.
Measuring and Installing Your Range Hood: A Step-by-Step Guide
Installing a range hood might seem daunting, but it’s a manageable DIY project with the right guidance. Always prioritize safety and consult a qualified professional if you’re unsure about any step.
-
Consult the Manual: Your range hood manufacturer’s instructions are the ultimate guide. They contain model-specific recommendations that may differ slightly from general guidelines.
-
Measure Carefully: Measure from the cooktop surface to the bottom of where the range hood will be. This measurement is critical for proper placement.
-
Mark Your Spot: Using a level, mark the location for the hood and mounting brackets on the wall. This ensures a straight and stable installation. A crooked hood will not only look unprofessional but may also affect performance.
-
Securely Mount the Brackets: Attach the mounting brackets directly to wall studs for maximum support, especially for heavier hoods. This step ensures the hood can handle its own weight and any external forces.
-
Connect the Ductwork (If Applicable): If you’re venting externally, use rigid metal ducting for optimal airflow. Shorter, straighter runs are most efficient. Flexible ducting can sometimes restrict airflow.
-
Install the Hood: Carefully hang the hood on the mounted brackets. This often requires a helping hand. Take your time and align it perfectly.
-
Connect the Wiring (Safety First!): Turn off the power to the circuit at your breaker box before handling any wiring. If you’re not comfortable with electrical work, call a qualified electrician. Safety is paramount.
-
Test and Verify: Once installed, turn the power back on and test the fan at all speeds. Check that the lights are working correctly and that the hood vents effectively.
Factors Influencing Ideal Height
While the chart above offers a solid starting point, other factors can influence your ideal range hood height.
- High-BTU Cooktops: Powerful cooktops generate more heat and may need additional clearance above the minimum to prevent overheating the hood and potential fire hazards.
- Low Ceilings: Low ceilings restrict the maximum possible hood height, potentially requiring a smaller, low-profile hood.
- Kitchen Layout: Cabinets, shelves, and other architectural elements can influence hood placement and height.
- Non-Standard Setups: Unusually high ceilings or professional-style ranges may necessitate significant adjustments to ensure optimal ventilation.
Understanding CFM: The Power of Airflow
CFM, or cubic feet per minute, quantifies the amount of air your range hood can move. A higher CFM typically implies stronger ventilation. However, bigger isn’t always better. You need a CFM that’s appropriate for your cooktop’s BTU output and the size of your kitchen. Consider using an online CFM calculator to determine the right balance for your needs.
Troubleshooting and Maintenance
Keeping your range hood clean and well-maintained is crucial for both performance and safety.
- Noisy Hood: This often suggests loose parts, ductwork issues, or a failing motor. Check for obstructions in the ductwork, tighten any loose screws, and if the motor sounds strained, consider having it checked by a professional.
- Poor Ventilation: Clogged filters are the most common cause. Regular cleaning or replacement is essential. Also, check for ductwork blockages.
- Grease Buildup: Regularly clean the hood’s exterior and interior surfaces with a degreaser to prevent grease accumulation and maintain hygiene.
Beyond the Hood: Other Ventilation Options
While a range hood is typically the best choice, downdraft ventilation systems, which pull air down through the cooktop, offer an alternative for specific kitchen layouts. These systems have unique installation requirements, so consult the manufacturer’s instructions carefully.
Expert Tip: Consult a Professional
While this guide provides a comprehensive overview, remember that manufacturer instructions and local building codes take precedence. If you’re unsure about any aspect of installation or selection, consulting a qualified installer can provide valuable expertise and ensure your range hood functions effectively and safely. A professional can assess your unique kitchen setup and recommend the best course of action, ensuring both safety and optimal performance.
- Dora the Explorer Wipe-Off Fun: Safe & Mess-Free Activities for Little Explorers - April 18, 2025
- Does Lemongrass Repel Mosquitoes? Fact vs. Fiction + How to Use It - April 18, 2025
- Do Woodchucks Climb Trees?Fact vs. Fiction - April 18, 2025


