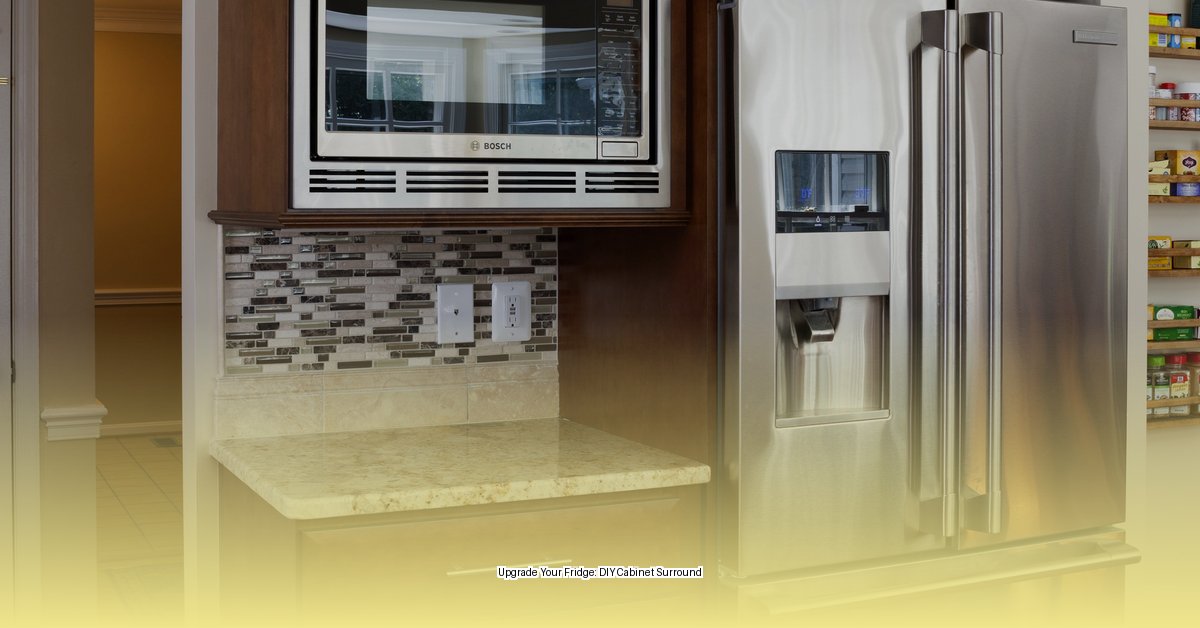
Design and Dimensions: Planning Your Built-In Fridge Look
Transforming your kitchen with a custom refrigerator surround can dramatically elevate its style, creating a seamless, built-in look. This detailed guide provides a step-by-step approach, empowering you to achieve professional results. Before grabbing your tools, meticulous planning is essential. Let’s start by mapping out the design and dimensions of your future masterpiece.
Measuring Up: Precision is Paramount
Think of your refrigerator surround as a tailored suit for your fridge – a perfect fit is crucial. Begin by carefully measuring your refrigerator’s width, height, and depth. Factor in at least an inch of space on each side and the top for proper ventilation – this prevents overheating and keeps your fridge running smoothly.
Critically, consider the door swing. You need ample clearance for the doors to open fully without obstruction. And, while you might not have a double-door French door fridge now, planning for potential future upgrades is wise. A minimum opening of 37″ wide, 74″ tall, and 25″ deep for counter-depth refrigerators (or 30″ for standard models) is recommended. This foresight can prevent future remodeling headaches.
Design Decisions: Blending Style and Functionality
Now, envision your ideal surround. Do you want a top cabinet for additional storage? If so, will it be full-depth to maximize capacity or shallower for a more streamlined appearance? The choice is yours. Consider your kitchen’s overall aesthetic – is it rustic, modern, farmhouse, or something else entirely? Your refrigerator surround should complement your existing décor, creating a harmonious flow.
Material selection is another key consideration. While ¾” plywood is the standard workhorse for this type of project, exploring other options like reclaimed wood or metal can add a unique, personalized touch. Remember, this project is about achieving both beauty and practicality.
Building the Frame: A Rock-Solid Foundation
With your measurements and design finalized, it’s time to build the backbone of your project – the frame. ¾” plywood is your go-to material, offering both strength and stability. Cut the plywood pieces according to your precise measurements, ensuring perfectly square corners using a carpenter’s square. Pocket hole joinery is an excellent method for creating strong, discreet joints. Assemble the frame pieces using wood glue and screws, meticulously checking for squareness at each step – a solid, square frame is critical for a successful outcome.
Paneling and Assembly: Bringing Your Vision to Life
Now, we’ll “clad” the frame, giving it shape and substance. Cut your plywood panels to fit snugly within the frame, securing them with wood glue and nails or screws. To achieve a truly professional look, consider using edge banding or solid wood stiles to conceal the raw plywood edges – a seemingly small detail that makes a world of difference. Edge banding is a cost-effective and easy-to-apply solution, while solid wood stiles offer a more substantial, high-end appearance. For a modern, seamless finish, a stainless steel trim kit can beautifully frame your refrigerator opening.
Top Cabinet (Optional): Storage and Style
If you opted for a top cabinet, now’s the time to bring it to life. This is a fantastic way to boost storage and enhance the built-in look. Construct the cabinet using the same ¾” plywood and joinery techniques as the frame. Securely attach the assembled cabinet to the top of the refrigerator surround frame, ensuring it’s level and stable. If slight gaps appear between the cabinet and the wall – especially likely in older homes with uneven walls – filler strips offer a simple solution for a seamless finish.
Finishing Touches: The Polish and Perfection
The final steps transform your creation into a polished masterpiece. Sand all surfaces smooth, paying close attention to any areas where trim meets the plywood. Prime and then either paint or stain your surround to match your existing cabinetry. This is where your project truly comes together, creating a unified and cohesive kitchen design.
Finally, install your chosen hardware – knobs, pulls, hinges – selecting pieces that complement your kitchen’s style. These details add the perfect finishing touch.
Installation and Troubleshooting: Securing Your Masterpiece
Carefully position and secure your completed refrigerator surround to the wall and surrounding cabinetry using strong screws. Use a level to ensure everything is perfectly aligned.
Troubleshooting Tips:
- Uneven Walls: Shims are invaluable for leveling the surround and achieving a snug fit.
- Trim Gaps: Caulk and wood filler can effectively conceal any imperfections, creating a seamless appearance.
| Measurement | Minimum | Recommended |
|---|---|---|
| Width | 37″ | 42″ |
| Height | 74″ | 84″ |
| Depth (Counter Depth Fridge) | 25″ | 27″ |
| Depth (Standard Fridge) | 30″ | 32″ |
Remember, these measurements are guidelines. Adjust them based on your specific refrigerator model and kitchen layout. Building codes can vary, so checking with local authorities or a professional is always advisable. Ongoing research in construction techniques and materials suggests even more possibilities for future kitchen renovations. With careful planning, accurate measurements, and attention to detail, your custom refrigerator surround will be a stunning addition to your kitchen.
- White Cabinets with Butcher Block Countertops: A Kitchen Classic - January 5, 2026
- White Kitchen With Butcher Block Countertops: A Warm, Inviting Design - January 4, 2026
- Marble Countertops Prices: What Impacts the Overall Cost to Install? - January 3, 2026


