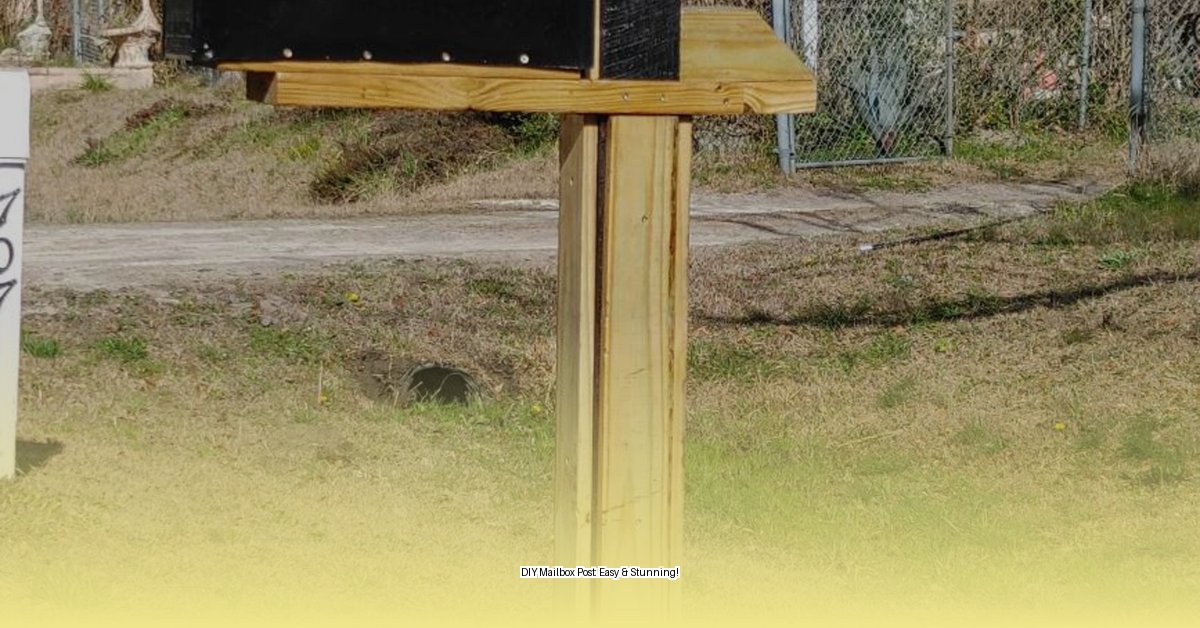
Boost your home’s curb appeal with the classic charm of a new wood mailbox post. This comprehensive guide covers everything from selecting the right lumber to ensuring a rock-solid installation that meets USPS regulations. Whether you’re replacing a weathered post or starting from scratch, we’ll equip you with the know-how to get the job done right.
Selecting the Perfect Wood
Choosing the right wood involves balancing durability, aesthetics, and budget. Each species has its own unique properties:
-
Cedar: Naturally resistant to rot, insects, and decay, cedar offers a beautiful reddish hue that weathers to a silvery-gray. It’s a popular choice for its balance of durability and affordability. Some experts suggest cedar is the best overall value for mailbox posts.
-
Pressure-Treated Pine: A budget-friendly option, pressure-treated pine is chemically treated to resist rot and insects. It readily accepts stains and paints, allowing for customization. However, it requires more frequent maintenance with sealant and stain to maintain its integrity.
-
Redwood: Known for its rich reddish-brown color and exceptional resistance to decay and insects, redwood is a premium choice. It’s highly durable but comes with a higher price tag.
-
Exotic Hardwoods (Ipe and Teak): Offering unparalleled resistance to the elements and insects, ipe and teak are the ultimate in longevity. These dense hardwoods are more difficult to work with and significantly more expensive.
Here’s a quick comparison:
| Wood Type | Durability | Cost | Aesthetics | Maintenance |
|---|---|---|---|---|
| Cedar | High | Medium | Natural, ages to silver-gray | Moderate |
| Pressure-Treated Pine | Medium | Low | Accepts stain/paint well | High |
| Redwood | Very High | High | Reddish-brown hue | Low |
| Ipe/Teak | Exceptional | Very High | Rich, exotic appearance | Very Low |
Mailbox Post Styles and Mounting Options
Your mailbox post can be more than just functional; it can enhance your home’s style. Consider these options:
- Post Only: A classic and versatile choice, allowing you to select any mailbox style.
- Post and Mailbox Combo: A convenient option, often with pre-drilled mounting holes.
- Decorative Posts: Featuring ornate details, these posts add a touch of elegance.
Size and Height: The USPS recommends a height of 41-45 inches from the road surface to the bottom of the mailbox. 4×4 posts are a standard choice, but 6×6 posts offer greater stability for larger mailboxes.
Mounting Options:
- In-Ground: Provides the most stability, especially in windy areas.
- Surface Mount: Offers flexibility and easier relocation if needed.
DIY Installation: A Step-by-Step Guide
1. Call Before You Dig (811): This is crucial! Contact your local utility locator service to mark underground lines.
2. Choose the Location: Select a spot that meets USPS regulations (Publication 76) and is convenient for your mail carrier.
3. Prepare the Hole (In-Ground): Dig a hole approximately 24-36 inches deep (check local frost lines) and 8-10 inches wide. Add a few inches of gravel for drainage.
4. Set the Post (In-Ground): Place the post in the hole, ensuring it’s plumb (perfectly vertical) using a post level.
5. Secure the Post (In-Ground): Pour concrete mix around the post, tamping it down to eliminate air pockets. Allow the concrete to cure completely.
6. Secure the Post (Surface Mount): Use a mailbox post anchor following the manufacturer’s instructions.
7. Attach the Mailbox: Mount the mailbox securely to the post, ensuring it’s level and at the correct height (41-45 inches).
8. Finishing Touches: Backfill around the post with soil, tamping it down firmly. Consider adding landscaping for enhanced curb appeal.
USPS Regulations: Ensuring Proper Placement
The USPS has specific guidelines for mailbox placement (Publication 76), ensuring efficient mail delivery. Improper placement can lead to service interruptions. Consult your local post office for specific requirements.
Maintenance and Troubleshooting
Maintenance: Regularly seal, paint, or stain your wood post to protect it from the elements and prolong its lifespan. Pressure-treated pine typically requires more frequent applications.
Troubleshooting:
- Rot: Address rot promptly by removing the affected area and applying wood filler. Severe rot may require post replacement.
- Leaning Post: Reinforce the base with concrete or compacted soil. Bracing the post with additional supports may also be necessary.
- Loose Mailbox: Tighten screws or replace stripped screws with larger ones.
Alternative Materials and Related Products
While wood offers classic appeal, consider these alternatives:
- Metal: Durable and low-maintenance, but may not have the same aesthetic charm.
- Plastic: Affordable and weather-resistant, but less durable than wood or metal.
Related Products:
- Mailboxes
- Post anchors
- Hardware (screws, bolts)
- Sealant, paint, stain
- Post level
Conclusion
A new wood mailbox post is a simple yet effective way to enhance your home’s curb appeal. By following this guide, you can confidently choose, install, and maintain a beautiful and functional mailbox post that will welcome guests and mail for years to come.
- Dora the Explorer Wipe-Off Fun: Safe & Mess-Free Activities for Little Explorers - April 18, 2025
- Does Lemongrass Repel Mosquitoes? Fact vs. Fiction + How to Use It - April 18, 2025
- Do Woodchucks Climb Trees?Fact vs. Fiction - April 18, 2025


