Get ready to embark on a rewarding DIY project with our comprehensive guide on [How to Make Cement Bricks at Home: A Step-by-Step Guide]! Whether you’re a seasoned homeowner or an enthusiastic beginner, we’ll empower you with the knowledge and techniques to create durable and versatile cement bricks for your landscaping and construction needs. Join us as we delve into the art of brickmaking, providing you with expert insights and practical steps to achieve stunning results.
Key Takeaways:
- Choose a ventilated, dry workspace.
- Use a 1:2:2 ratio of cement, sand, and stone.
- Gradually add water to create a mushy consistency.
- Use a mold to shape the bricks.
- Allow bricks to cure completely.
- Test brick quality and adjust ingredients or techniques as needed.
How to Make Cement Bricks at Home
Creating durable cement bricks requires meticulous attention to detail and a thorough understanding of the process. Follow these steps to craft high-quality bricks at home:
Gather Your Materials:
- Cement (Portland cement)
- River sand or crusher sand
- Stone (19mm-26.5mm)
- Water
- Mold or brick press
- Trowel or shovel
- Gloves
- Safety glasses
Prepare Your Workspace:
Select a well-ventilated and dry area with ample space for mixing and storing bricks.
Determine the Ratio:
A basic dry concrete mix ratio is 1:2:2 (cement:sand:stone). Adjust proportions as needed based on desired strength and texture.
Mix the Ingredients:
Start by combining dry ingredients thoroughly. Gradually add water while mixing until a mushy consistency is achieved. Avoid adding too much water, as this can weaken the bricks.
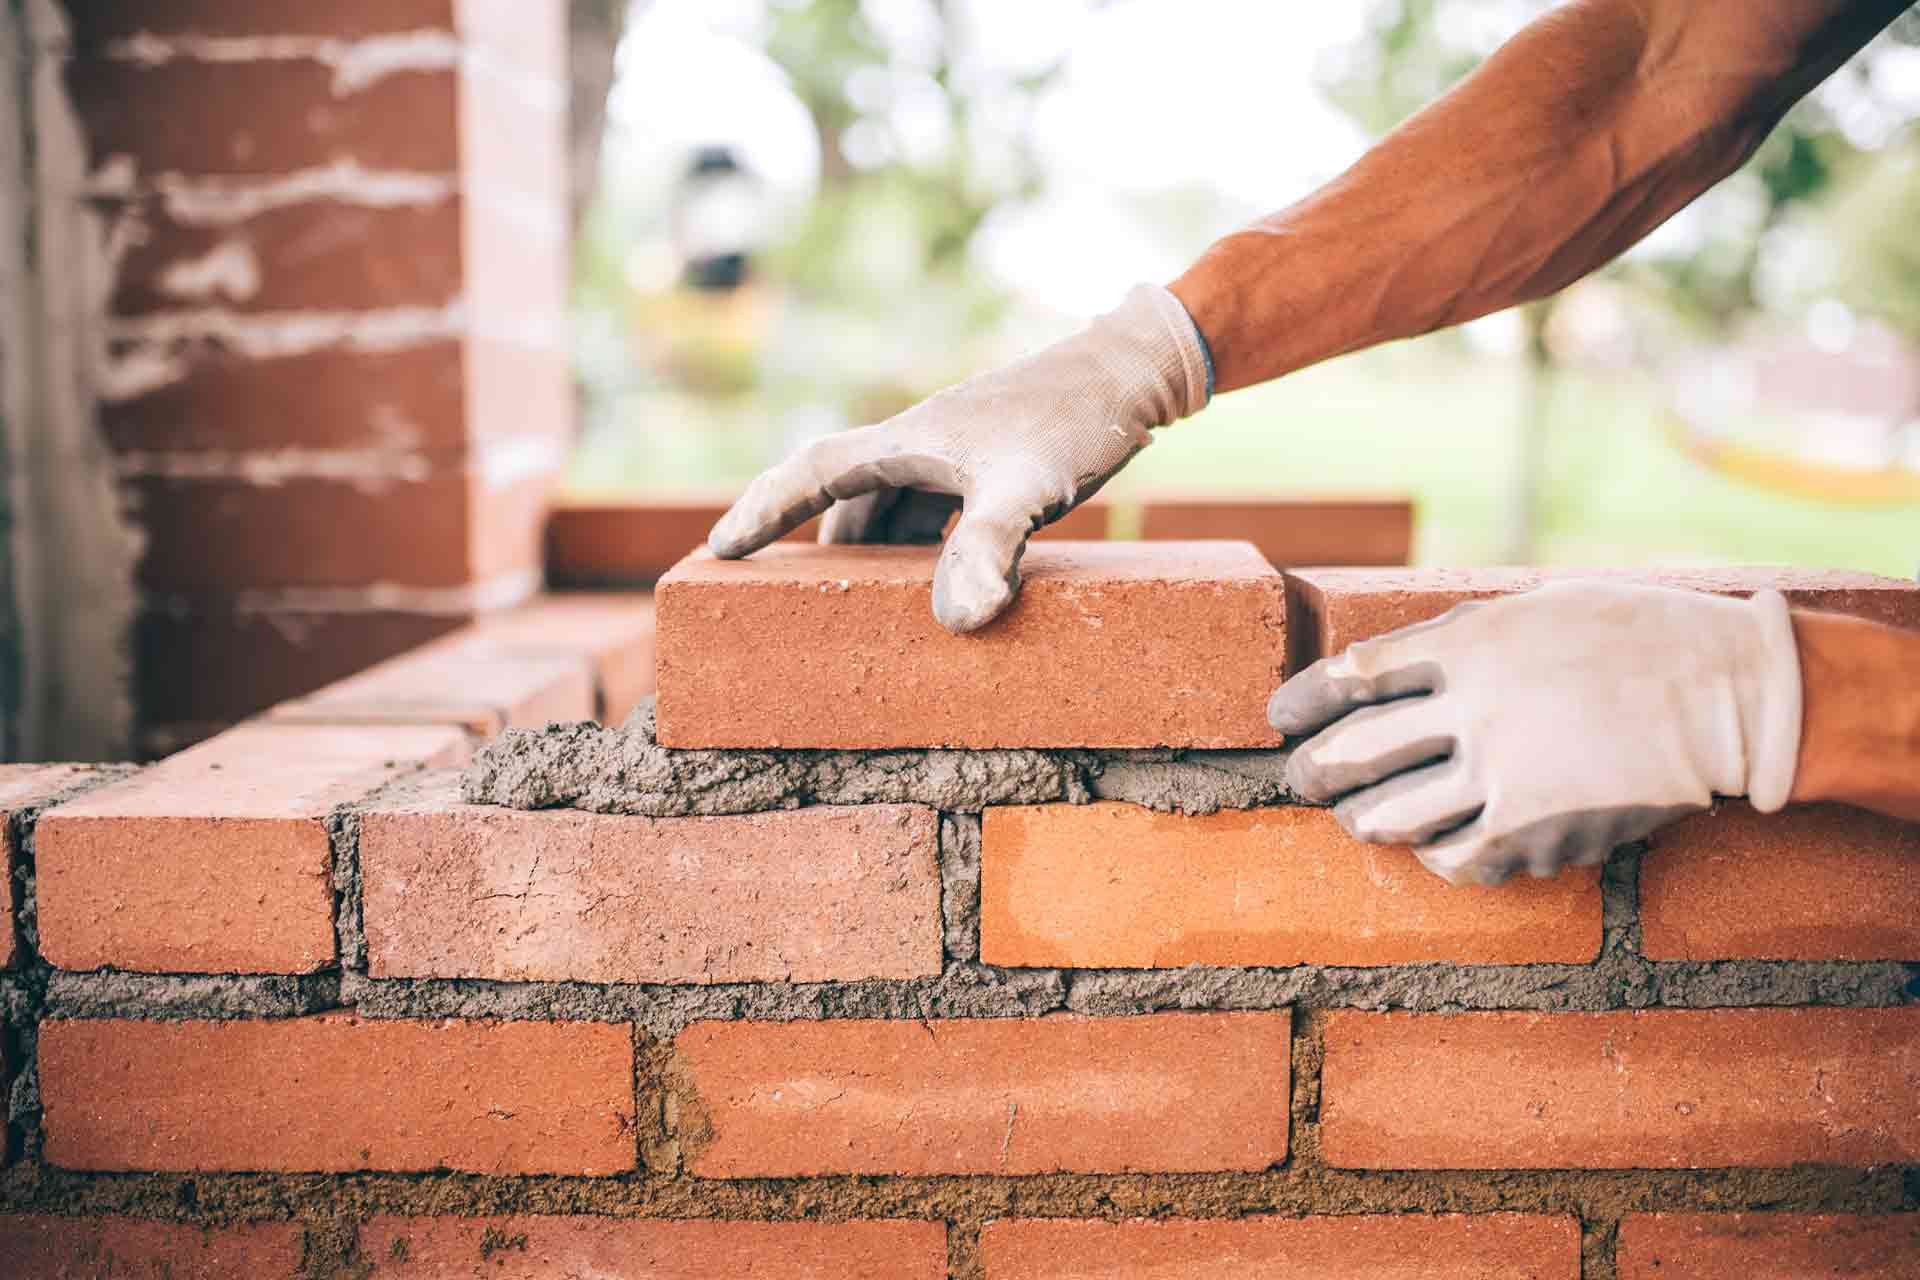
Fill the Mold:
Pour the concrete mixture into the mold or brick press. Firmly tamp down the mixture to ensure there are no air pockets. Smooth the top surface with a trowel.
Demold and Cure:
After filling the molds, carefully demold the bricks and place them on a flat surface. Allow them to set for 24 to 48 hours before moving or stacking.
Complete Curing:
Cover the bricks with plastic or a tarp to retain moisture. Let them cure for at least a week. Longer curing times result in stronger bricks.
Test the Bricks:
Once the bricks have cured, test their strength by dropping them on a hard surface. They should not break or crumble. If they do, adjust the mix ratio or curing process accordingly.
Tips:
- Use clean, uncontaminated materials for best results.
- Wear gloves and safety glasses to protect yourself during the process.
- Add color pigments to the mix to create decorative bricks.
- Start with small batches and experiment with different ratios to find the optimal mix for your needs.
- If you encounter any difficulties, consult with a professional or refer to online resources for guidance.
Looking for a luxurious and relaxing way to pamper yourself? Discover the secrets of crafting your aromatic bath powder at home with our comprehensive guide on how to make bath powder at home.
Indulge in the comforting aroma and health benefits of homemade cat food. Learn the art of preparing nutritious meals for your feline companion in our detailed guide on how to make cat food at home.
Experiencing neck pain and discomfort? We have the solution! Follow our step-by-step instructions on how to make a cervical pillow at home and enjoy a restful and pain-free sleep.
Creating the brick molds
When creating the brick molds, durability and easy release of bricks are crucial. High-quality silicone ensures both these qualities. To ensure optimal performance, proper curing of the molds is essential.
Key Takeaways:
- Use high-quality silicone for durability and easy brick release.
- Cure the molds properly for optimal performance.
Relevant URLs:
- How To Make Brick Molds | Storables
Pouring and compacting the cement
Pour the mixed cement into the prepared molds. Use a trowel or shovel to fill each mold to the brim. Compact the cement by tapping the mold gently with a hammer or mallet. This helps remove air pockets and ensures the cement is densely packed. Continue pouring and compacting until all the molds are filled.
Key Takeaways:
- Pour the cement into the molds until they are full.
- Compact the cement by tapping the mold gently with a hammer or mallet to remove air pockets.
- Continue pouring and compacting until all the molds are filled.
Relevant Sources:
- Concrete Compaction Methods For Durable Structures | UltraTech Cement
- COMPACTION OF CONCRETE – PURPOSE, PROCESS & EFFECT
Curing and Finishing the Bricks
Congratulations on creating the sturdy cement bricks! Now, let’s ensure they attain maximum strength and durability.
Curing
- Keep bricks moist for at least 48 hours by covering them with plastic or burlap. This prevents premature drying and cracking.
- The curing time may vary based on the climate and concrete type. Consult the concrete manufacturer’s recommendations.
Demolding
- Once cured, remove the bricks from the molds. Handle them carefully to avoid damage.
Sealing
- Sealing the bricks with a concrete sealer helps prevent moisture absorption, enhancing durability. Apply the sealer as per the manufacturer’s instructions.
Key Takeaways:
- Keep bricks moist during curing to prevent cracking.
- Demold bricks after proper curing time.
- Seal bricks to improve durability and prevent moisture absorption.
Relevant Sources:
- How to Make Bricks from Concrete – WikiHow
- DIY Brick Wall Guide: Build in 8 Simple Steps – Crafting with Concrete
FAQ
Q1: What is the ideal ratio for the cement, sand, and stone mixture for making cement bricks?
A1: The recommended ratio for a basic dry concrete mix is 1:2:2 (cement:sand:stone).
Q2: How can I ensure that the concrete is properly compacted when making cement bricks?
A2: Vibrating the concrete in the mold will help remove air pockets and ensure even distribution, leading to better compaction.
Q3: How long should I cure the cement bricks before demolding?
A3: The curing time may vary depending on the climate and concrete type. However, it is generally recommended to cure the bricks for at least 48 hours, keeping them moist during the process.
Q4: Why is it important to seal cement bricks?
A4: Sealing cement bricks prevents moisture absorption, strengthens them, and increases their longevity.
Q5: Can I use clay instead of concrete to make bricks at home?
A5: Clay bricks require different materials and techniques. While this article focuses on making cement bricks, you can find information on making clay bricks from other sources.

- Dora the Explorer Wipe-Off Fun: Safe & Mess-Free Activities for Little Explorers - April 18, 2025
- Does Lemongrass Repel Mosquitoes? Fact vs. Fiction + How to Use It - April 18, 2025
- Do Woodchucks Climb Trees?Fact vs. Fiction - April 18, 2025