Discover the secrets to creating light and fluffy homemade bread with our comprehensive guide, [- How to Make Homemade Bread Light and Fluffy: A Comprehensive Guide]. Embark on a culinary journey that unravels the intricacies of breadmaking, empowering you to savor the joy of freshly baked bread bursting with delectable flavors.
Key Takeaways:
- Use high-protein bread flour for a stronger gluten network.
- Activate yeast in warm water with sugar for optimal rising.
- Knead dough well to develop gluten and create air pockets.
- Allow dough to rise twice for proper fermentation and volume.
- Maintain a warm environment for better yeast activity.
- Preheat oven thoroughly to create steam for a crispy crust and fluffy interior.
How to Make Homemade Bread Light and Fluffy
Are you ready to embark on a culinary expedition that will transform you into a bread-baking maestro? Achieving light and fluffy homemade bread is a symphony of skill and science, and I’m here to guide you every step of the way.
Essential Ingredients for Success
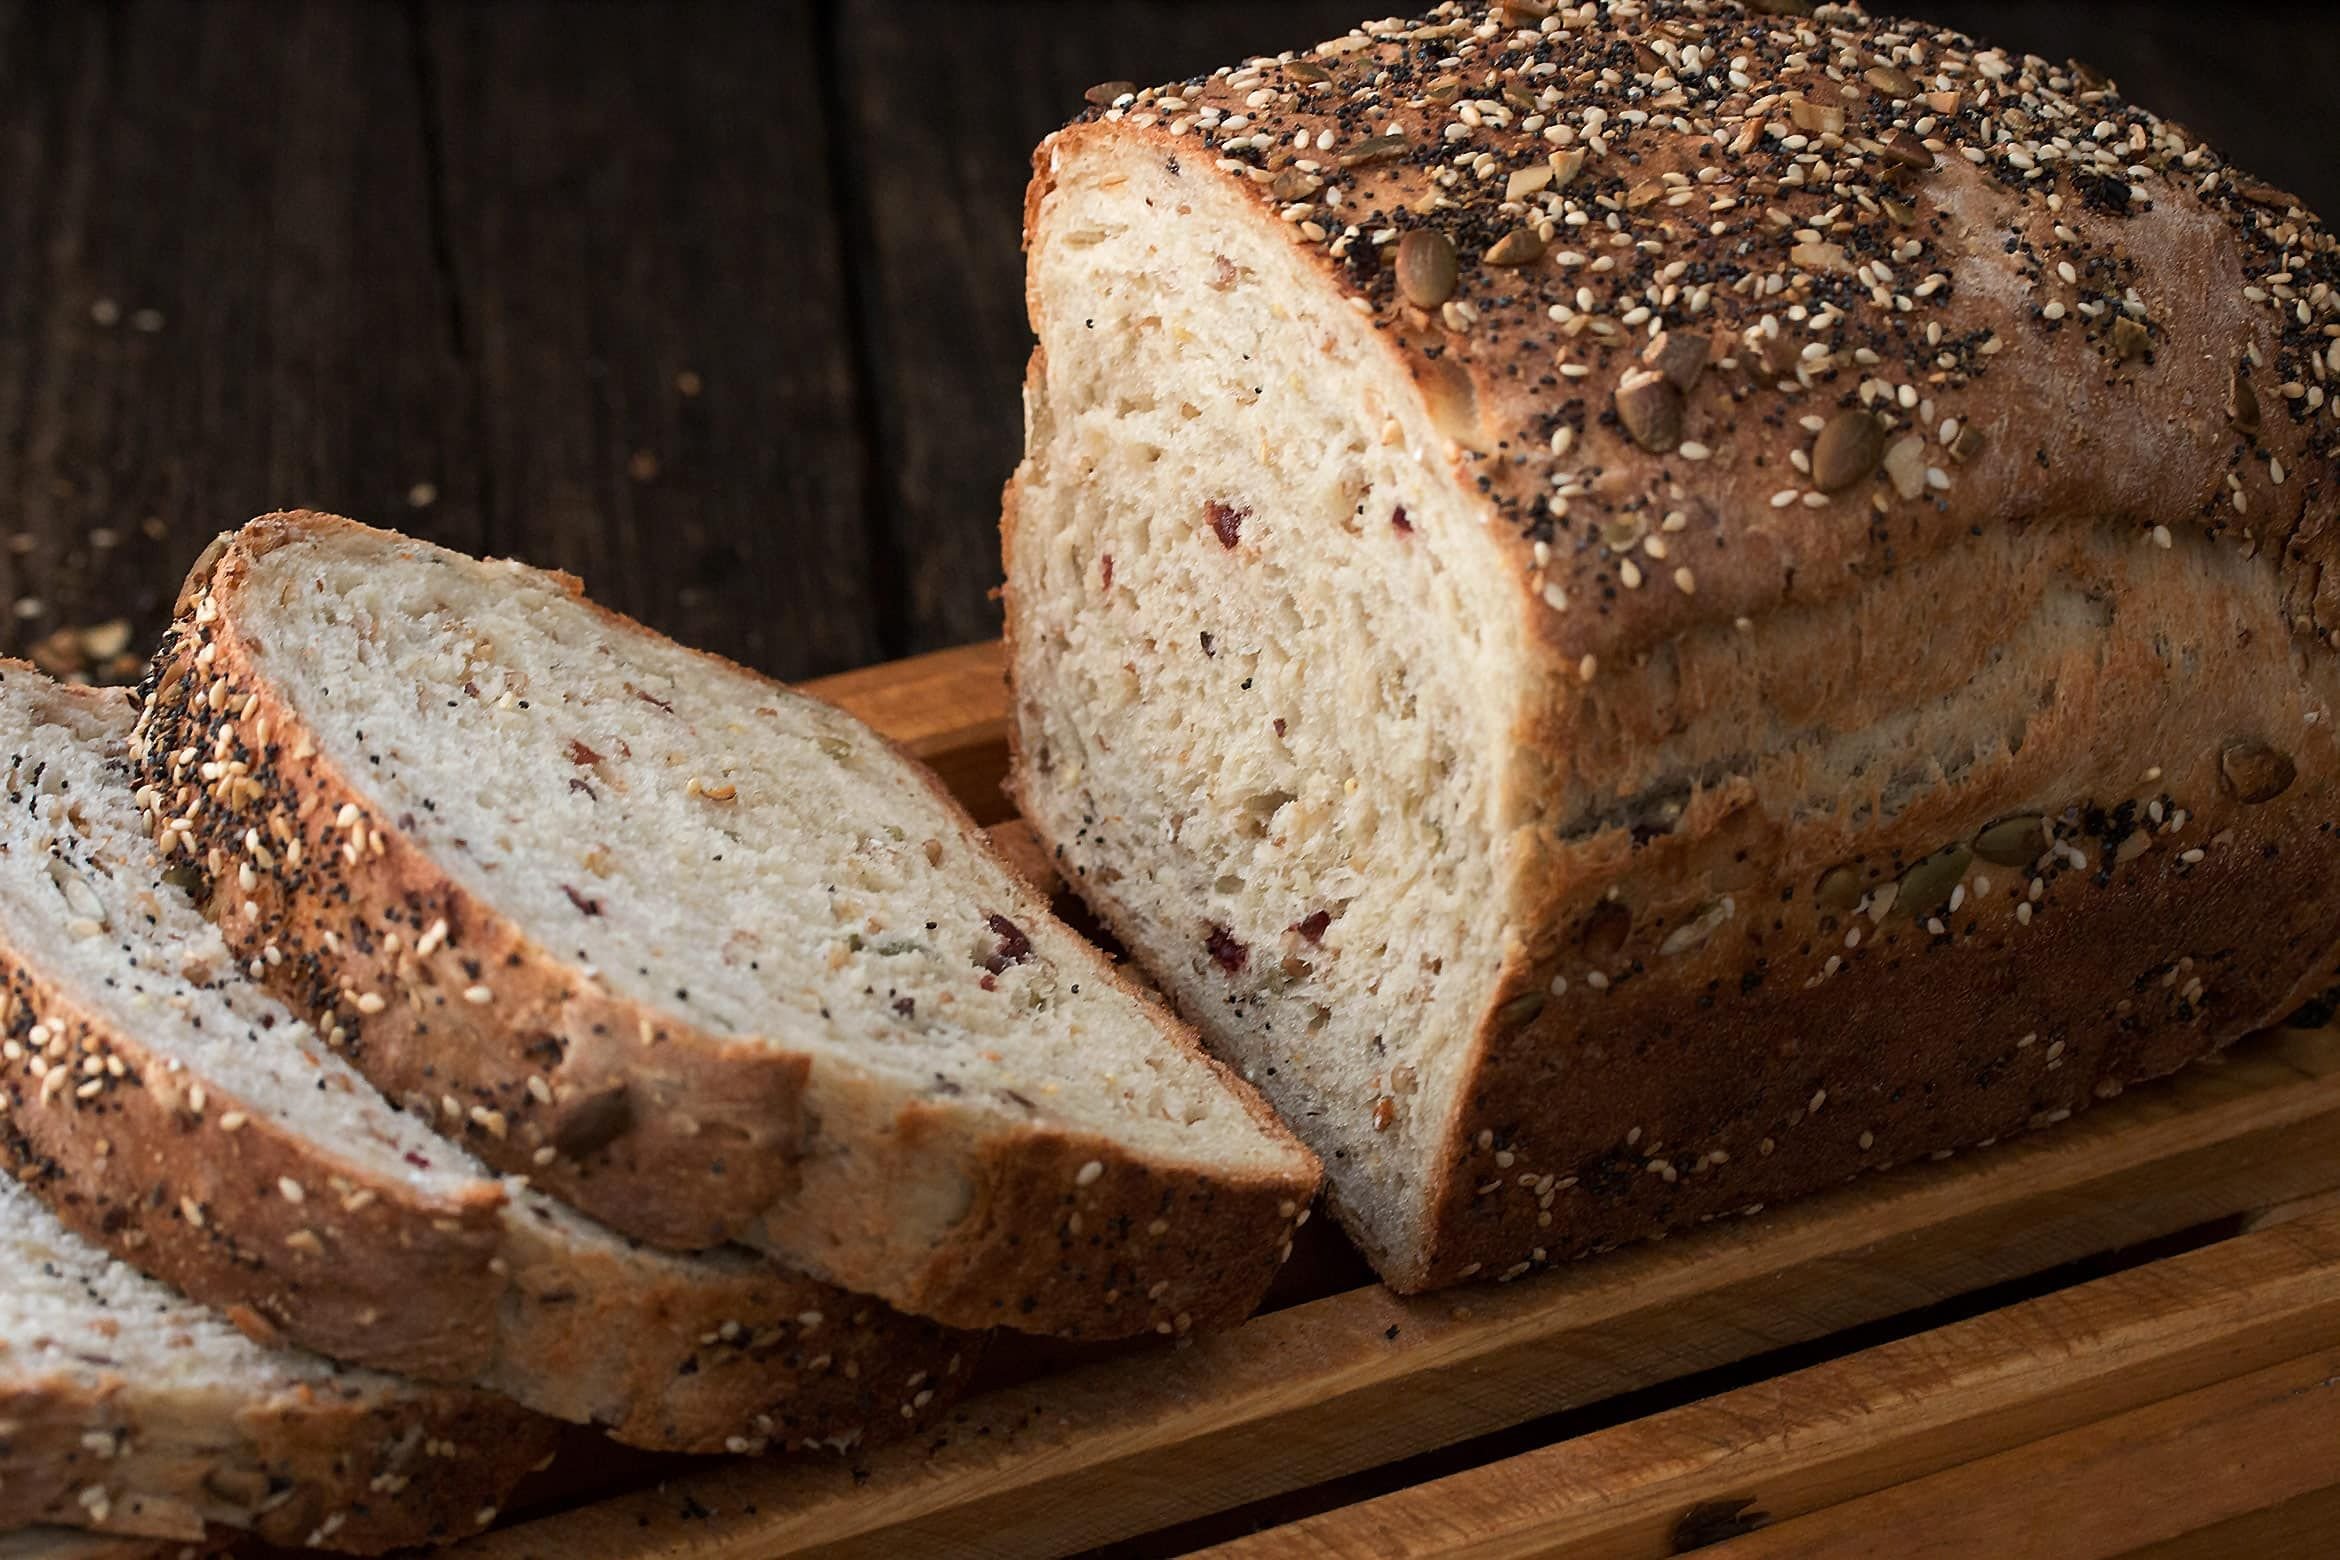
- Flour: Opt for bread flour, its higher protein content ensures a robust gluten network, the backbone of a light crumb.
- Yeast: The key to dough’s airy rise, activate your yeast in warm water (105-115°F) with a touch of sugar.
- Water: Hydration is crucial, strike a delicate balance to create a dough that’s pliable yet not sticky.
- Salt: Don’t underestimate salt’s magic, it enhances flavor and strengthens gluten.
The Alchemy of Kneading
Kneading is the dance that develops gluten, creating a mesh of protein strands that trap air pockets. Aim for 10-12 minutes of rhythmic kneading by hand or using a stand mixer.
Timing Is Everything
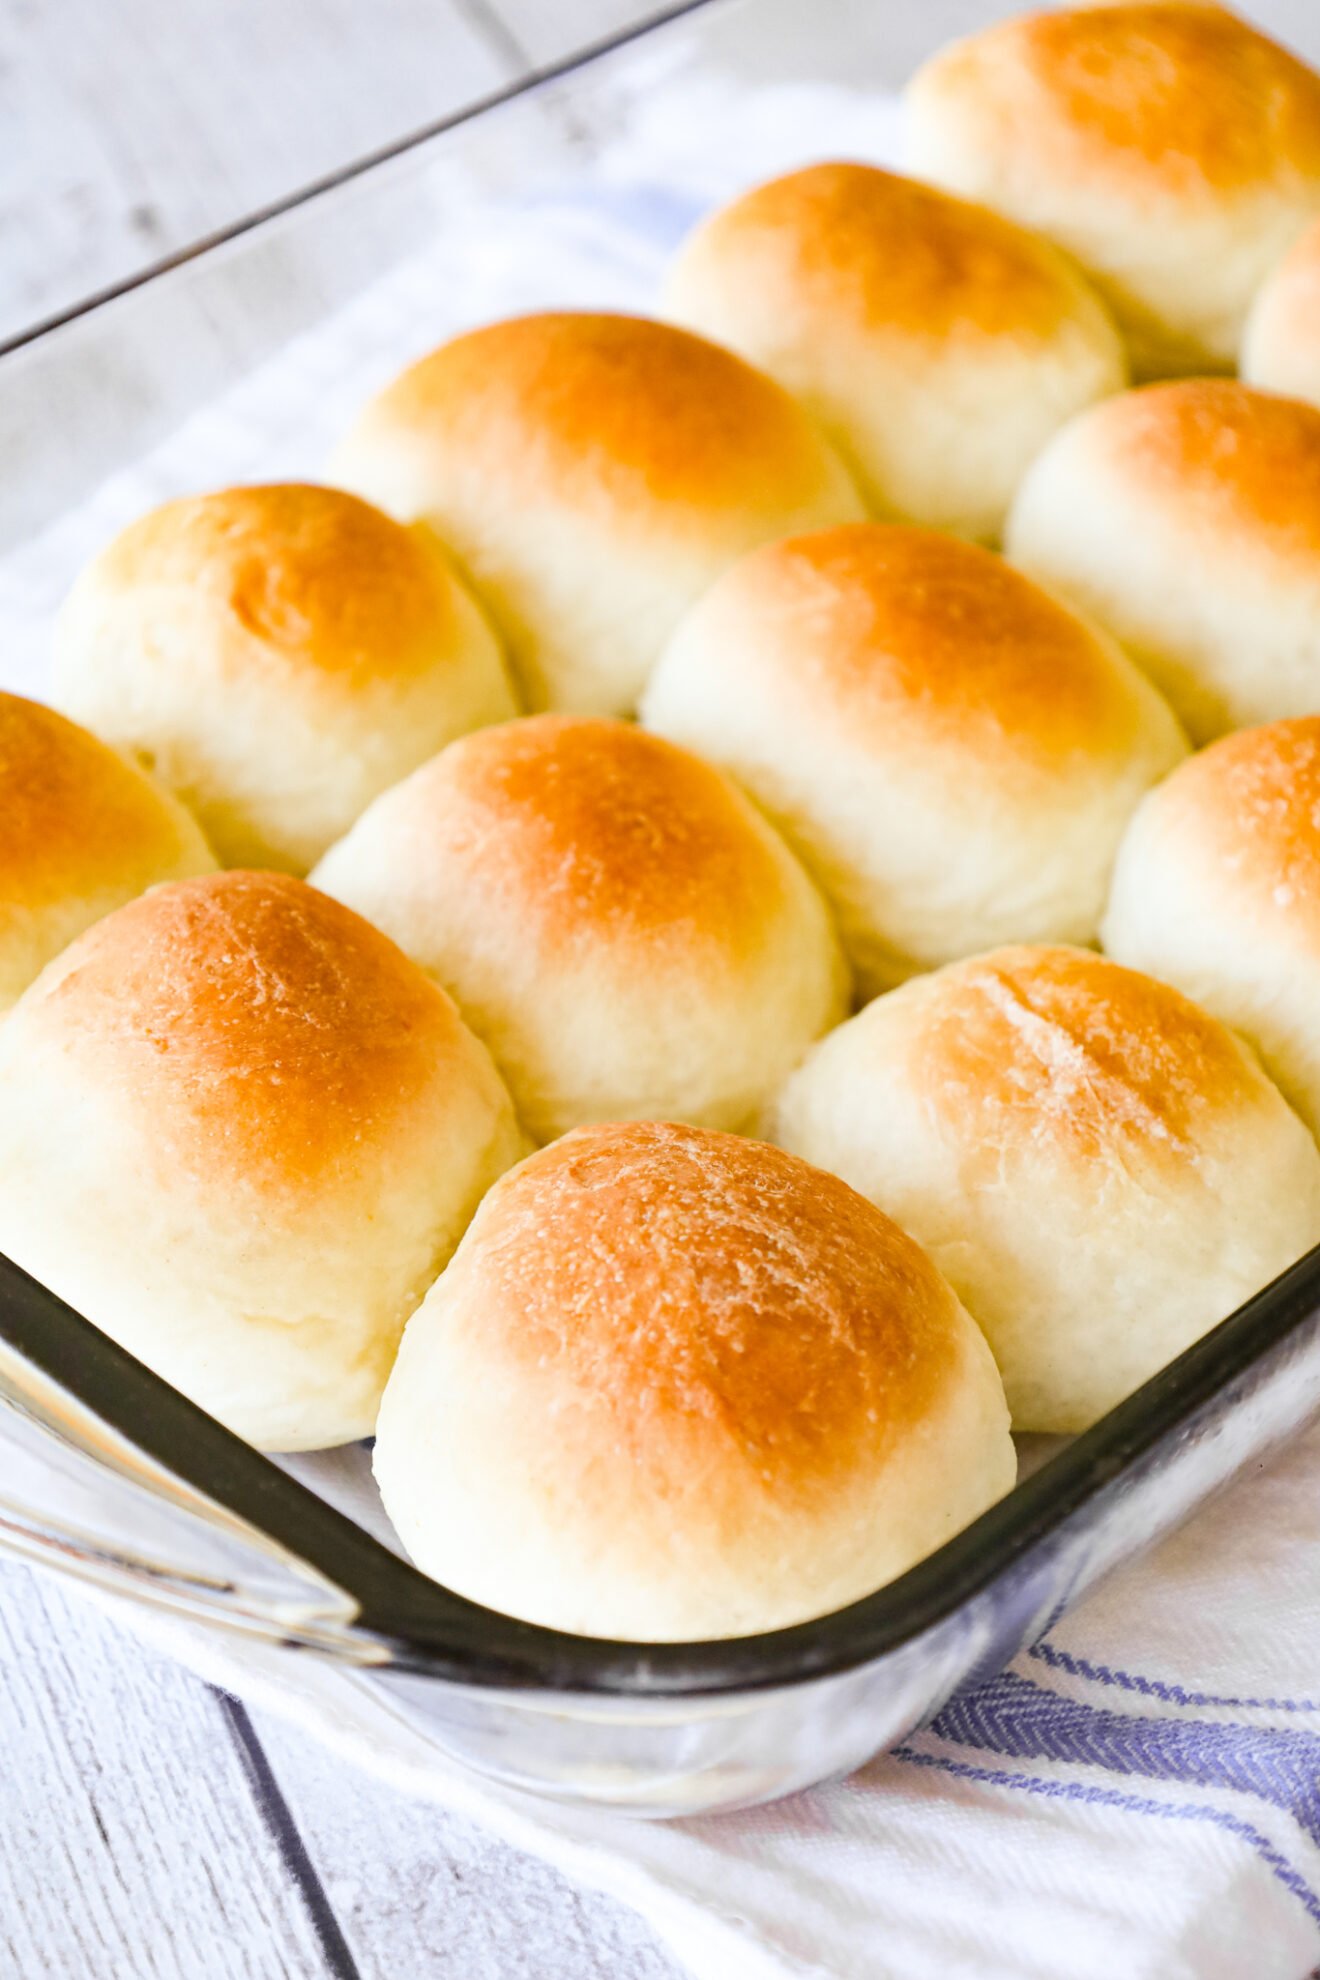
Allow your dough ample time to rise, twice is the charm! The first rise lets yeast ferment and expand, while the second rise helps the dough reach its full, fluffy potential.
The Perfect Environment
Yeast thrives in warmth, so ensure a comfortable environment for your dough to rise. A cozy spot in your oven with the light on or a microwave with a cup of hot water does the trick.
Baking Perfection
Preheat your oven to the temperature specified in your recipe, this creates steam for a crispy, golden crust. Place your dough in a hot oven and watch it transform into a masterpiece of bread.
Troubleshooting Tips
- Dense bread: Inadequate kneading, insufficient yeast activity, or improper fermentation can lead to a heavy loaf.
- Crust too thick: Adjust your oven temperature and baking time to find the perfect balance.
- Soggy bread: Avoid over-proofing your dough, it can result in a flat, dense texture.
Remember, practice makes perfect. With each loaf you bake, you’ll refine your skills and create breadworthy of a standing ovation. So let’s knead together, discover the joy of homemade bread, and elevate your culinary adventures!
If you’re looking to delve into the art of henna, be sure to check out our guide on how to make henna at home, where we’ll guide you through the process step-by-step.
For those aspiring bakers, our comprehensive tutorial on how to make homemade bread soft is a must-read. We’ll reveal the secrets to achieving that irresistible soft and fluffy texture.
If you’re looking for a natural remedy to combat coughs, our article on how to make homemade cough syrup provides a simple and effective recipe using all-natural ingredients.
Knead the Dough Properly
Why is kneading important?:
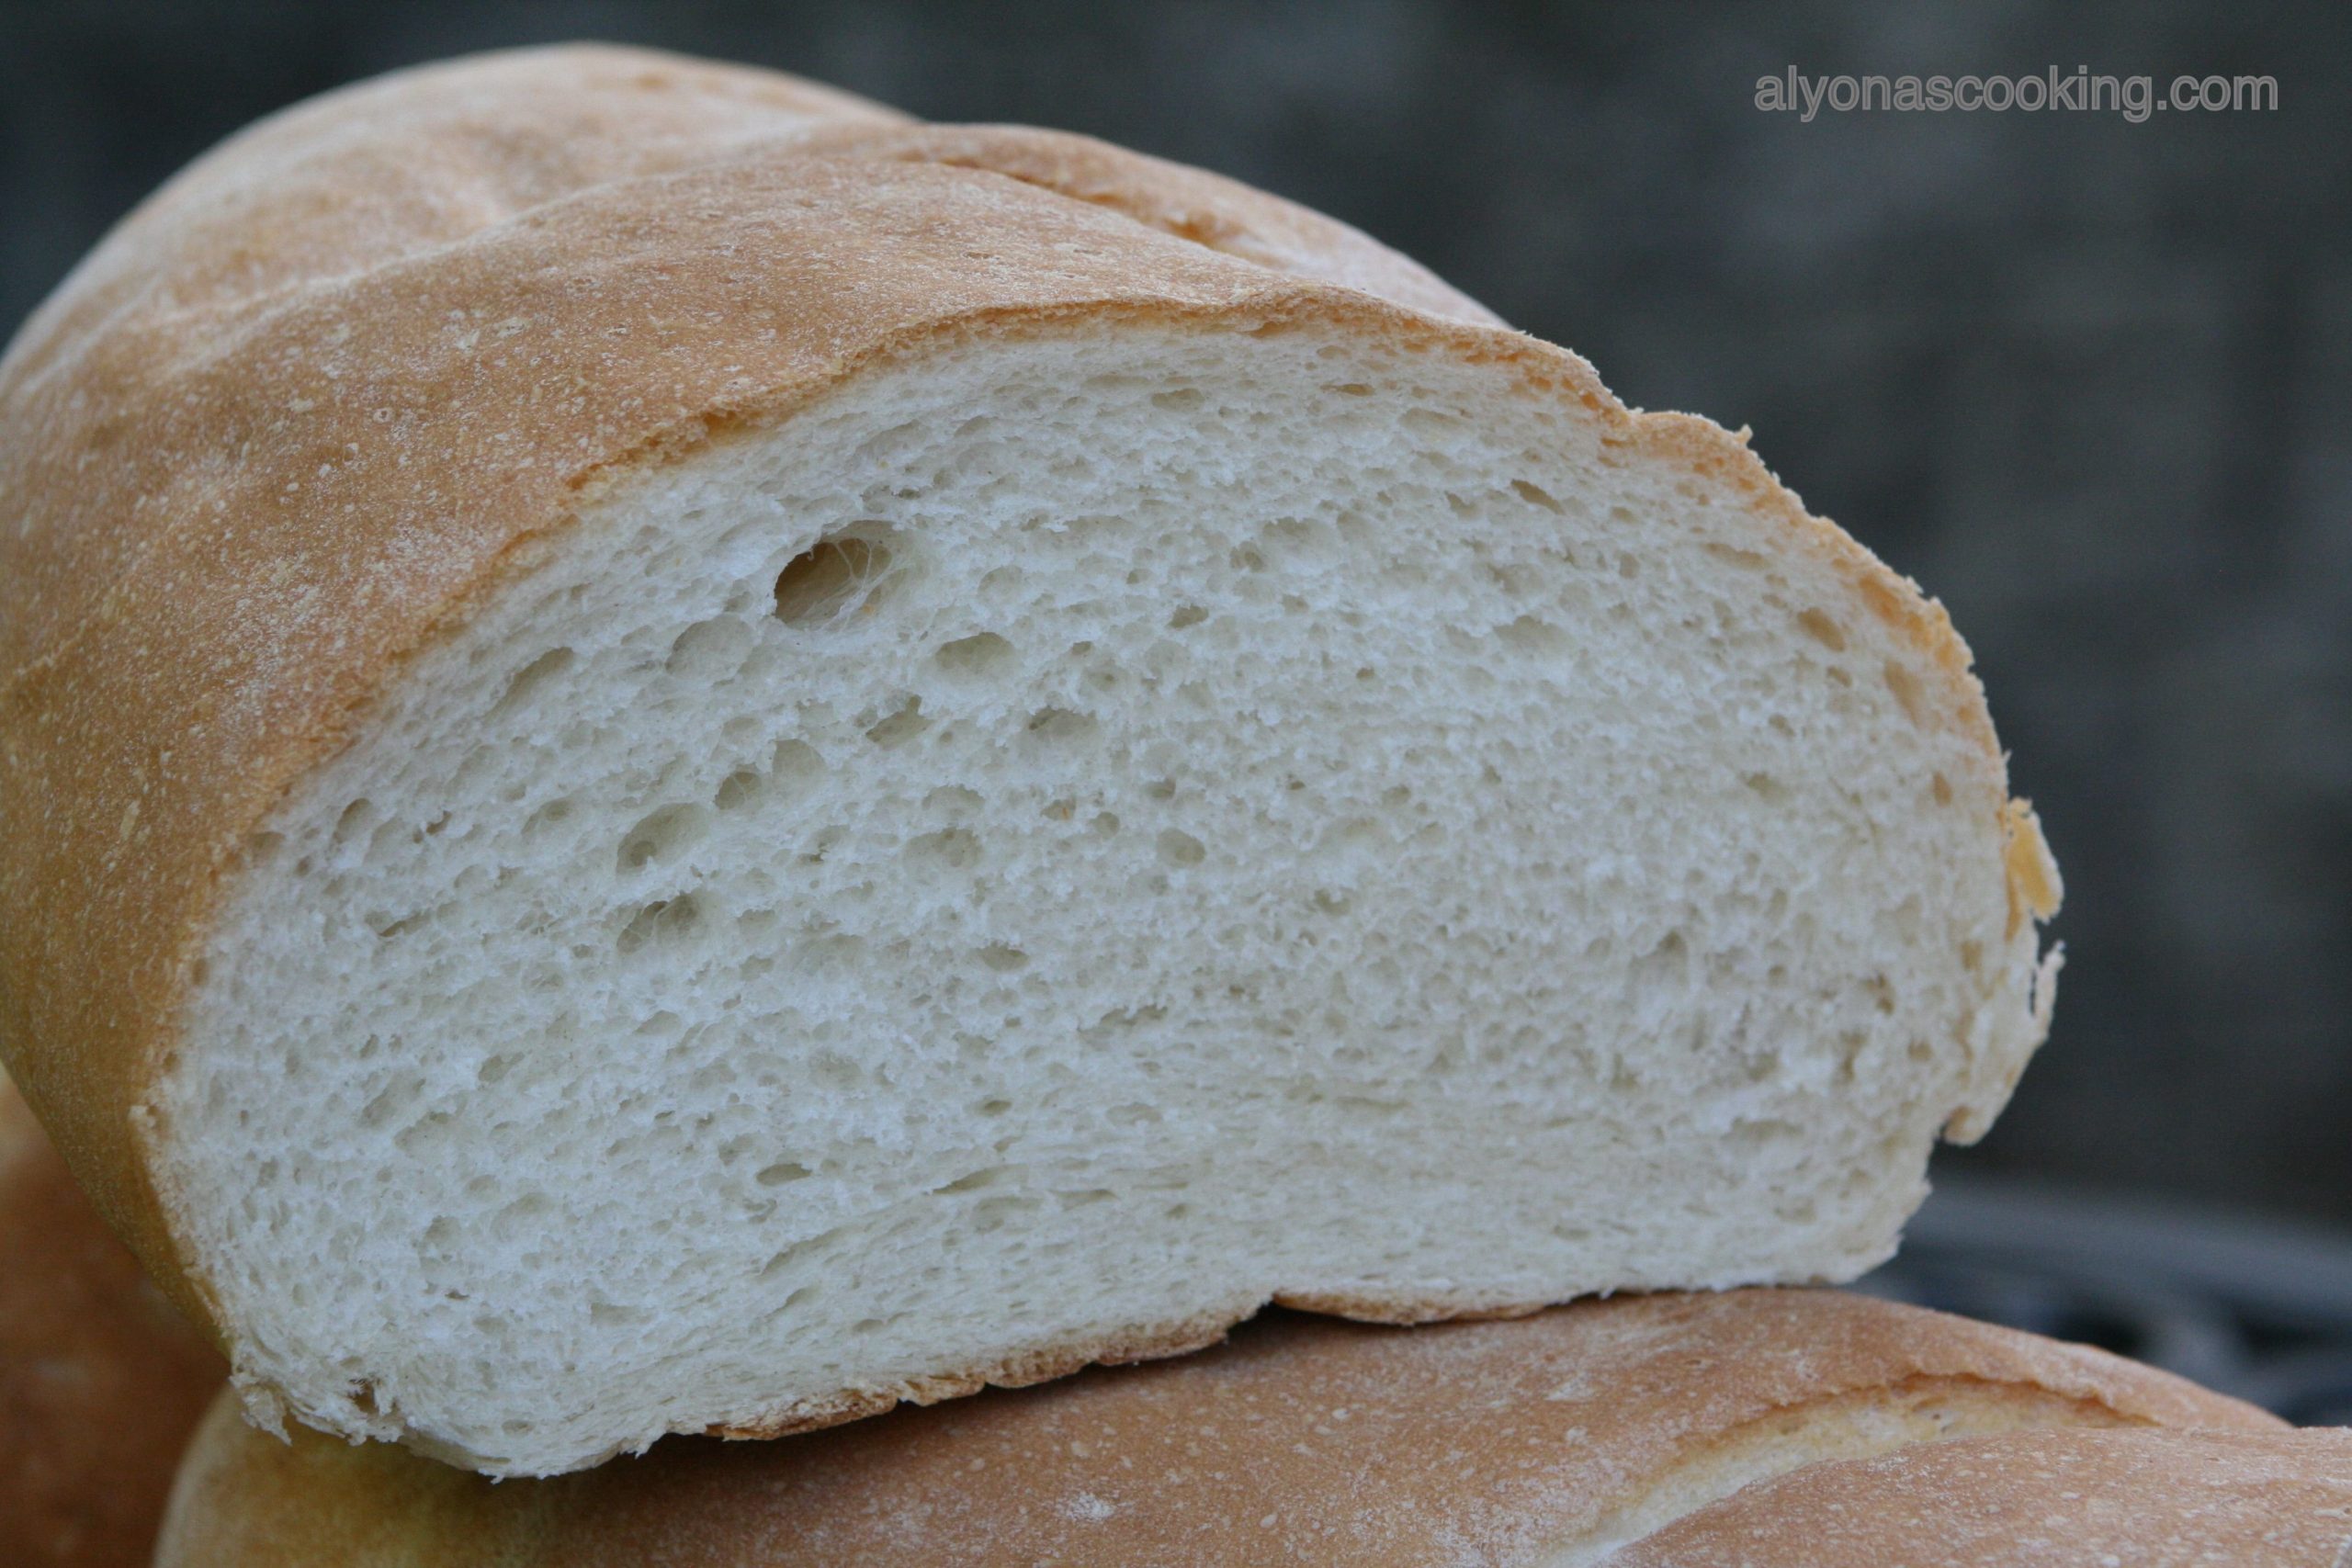
Kneading develops the gluten strands in the dough, which are responsible for its elasticity and texture. The more you knead, the stronger the gluten network will be, resulting in a bread that is light, fluffy, and has a chewy texture.
How to knead the dough properly:
There are two main ways to knead dough: by hand or with a stand mixer.
Kneading by hand:
- Turn the dough out onto a lightly floured surface.
- Use the palms of your hands to push the dough away from you, then fold it back over itself.
- Rotate the dough 90 degrees and repeat the pushing and folding motion.
- Continue kneading for 10-12 minutes, or until the dough is smooth and elastic.
Kneading with a stand mixer:
- Fit the stand mixer with the dough hook attachment.
- Add the dough to the bowl and turn the mixer on to low speed.
- Knead the dough for 5-7 minutes, or until it is smooth and elastic.
Tips for kneading:
- Use a light touch when kneading the dough. Over-kneading can make the bread tough.
- If the dough is too sticky, add a little more flour. If it is too dry, add a little more water.
- Knead the dough until it is smooth and elastic, but not until it is completely smooth. A little bit of roughness is okay.
Key Takeaways:
- Kneading develops the gluten strands in the dough, which are responsible for its elasticity and texture.
- The more you knead, the stronger the gluten network will be, resulting in a bread that is light, fluffy, and has a chewy texture.
- Knead the dough for 10-12 minutes by hand or 5-7 minutes with a stand mixer.
- Use a light touch when kneading the dough.
- Add a little more flour if the dough is too sticky, or a little more water if it is too dry.
Sources:
* How to Knead Bread Dough
* Kneading Bread Dough: A Step-by-Step Guide
Let the Dough Rise in a Warm Place
Rising dough is a crucial step in breadmaking, and understanding the right conditions is essential for light and fluffy bread. Heat promotes yeast activity, facilitating the expansion of the dough.
Warmth encourages the yeast to “wake up.” The optimal temperature for dough rising is around 75-80°F (24-27°C). A warm oven, with or without the light on, is a great option. You can also place a pot of boiling hot water in a cold oven to create humidity.
Key Takeaways:
- Yeast thrives in warm environments, promoting dough expansion.
- Let the dough rise in a warm place to create light and fluffy bread.
- Ideal dough rising temperature: 75-80°F (24-27°C).
Sources:
- King Arthur Baking: Where to Put Dough to Rise
- Baking Kneads: How to Make Dough Rise in a Cold House
Bake the bread at the correct temperature
Your bread won’t come out as you envisioned if you don’t bake the bread at the correct temperature.
Temperature is fundamental to bread baking; it dictates how the bread will look and feel. Bread that’s too dense or too hard needs to be baked longer. Conversely, if it’s too pale and soft, it should bake for a shorter time.
Key Takeaways:
- Bread baking requires optimal temperatures: 350-475°F (177-246°C) to achieve a perfect Maillard reaction and caramelization.
- Temperature regulates the speed and thoroughness of baking: Determines crust thickness and texture.
- Bread’s sugar content contributes to browning: Even low-sugar bread will brown due to starch conversion during baking.
Tips for Baking Bread at the Correct Temperature:
- Crispy crust: Bake at higher temperatures.
- Light and fluffy texture: Proof dough twice and ensure active yeast.
Relevant Sources:
FAQ
Q1: How do I achieve a light and fluffy crumb in my homemade bread?
A1: To achieve a light and fluffy crumb, use bread flour, activate yeast properly, knead the dough thoroughly, and let it rise twice.
Q2: What factors influence the fluffiness of bread?
A2: The protein content of flour, proper yeast activation, thorough kneading, and optimal rising times all contribute to the fluffiness of bread.
Q3: What is the ideal temperature for dough rising?
A3: The optimal temperature for dough rising is around 75-80°F (24-27°C), as it promotes yeast activity and allows the dough to reach its full volume.
Q4: Why is my bread dense and heavy?
A4: Dense and heavy bread can be caused by using the wrong flour, insufficient kneading, improper yeast activation, or not allowing the dough to rise for long enough.
Q5: How can I create a crispy crust on my homemade bread while maintaining a fluffy interior?
A5: To achieve a crispy crust with a fluffy interior, use a hot oven to create steam and preheat the baking stone or Dutch oven.

- Seal for butcher block: Find the best food-safe finish - December 29, 2025
- Finishes For Butcher Block Counters: Choosing The Right Food-Safe Option - December 28, 2025
- Kitchen Countertop Ideas: Find the Perfect Surface for You - December 27, 2025