Embark on a pampering journey with [How to Make Homemade Lotion: A Step-by-Step Guide for Luxurious Skincare]. Join us as we unravel the secrets of crafting bespoke lotions tailored to your unique skin needs. Whether you’re seeking nourishment, hydration, or a symphony of scents, our DIY guide empowers you to create the perfect lotion for a radiant glow.
Key Takeaways:
- Natural ingredients and customization make homemade lotions beneficial.
- Base and carrier oils provide hydration and emollience.
- Emulsifiers combine oil and water-based ingredients for stability.
- Tailor ingredients to skin type for optimal results.
- Essential oils enhance fragrance and therapeutic effects.
- Proper storage preserves lotion integrity.
How to Make Homemade Lotion
Creating your own luxurious homemade lotion is a rewarding experience that allows you to customize your skincare routine. Here’s a step-by-step guide to help you get started:
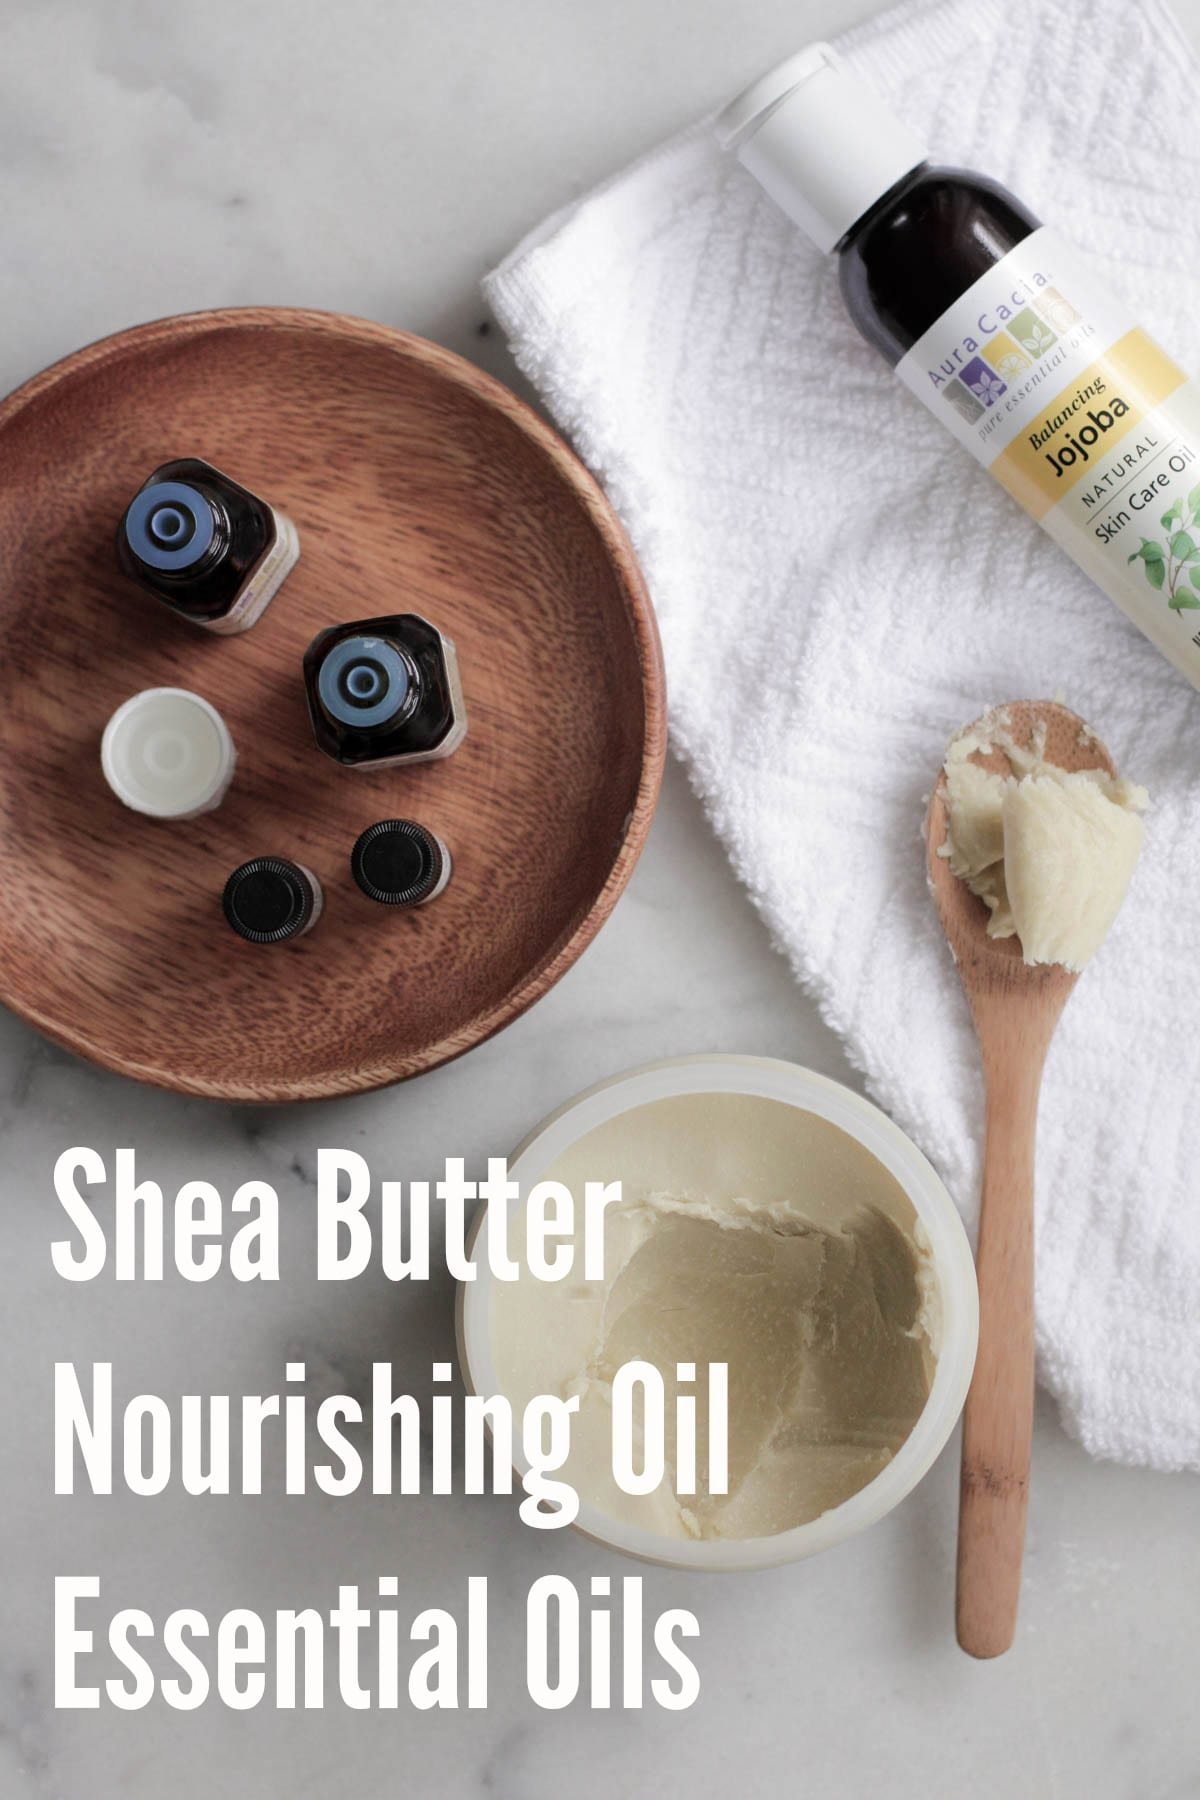
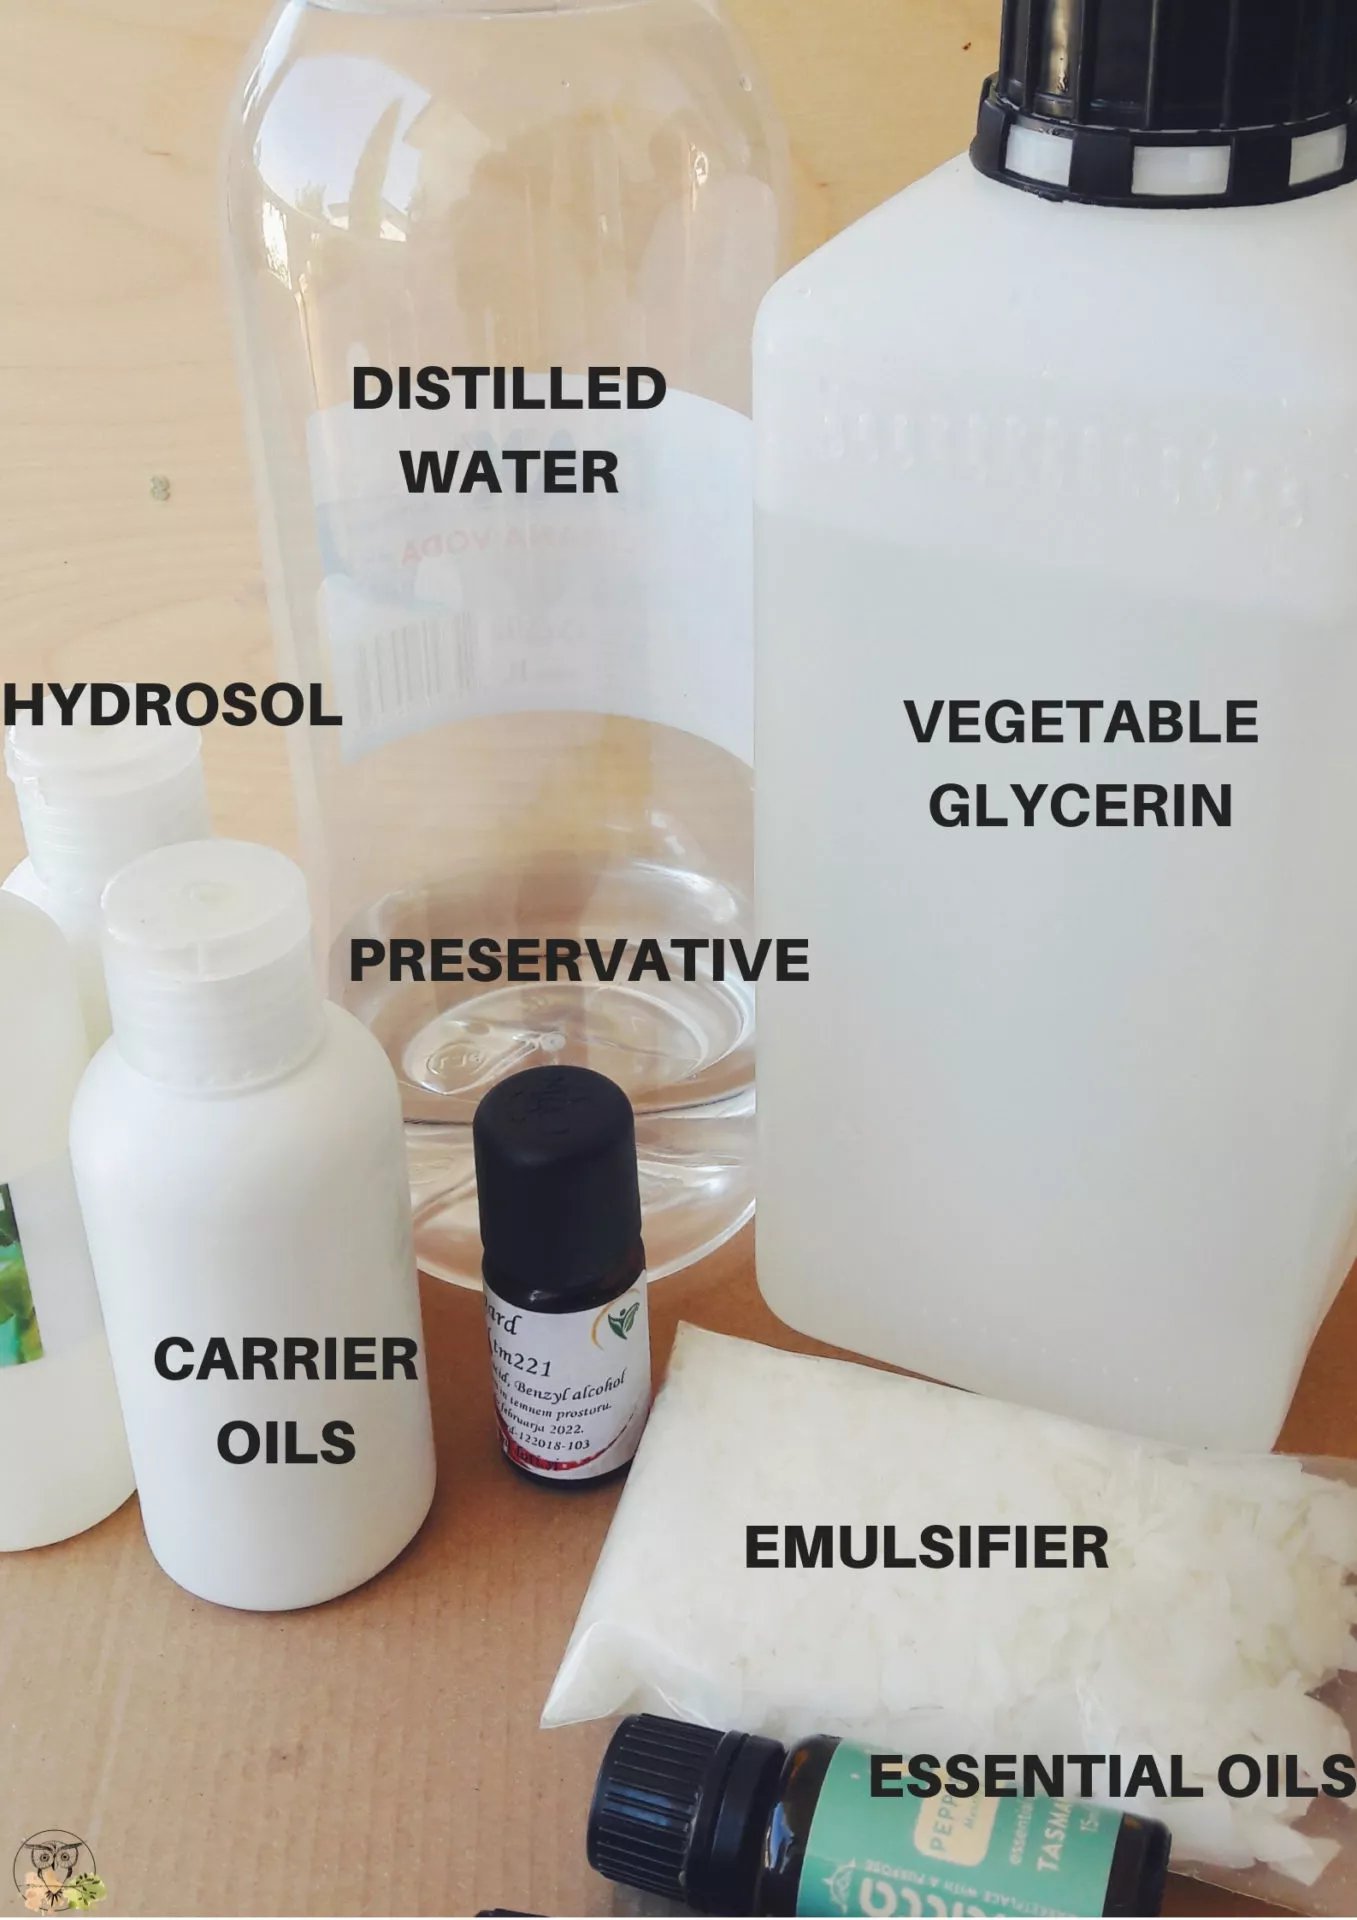
Gather Your Ingredients:
- Base oils: These provide hydration and emollience. Choose from coconut oil, shea butter, mango butter, or cocoa butter.
- Carrier oils: These dilute the base oils and help the lotion absorb into the skin. Jojoba oil, almond oil, and grapeseed oil are popular choices.
- Emulsifier: This is essential for combining oil and water-based ingredients. Commonly used emulsifiers include beeswax, emulsifying wax, and lecithin.
- Essential oils (optional): These add fragrance and therapeutic benefits. Consider lavender, chamomile, or tea tree oil based on your skin type.
- Distilled water: This is used to create the water-based component of the lotion.
Step-by-Step Instructions:
- Heat the base oils and emulsifier: In a double boiler or microwave-safe bowl, heat the base oils and emulsifier until melted.
- Separately heat the carrier oils and distilled water: In another container, heat the carrier oils and distilled water until warm but not boiling.
- Slowly add the water phase to the oil phase: While whisking constantly, carefully pour the water phase into the oil phase.
- Continue whisking until emulsified: The mixture should thicken and become creamy. If it separates, add more emulsifier or water as needed.
- Add essential oils (optional): Once the lotion is emulsified, add a few drops of your desired essential oil and mix well.
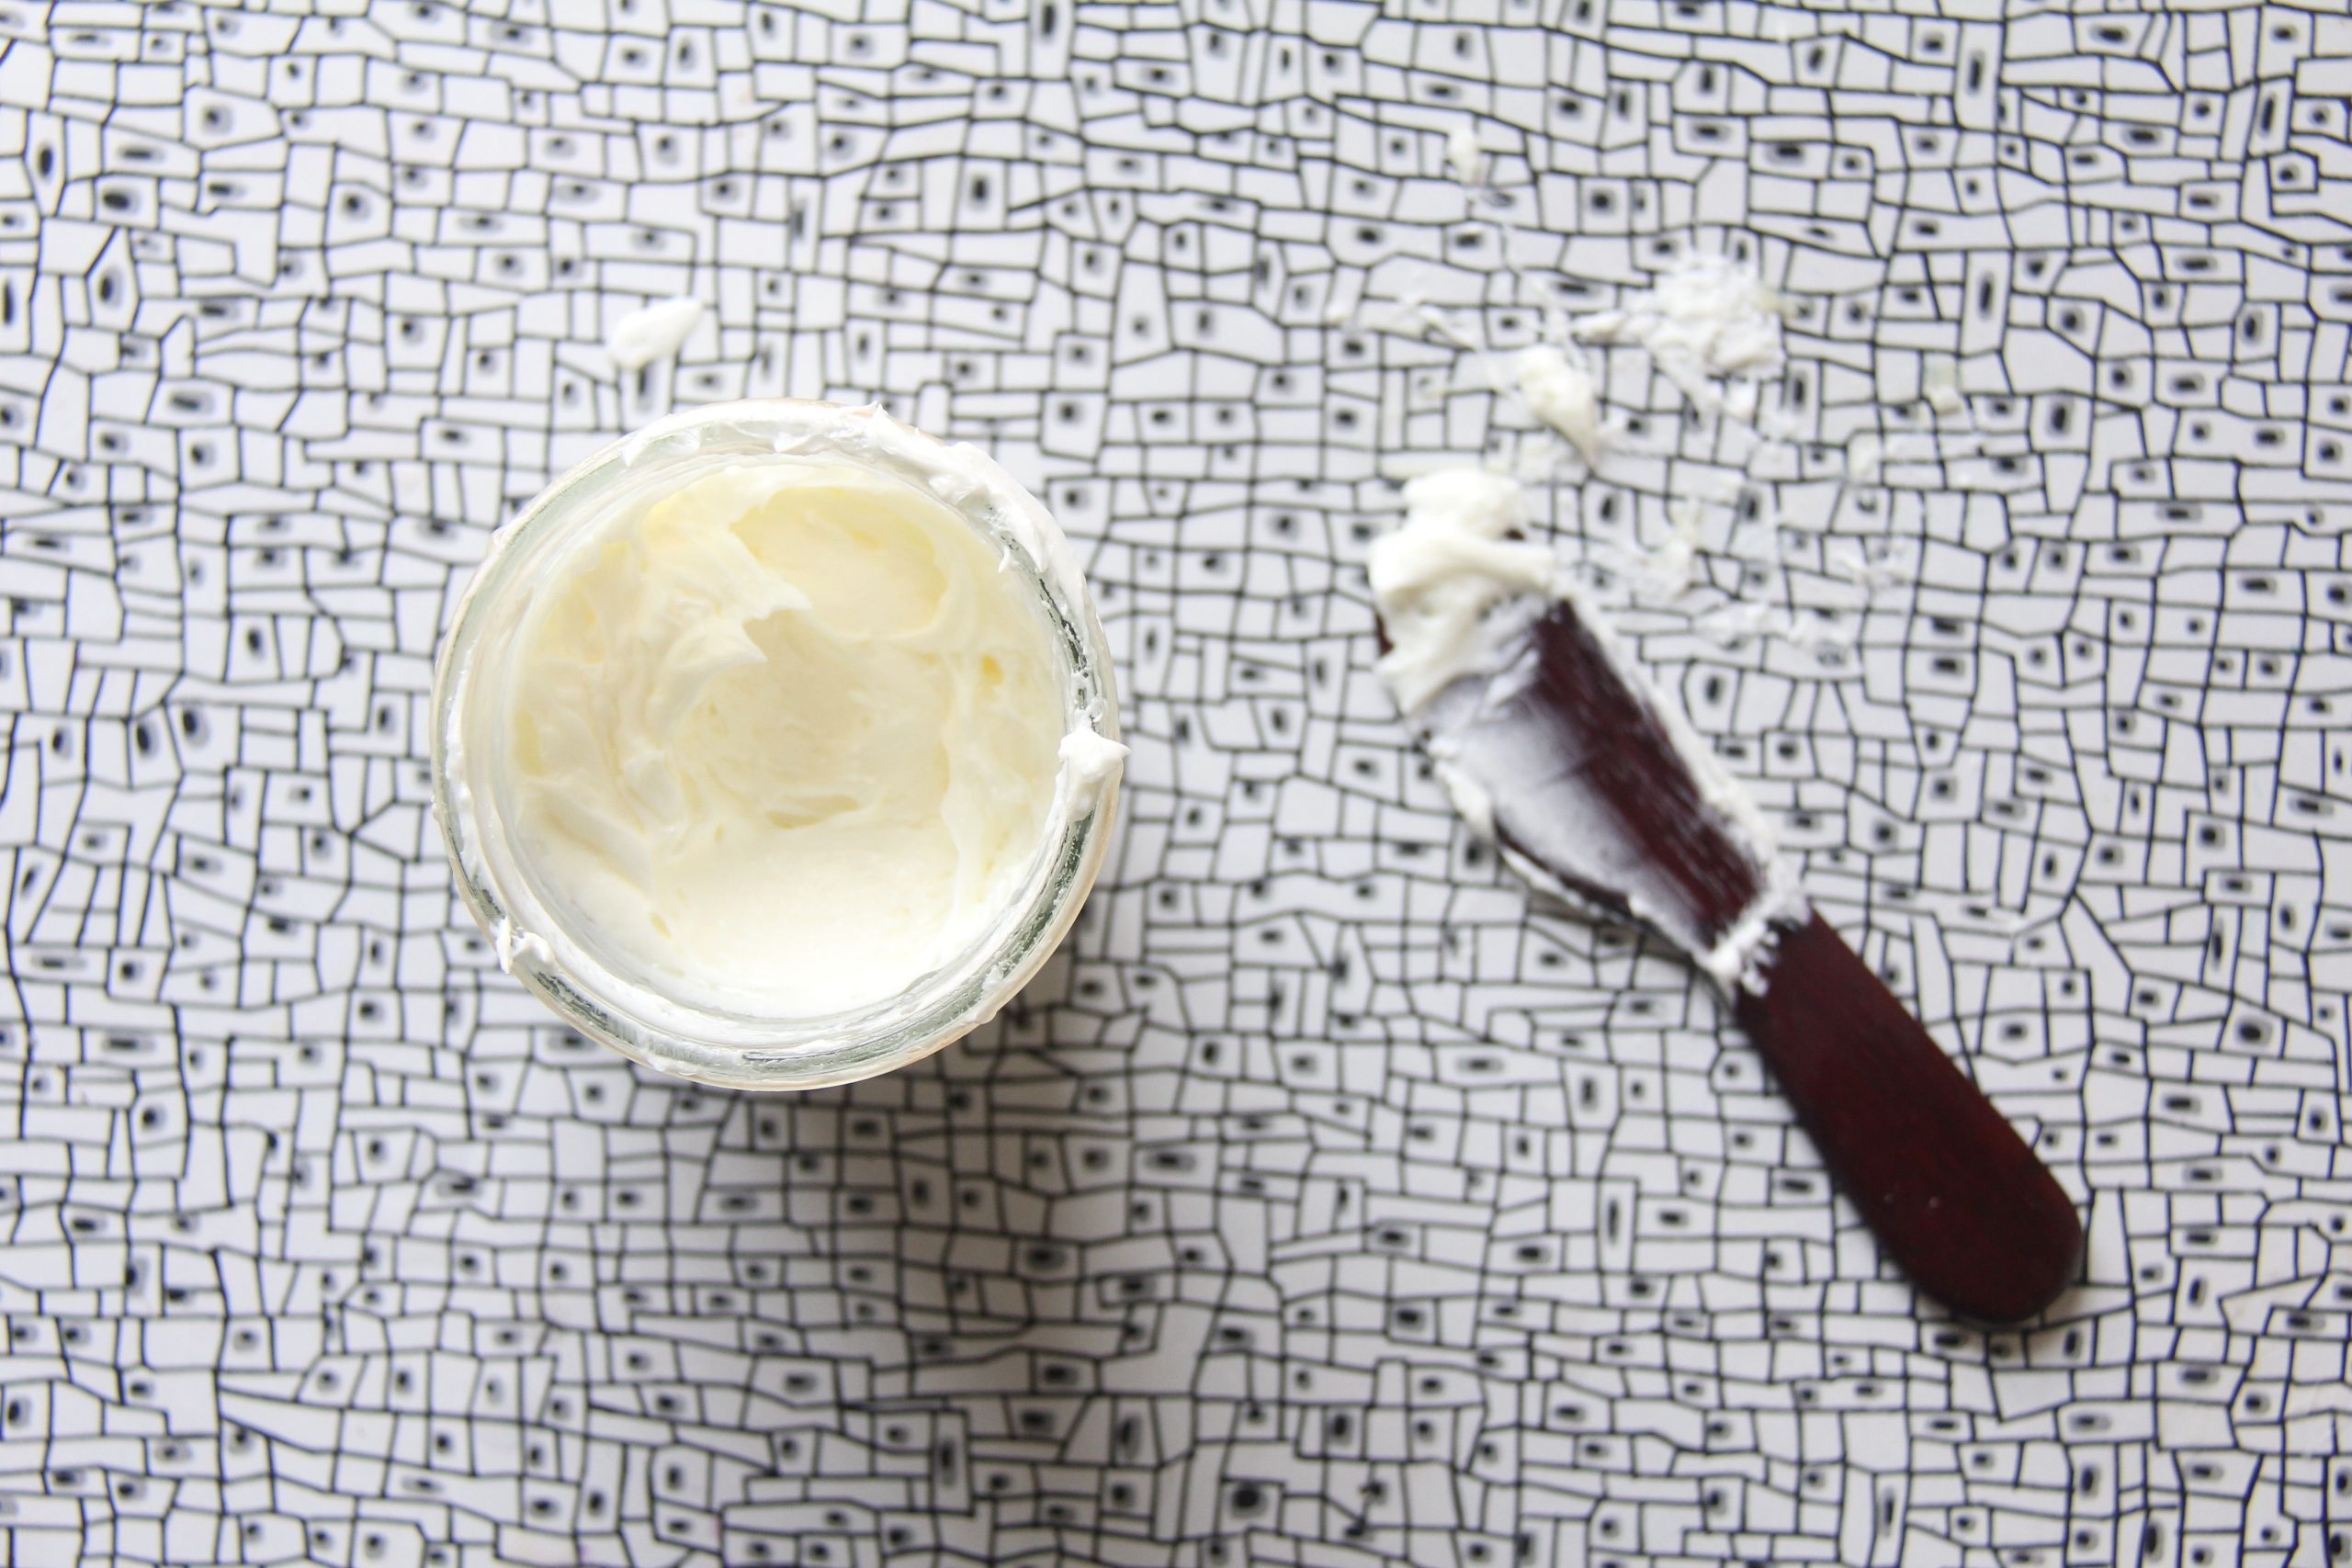
- Store properly: Allow the lotion to cool completely before transferring it to an airtight container. Store it in a cool, dry place for up to 6 months.
Tips for Customization:
- Dry skin: Add more base oils for extra hydration. Consider using shea butter or mango butter as your base.
- Sensitive skin: Choose gentle base oils like jojoba oil or almond oil. Avoid using essential oils that are known to irritate the skin.
- Acne-prone skin: Opt for non-comedogenic base oils like grapeseed oil or hemp seed oil. Add tea tree oil to help combat acne.
Indulge in the luxurious experience of homemade skincare by following these steps and tailoring your lotion to your specific needs.
If you’re craving a homemade solution for your laundry chores, check out our detailed guide on how to make homemade powder laundry soap. And if you prefer a liquid formula, we also have a straightforward tutorial on how to make homemade washing liquid. For those looking to soothe sore muscles or improve their recovery, you won’t want to miss our comprehensive instructions on how to make an ice bath at home.
Why Make Your Own Lotion?
Indulge in the luxurious experience of crafting your own homemade lotions, free from the harsh chemicals and mysteries of store-bought products. Embrace the control and personalization that comes with creating bespoke formulas tailored to your unique skin’s needs.
Key Takeaways:
- Achieve visibly healthier skin by customizing ingredients to address dryness, sensitivity, and other concerns.
- Save money compared to commercial lotions, and control the quality of ingredients used.
- Unveil your creativity by experimenting with essential oils to create personalized scents and therapeutic benefits.
- Enjoy the satisfaction and tranquility of knowing exactly what’s going on your skin, promoting a sense of well-being.
- Tap into your inner alchemist and experience the joy of DIY skincare, a rewarding and empowering endeavor.
Citations:
- DIY Natural: Homemade Lotion Recipe
- Jenni Raincloud: How To Make DIY Hand Lotion
FAQ
Q1: What are the essential ingredients needed to make lotion?
A1: Base oils (hydration and emollience), carrier oils (nourishment), emulsifiers (stability), essential oils (fragrance and therapeutic benefits), and optional additives (e.g., aloe vera gel, vitamin E oil).
Q2: What is the purpose of an emulsifier in lotion making?
A2: Emulsifiers combine oil and water-based ingredients, creating a stable and homogeneous lotion texture.
Q3: Is it crucial to customize the lotion based on skin type? Why?
A3: Yes, customizing the lotion based on skin type is essential. Different skin types have unique needs (e.g., dryness, sensitivity, acne), and tailored ingredients can effectively address these concerns.
Q4: How can essential oils enhance the lotion’s benefits?
A4: Essential oils add fragrance and provide therapeutic properties to the lotion. They can be chosen based on their complementary benefits to the skin, such as calming, soothing, or invigorating effects.
Q5: What storage practices should be followed to maintain the integrity of homemade lotion?
A5: Store homemade lotions in a cool, dry place away from direct sunlight. This helps preserve their freshness, texture, and potency over time.

- LED Shower Can Light for Smart and Efficient Bathroom Lighting - July 7, 2026
- Kitchen LED Lights Brighten Your Home While Saving Energy - July 6, 2026
- LED Kitchen Lights That Transform Your Homes Cooking Space - July 5, 2026