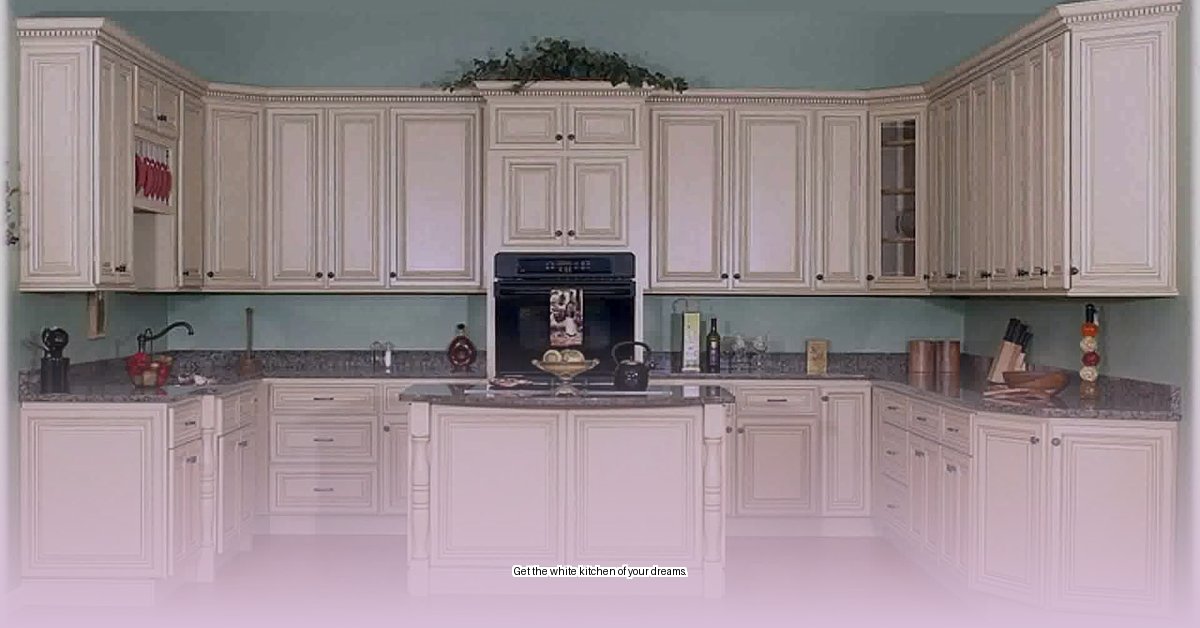
Want a brighter, airier kitchen without the hefty price tag of a full remodel? Whitewashing your cabinets is a surprisingly simple DIY project that can dramatically transform your space. This comprehensive guide will walk you through every step, from prepping your cabinets to troubleshooting common issues, empowering you to achieve a professional-looking finish. Whether your cabinets are outdated, dark, or simply need a refresh, whitewashing offers a timeless, farmhouse-chic aesthetic that lets the natural wood grain shine through. Let’s get started!
Prepping Your Cabinets: The Foundation for Success
Proper preparation is paramount to a flawless whitewash. Think of your cabinets as a canvas: a clean, smooth surface is essential for achieving a beautiful, long-lasting finish.
Step 1: Clear the Decks
Begin by emptying your cabinets and removing all hardware—knobs, pulls, hinges, everything. Label each piece of hardware as you go; this will make reassembly a breeze.
Step 2: Deep Clean
Grease, grime, and old finishes are the enemies of a smooth whitewash. Thoroughly clean your cabinets with a degreasing cleaner, rinsing well and allowing them to dry completely.
Step 3: Smooth Operator
Lightly sand the cabinet surfaces with fine-grit sandpaper (220+ grit). This creates tiny “anchors” for the whitewash to grip, ensuring better adhesion and a more even finish. Wipe away any sanding dust with a tack cloth. For glossy surfaces, a deglosser may be needed.
Step 4: Prime Time (Optional, But Recommended)
Priming isn’t always necessary, but it’s highly recommended, especially for darker woods or previously painted cabinets. A primer creates a uniform base, preventing the old finish from bleeding through and ensuring a consistent whitewash color. An oil-based or shellac-based primer is often preferred for its superior blocking properties.
Choosing Your Whitewash Method: Paint vs. Stain
Two primary paths lead to whitewashed bliss: diluted paint or pre-mixed whitewash stain. Each offers distinct advantages, so consider your comfort level and desired look.
Diluted Paint: The Customizable Choice
Diluted paint offers complete control over color and opacity. Thinning your favorite latex or chalk paint with water allows you to create a truly custom finish. However, this method requires a bit more experimentation to achieve the perfect consistency and can be prone to streaks if not applied carefully. Some experts suggest starting with a 1:1 ratio of paint to water and adjusting from there. There are also indications that using a high quality synthetic brush can minimize streaking.
Pre-mixed Whitewash Stain: The Easy Route
Pre-mixed stains are incredibly convenient and generally produce a smooth, even finish with minimal streaking. While you have less color control, this method is perfect for beginners or those seeking a quick and easy update. It is important to note that although pre-mixed whitewash stains are generally less prone to streaking, the final look can be influenced by the application technique.
| Method | Pros | Cons | Difficulty |
|---|---|---|---|
| Diluted Paint | Complete color/opacity control, budget-friendly | Requires experimentation, potential streaking | Beginner |
| Whitewash Stain | Easy application, less prone to streaking | Limited color options | Beginner |
Applying the Whitewash: Techniques and Tips
Regardless of your chosen method, proper application is crucial for achieving a professional-looking finish.
Step 1: Test Drive
Always test your mixture on an inconspicuous area or a scrap piece of wood before committing to the entire project. This allows you to fine-tune the color, opacity, and technique. Research suggests that some types of wood absorb more whitewash than others, influencing the final appearance.
Step 2: Brushstrokes and Wood Grain
Apply the whitewash in thin, even coats, working in the direction of the wood grain. Avoid overloading your brush, as this can lead to drips and an uneven finish. Using a high quality brush can be beneficial.
Step 3: The Wipe Down
For a more translucent look, wipe off the excess whitewash immediately after applying it with a clean, lint-free cloth. The more you wipe, the more the wood grain will show through. Ongoing research explores how environmental factors, such as humidity and temperature, might subtly affect this process.
Step 4: Dry and Repeat (If Necessary)
Allow each coat to dry completely before applying another. Drying times vary depending on the product and environmental conditions. For a more opaque finish, apply multiple thin coats, allowing each to dry thoroughly.
Sealing the Deal: Protection and Durability
Sealing your whitewashed cabinets is highly recommended. A clear sealant, such as polyurethane (water-based or oil-based) or wax, protects the finish from wear and tear, simplifies cleaning, and may enhance the final appearance.
Troubleshooting
- Streaks: Lightly sand the affected area and reapply the whitewash, using thinner coats and consistent wiping pressure. There is debate about whether synthetic brushes minimize streaking more effectively than natural bristle brushes.
- Blotchiness: This often indicates uneven application or inadequate prep. Light sanding and reapplication usually resolve the issue. Some wood types might be more prone to blotchiness, necessitating a primer.
- Chipping: Ensure proper preparation and sealing to prevent chipping. If chipping occurs, gently sand the area and reapply the whitewash and sealant.
FAQs
- Can I whitewash over existing stain or paint? Yes, but thorough sanding and priming are crucial for proper adhesion.
- What type of paint is best for whitewashing? Latex or chalk paint are generally recommended.
- How long does it take to dry? Drying times vary depending on the product and environmental conditions; consult the manufacturer’s instructions.
Advanced Techniques
- Layering: Apply different shades of white for a more nuanced, dimensional finish.
- Dry Brushing: Create a textured, rustic look by lightly dragging a dry brush dipped in whitewash over the surface.
- Distressing: Sanding edges and corners after whitewashing adds a touch of vintage charm.
By following these steps and considering the nuances of each technique, you can confidently transform your kitchen with the timeless beauty of whitewashed cabinets.
- Burning Plastic Smell in House: Causes, Solutions, and Safety Measures - April 8, 2025
- Best Bug Killer for Yard: Effective Pest Control Guide (2024) - April 8, 2025
- Brown Recluse Spider Bites: Identification, Treatment, and Prevention - April 8, 2025


