Imagine a kitchen where every tool is at your fingertips, ingredients are easily accessible, and you move effortlessly through the cooking process. This is the power of kitchen zone mastery – transforming your kitchen into a space that maximizes efficiency and sparks culinary joy. It’s not just about organization; it’s about creating a seamless and inspiring cooking experience. Ready to elevate your culinary haven? Let’s explore the art of kitchen zone planning.
Streamlining Your Culinary Workflow with Kitchen Zones
Want to feel like a top chef in your own kitchen? The secret lies in designing a space that works with you, not against you. This is where the magic of kitchen zones comes in. Imagine your kitchen as a well-oiled machine, where meal prep becomes a joyful experience rather than a chore. Kitchen zones divide your kitchen into dedicated areas, each optimized for a specific task. This simple yet powerful concept can revolutionize your cooking routine. This streamlined approach can likely save you time and probably reduce stress in the long run. Plus, it can make your kitchen safer by minimizing unnecessary movement and strain. For small spaces, kitchenette ideas are the perfect option to make a small space more functional. If you are not sure where to start, take a look at these kitchenette design ideas that will make your kitchenette stand out.
The Five Essential Kitchen Zones
-
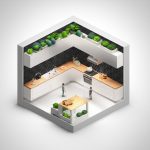
The Stockpile Station (Consumables): This zone houses all your edible goods – your pantry, refrigerator, and spice rack, all within arm’s reach. No more searching for that elusive ingredient!
-
The Dish Domain (Non-Consumables): Plates, bowls, cutlery, and cookware reside here, ideally close to the dishwasher or drying rack for efficient cleanup.
-
The Suds Sanctuary (Cleaning): Centered around your sink and dishwasher, this zone includes cleaning supplies and waste disposal, making tidying up a breeze.
-
The Prep Playground (Preparation): Your culinary staging area, dedicated to chopping, dicing, and mixing. Position it near your Stockpile Station and Cooking Command Center for peak efficiency.
-
The Cooking Command Center (Cooking): This is where the heat is! Your stovetop, oven, and microwave reign supreme, with easy access to essential cooking utensils.
Reaping the Rewards of Kitchen Zones
- Time Savings: Eliminate wasted time hunting for ingredients and utensils.
- Organized Oasis: Maintain a clutter-free and functional kitchen.
- Stress Reduction: A well-organized kitchen promotes a more relaxed cooking experience.
- Space Optimization: Maximize storage and counter space, even in smaller kitchens.
Designing Your Ideal Kitchen Zones: A Step-by-Step Guide
- Assess Your Needs: Analyze your cooking style, habits, and pain points.
- Map Your Kitchen: Sketch your layout, marking appliances and storage.
- Optimize Workflow: Arrange zones to minimize movement between tasks.
- Declutter and Organize: Purge unused items and implement smart storage solutions like drawer dividers and shelf risers.
- Personalize and Adapt: Customize zones to your specific needs, considering future accessibility with features like lower cabinets and pull-out shelves. Consider integrating elements of universal design to enhance functionality for everyone.
The Dynamic Kitchen: Embracing Change
Kitchen design is an evolving field, with new research continually emerging on efficiency and ergonomics. While these five zones provide a solid foundation, your ideal layout will ultimately depend on your unique needs and preferences. Some experts believe that incorporating elements of universal design can further improve kitchen functionality. Don’t be afraid to experiment and adapt your zones over time.
Crafting Your Personalized Kitchen Zones
Now that we’ve established the benefits of kitchen zones, let’s explore how to implement them in your kitchen. This is about designing a space that truly works for you, optimizing your workflow and minimizing chaos. Creating designated areas for prepping, cooking, and cleaning streamlines the entire process, saving you time and reducing stress. Imagine a kitchen where reaching for a heavy pot while juggling hot food is a thing of the past.
Tailoring Your Kitchen Zones
There’s no one-size-fits-all approach. Your kitchen zones should reflect your unique cooking style, habits, and the tools you use most often. Consider what frustrates you in your current setup. Is it constantly searching for spices or navigating an awkward corner? Identifying these pain points will guide you in designing zones that address your specific needs.
A Step-by-Step Guide to Kitchen Zone Bliss
-
Evaluate Your Cooking Habits: Are you a weeknight chef, a weekend baker, or a passionate entertainer? Understanding your routine is key to optimizing zone placement.
-
Measure and Plan: Grab a measuring tape and document your kitchen’s dimensions. Note the location of fixed elements like plumbing and electrical outlets. This careful planning will prevent future headaches.
-
Determine Essential Zones: Most kitchens benefit from these core zones: Consumables, Non-Consumables, Cleaning, Preparation, and Cooking. Consider adding specialty zones like a Baking Zone, Coffee/Tea Station, or Beverage Center based on your needs.
-
Map Your Zones: Arrange zones to minimize movement and create a natural flow. Prioritize ergonomics and accessibility, considering the height of countertops and the placement of frequently used items.
-
Test and Refine: Once implemented, live with your new zones for a while and make adjustments as needed. Don’t be afraid to experiment until you find the perfect configuration.
Kitchen Zones in Action
A coffee lover might create a dedicated coffee zone with an espresso machine, grinder, and all the necessary accessories. A baking enthusiast might dedicate a zone to baking supplies, keeping everything organized and readily available. Ongoing research in kitchen ergonomics and workflow suggests that kitchen design is constantly evolving. Embrace the dynamic nature of kitchen design and adapt your zones as your needs change.
Selecting the Ideal Ceiling Material for Your Kitchen
Choosing the right kitchen ceiling is crucial. It’s not just about aesthetics; it needs to withstand the rigors of a busy cooking space – steam, splashes, and occasional smoke. Durability, moisture resistance, style, and budget are all key factors to consider. Let’s explore some popular options to determine the best fit for your culinary sanctuary.
Withstanding Kitchen Conditions
Durability and moisture resistance are paramount. Your kitchen ceiling faces constant exposure to moisture and grease, so it needs to hold up without staining, peeling, or drooping.
Exploring Kitchen Ceiling Options
-
Drywall: A budget-friendly and versatile choice, but requires sealing with moisture-resistant primer and paint.
-
Exposed Beams: Offer a rustic or industrial aesthetic, but require sealing to protect against moisture and grease.
-
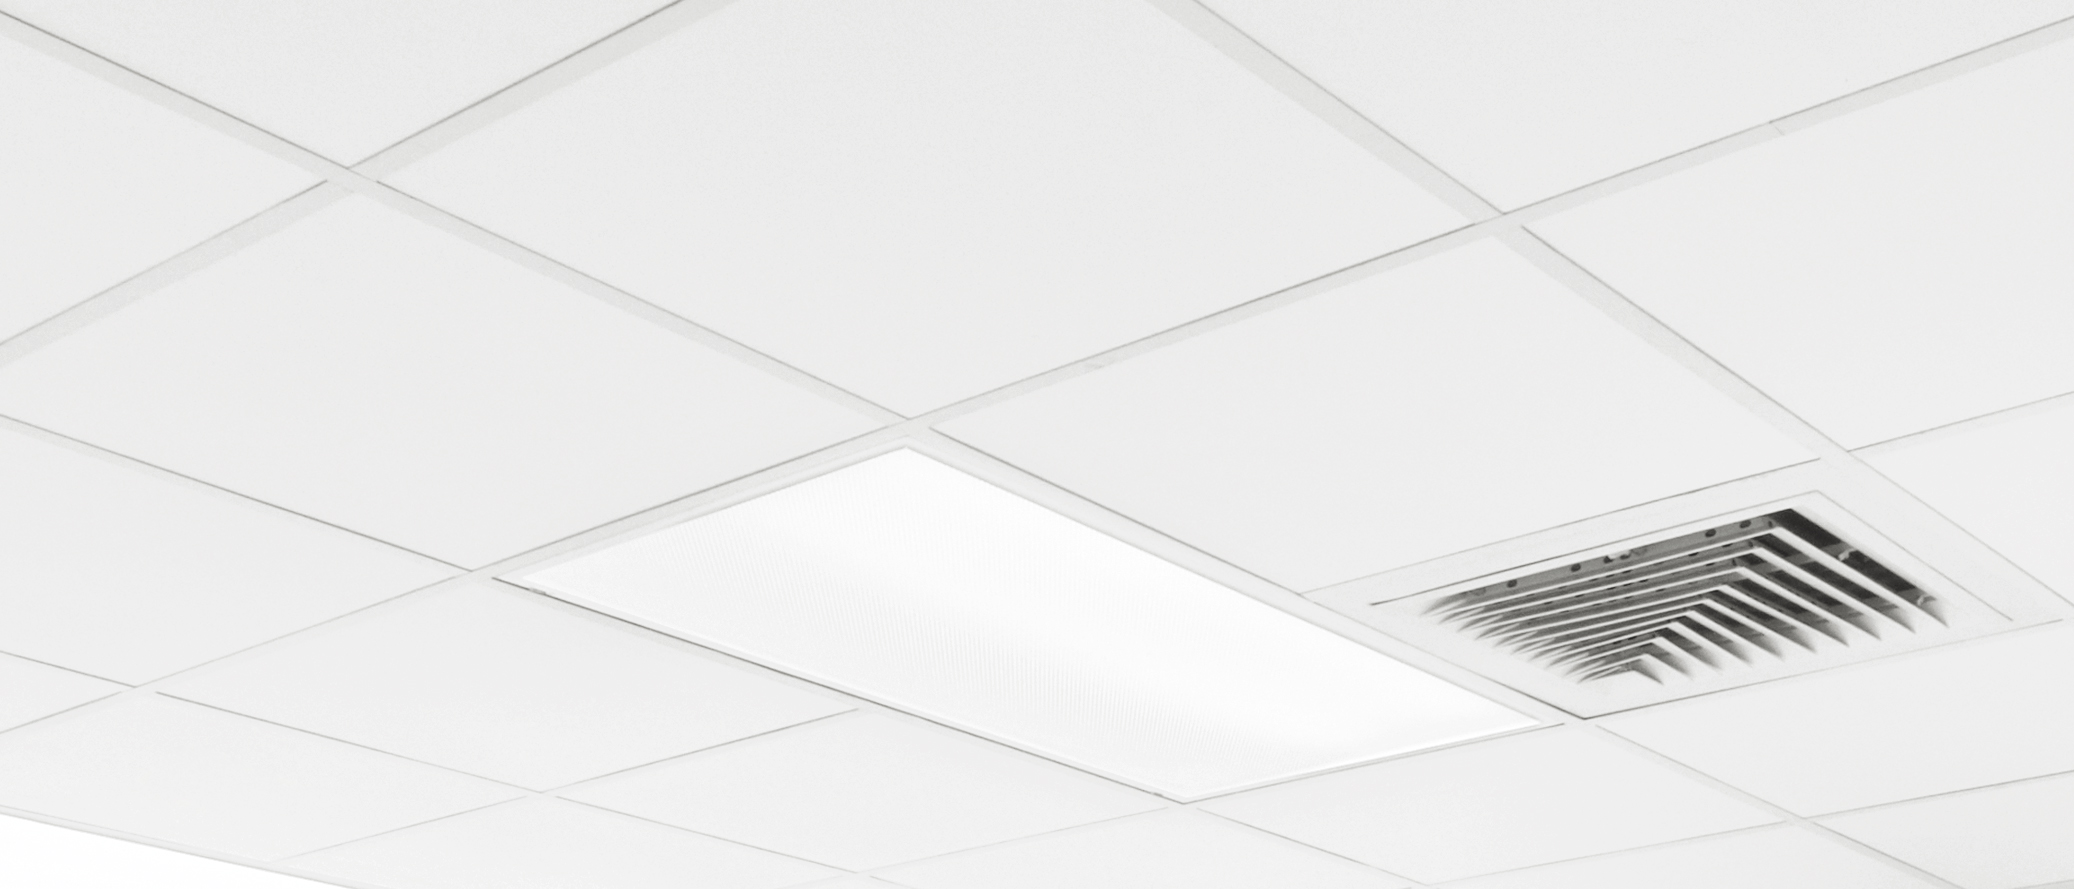
Tiles: A great choice for moisture resistance and easy cleaning. Explore various options, including Armstrong’s KITCHEN ZONE tiles, which meet stringent hygiene standards for commercial kitchens.
-
Metal Ceilings: Bring a unique, industrial vibe and offer excellent durability. They are available in various finishes like stainless steel, copper, and tin. However, installation can be more expensive.
-
Wood Panels: Create a warm and inviting atmosphere, but may not be suitable for areas prone to moisture. Ensure proper sealing and treatment.
Balancing Style, Budget, and Functionality
Your kitchen’s style will influence your ceiling choice. Consider how the ceiling material complements your cabinets, countertops, and overall design. Budget is also a factor. Drywall offers affordability, while metal and elaborate tile installations can be more expensive. Ongoing research in materials science suggests that even more durable and moisture-resistant options may become available in the future.
Unraveling the Composition of Armstrong Ceiling Tiles
Curious about what makes up those ubiquitous Armstrong ceiling tiles? Let’s delve into their composition and why it matters, especially for kitchen applications. The key ingredient is mineral fiber, a versatile, rock-based material that contributes to their popularity in hygiene-sensitive environments like commercial kitchens and hospitals. These tiles, particularly the Kitchen Zone series, often meet USDA/FSIS guidelines for food safety.
The Benefits of Mineral Fiber
Mineral fiber offers several advantages:
- Fire Resistance: Achieves a Class A fire rating (ASTM E84), offering excellent fire safety.
- Lightweight: Easy to install and handle.
- Cost-Effective: Generally more affordable than vinyl-covered gypsum tiles.
- Simple Installation: Compatible with standard ceiling grids.
- Enhanced Light Reflectance: Brightens up the space, especially beneficial in kitchens.
- Easy Cutting: Produces less dust during installation.
Sustainability and Other Considerations
Armstrong’s Kitchen Zone tiles are part of their Sustain® collection, reflecting a commitment to sustainability. They are also recyclable through Armstrong’s recycling program. There’s ongoing research regarding the long-term health effects of mineral wool (a close relative of mineral fiber), so staying informed about new findings is advisable. While no material is perfect, mineral fiber offers a compelling combination of performance, affordability, and eco-friendliness, making it a popular choice for various applications.
- Decorative Backsplash Ideas: Colorful Kitchen Transformations for Your Home - November 13, 2025
- Choosing Backsplash Materials: Ideas for Kitchen and Bathroom Designs - November 12, 2025
- Kitchen Backsplash Tile Patterns: Find Your Perfect Style - November 11, 2025


