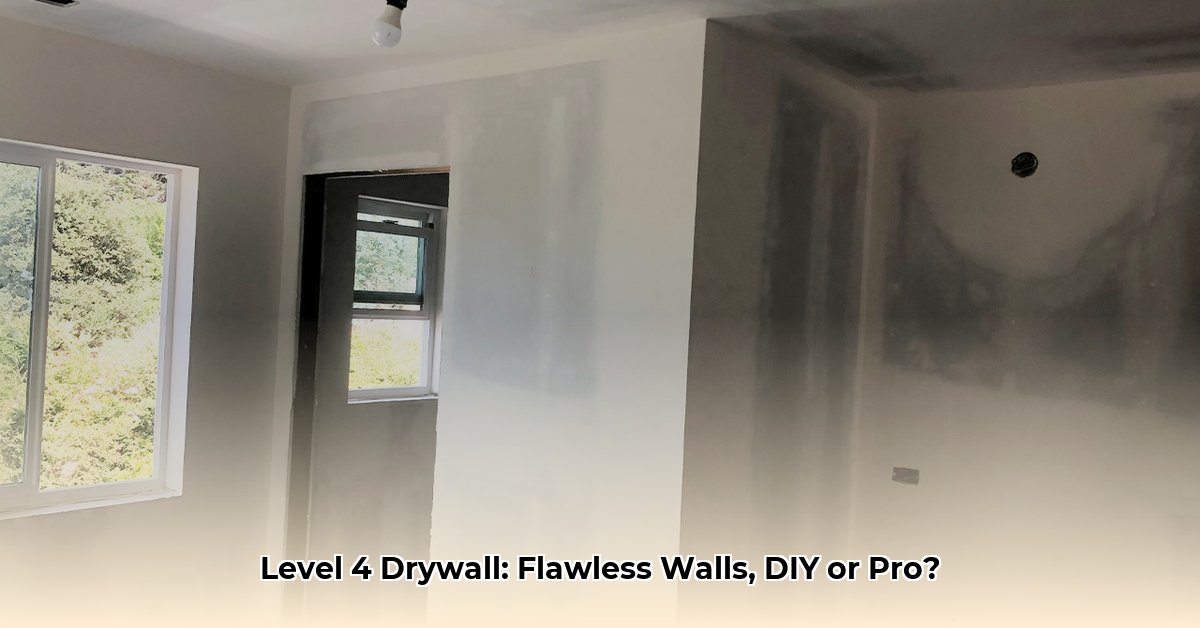
Want walls as smooth as butter? A Level 4 drywall finish delivers that polished, professional look without the hefty price tag of a Level 5. This guide provides everything you need to achieve a flawless Level 4 finish, whether you’re a seasoned DIYer or just starting out.
What is a Level 4 Drywall Finish?
A Level 4 finish is the business casual of drywall—presentable and polished, but not overly formal. It involves four coats of joint compound (or “mud”): one to embed the tape, two to smooth the joints, and a final coat for inside corners. Even screw/nail holes get three coats! This hides imperfections for a uniform look, perfect for most rooms and paint types. Think bedrooms, living rooms, or hallways.
Level 4 vs. Level 5: Which is Right for You?
The key difference lies in lighting. Level 4 excels under normal lighting, while Level 5 shines under intense scrutiny (like spotlights), making it ideal for high-gloss paints and areas with abundant natural light. Consider this table:
| Feature | Level 4 | Level 5 |
|---|---|---|
| Coats of Compound | 4 | 5 (includes a skim coat over the entire surface) |
| Lighting Conditions | Normal | Critical (spotlights, direct sunlight) |
| Cost | Lower | Higher (approximately 20-50% more) |
| Appearance | Smooth, minor imperfections may be visible under intense light | Ultra-Smooth, virtually flawless under any lighting |
| Typical Use | Homes, Most Businesses | High-end Homes, Showrooms, Commercial Spaces |
Level 4 is the practical choice for most residential projects, offering a balance between cost and quality. Level 5 is reserved for situations demanding absolute perfection, like showcasing artwork or using high-gloss paints.
Tools and Materials: Your Drywall Arsenal
- Joint Compound (“Mud”): All-purpose pre-mixed is a good starting point. Lighter versions are available but may shrink more.
- Drywall Knives (6″ and 12″): Different sizes for different areas. Wider knives for larger surfaces, smaller for detail work.
- Corner Trowel: For crisp inside corners.
- Mud Pan: Keeps your mud handy and simplifies cleanup.
- Mixing Drill with Paddle Attachment (for powdered compound): Ensures smooth consistency.
- Sandpaper and Sanding Block/Pole: Fine-grit for smoothing; consider a sanding pole for larger areas and a hand sander for detail.
- Drywall Tape: Reinforces joints and prevents cracking.
- Utility Knife: Cutting tape and cleaning up excess mud.
- Safety Glasses and Dust Mask: Protecting your eyes and lungs.
- Drywall Primer: Seals the drywall and provides a uniform surface for paint.
Achieving a Level 4 Finish: Step-by-Step
-
Preparation is Key: Ensure previous coats are completely dry. Clean the drywall surface, removing dust and debris. Repair any damage before starting.
-
Taping: Apply drywall tape to all joints and inside corners, embedding it smoothly in a thin layer of mud.
-
First Coat (Bedding Coat): Cover the tape completely with a thin layer of mud, feathering the edges to blend with the surrounding wall.
-
Second Coat (Fill Coat): Once dry, apply a second, slightly wider coat, feathering the edges even further. This fills gaps and smooths the surface.
-
Third Coat (Fasteners and Inside Corners): Apply three thin coats to screw/nail heads, feathering each coat. Apply one coat to inside corners, aiming for clean, straight lines.
-
Drying Time: Allow each coat to dry completely before sanding. This is crucial for a good finish. Consult the manufacturer’s instructions for drying times.
-
Sanding: Using fine-grit sandpaper, sand all areas smooth, removing bumps and tool marks. Use your hand to feel for imperfections. A sanding pole is efficient for large areas, while a hand sander offers more control for detail work.
-
Priming: Apply a coat of drywall primer to seal the drywall and ensure even paint absorption. This creates the ideal base for your chosen paint.
Tips and Tricks for a Flawless Finish
-
Practice Makes Perfect: If you’re new to drywall finishing, practice on a scrap piece of drywall or a less visible area. This will help you master the techniques before tackling the main project. Consider building a mock-up for clients to demonstrate the finish.
-
Thin Coats are Best: Apply thin, even coats of mud to avoid cracking and shrinking. Multiple thin coats are better than one thick coat.
-
Feathering is Essential: Feathering the edges creates a seamless transition between the patched area and the surrounding drywall. This helps prevent visible lines after painting.
-
Sanding Technique: Use broad, circular motions for large areas, and light, even strokes for detail work. Avoid over-sanding, which can damage the drywall.
-
Cleanliness Matters: Keep your work area free of dust and debris to prevent imperfections in the finish.
Troubleshooting
- Bubbles: Puncture with a utility knife, apply fresh mud, and feather smooth. This suggests trapped air during application. Apply more pressure with the knife and smooth more thoroughly next time.
- Visible Seams: May require another coat or more sanding. This often happens with inadequate coverage or insufficient feathering, especially with gloss or semi-gloss paints. Additional coats of compound focus on these areas can be very helpful.
- Cracks: Remove loose compound, re-tape, and apply fresh mud. A setting-type compound is recommended for repairs. Cracks often indicate structural movement or improper initial taping.
Cost Considerations
Materials for a Level 4 finish are relatively inexpensive. The main cost is labor, especially if hiring a professional. Expect to pay between $1.75 and $3.50 per square foot for professional installation—prices may vary significantly based on location and project complexity. DIYing can significantly reduce labor costs.
FAQs
- Is Level 4 suitable for painting? Yes, especially for flat or lightly textured paints. For high-gloss paints, Level 5 is often preferred.
- Can I DIY a Level 4 finish? Absolutely! With patience and practice, anyone can achieve professional results.
By following these instructions and paying attention to detail, you can confidently achieve a beautiful Level 4 drywall finish that enhances the look and value of your home. Don’t hesitate to consult online videos and resources for additional guidance and inspiration.
- Memorial Stones for Gardens: A Guide to Creating a Lasting Tribute - April 29, 2025
- Melon Cut Diamonds: A Comprehensive Guide - April 29, 2025
- MarketStreet Lynnfield Stores: A Complete Directory & Shopping Guide - April 29, 2025


